The electric park brake (EPB) offers several comfort and safety advantages over a conventional cable- operated handbrake. ZF Aftermarket, owner of the TRW brand of braking components, explains the function of each component in the system and advises how to keep the EPB in peak operating condition.
EPB components
Brake caliper
The EPB uses a single piston ‘Collette’ fist- type caliper. The hydraulic function is the same regardless of whether the caliper has a mechanical park brake or not.
Actuator
An electric motor and toothed belt drive the actuating gearbox, which turns the EPB spindle.
Piston, spindle and pressure nut
The spindle is connected to the pressure nut by a self-locking thread. The pressure nut design prevents it rotating within the piston, so as the spindle rotates, the pressure nut and piston press the brake pad against the brake disc. In the reverse direction, the brake is released by the rollback of the piston seal ring.
Actuating gearbox
The first generation of actuators uses a single- stage swash plate gearbox with an overall gear ratio of around 150:1 to develop a clamping force of up to 19kN, sufficient to activate the parking brake on the majority of production vehicles. For heavier vehicles, a belt-driven, two-stage planetary gearbox actuator employs an overall gear ratio of about 120:1 to develop a clamping force of up to 25kN.
EPB dismantling and inspection
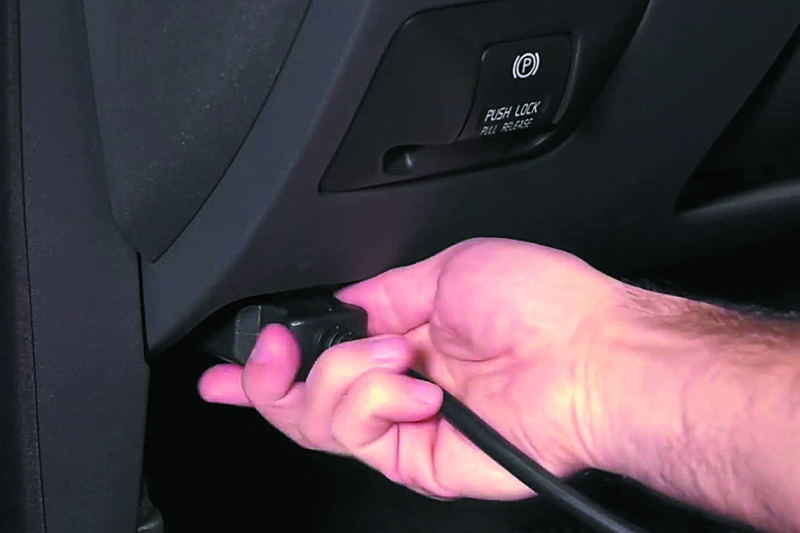
1. Before removing the housing/actuator unit, place the system into maintenance mode for brake pad-changing using a suitable diagnostic tool connected to the On-Board Diagnostics (OBD) port of the vehicle. This enables the controller to rotate the EPB spindle and return the pressure nut to its starting position.
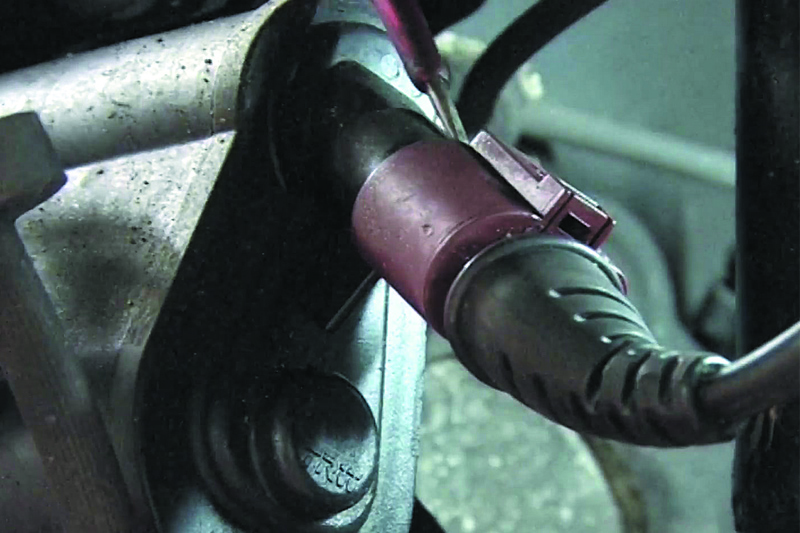
2. Unlatch the actuator’s electrical connector. Some actuators have an integral cable with a plug connection located in the cable harness, usually in the relevant wheel housing.
3. Remove the brake hose/pipe and plug the end to prevent fluid loss from the system.
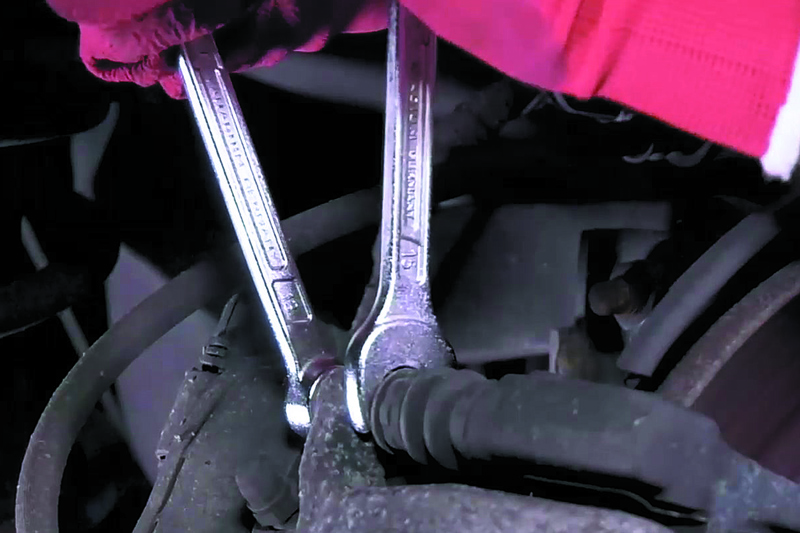
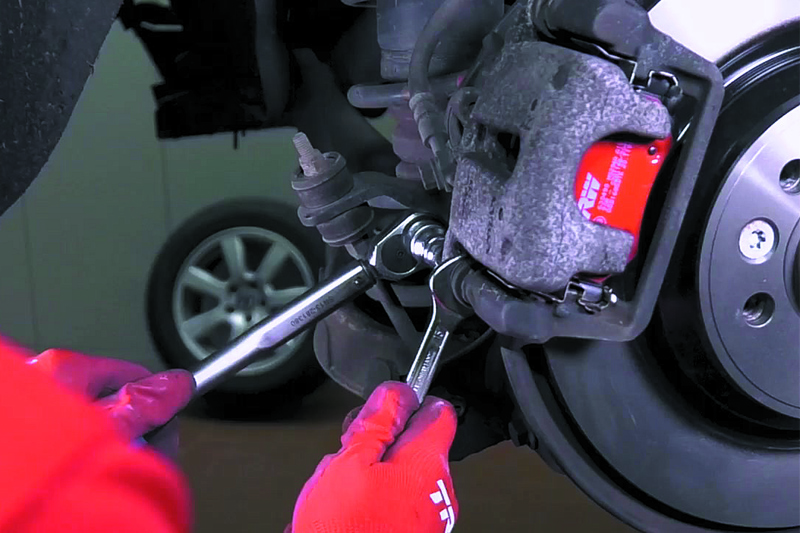
4. Loosen and remove both fixing bolts from the brake housing – it may be necessary to counterhold the guide pins on the brake caliper with a spanner.
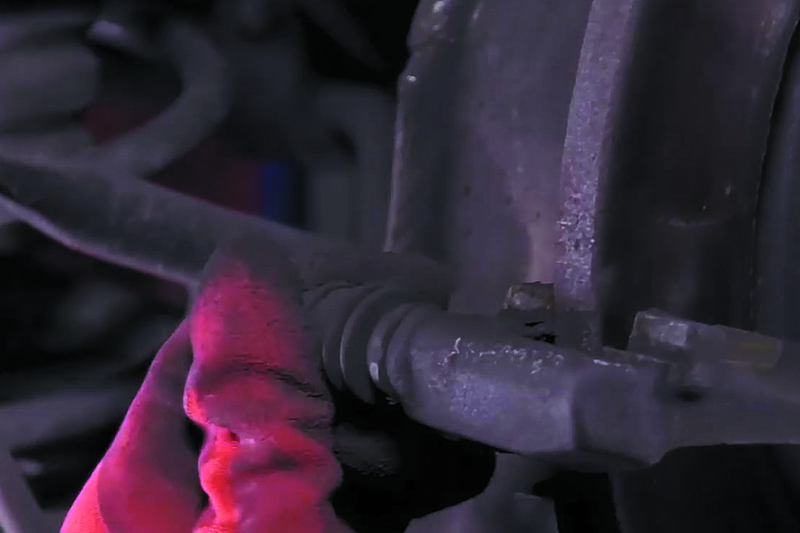
5. Remove the housing including the actuator from the brake carrier and position it such that the brake hose/pipe and electrical connection are not damaged. Check the housing for mechanical damage, the piston boot for cracks and sealing quality, and the pistons for ease of movement.
6. Remove the brake pads and pad retaining springs from the brake carrier. As the springs are largely responsible for minimising noise from the brakes, it is advisable to renew them – but if they are reused, take care not to deform them during fitting and removal.

7. Remove the brake carrier by unscrewing the bolts holding it to the brake hub. Check the guide pins for ease of movement and radial clearance, dust covers for cracks and sealing quality and contact surfaces of pad retaining springs and pads for corrosion damage. Now clean the brake carrier thoroughly.
EPB reassembly
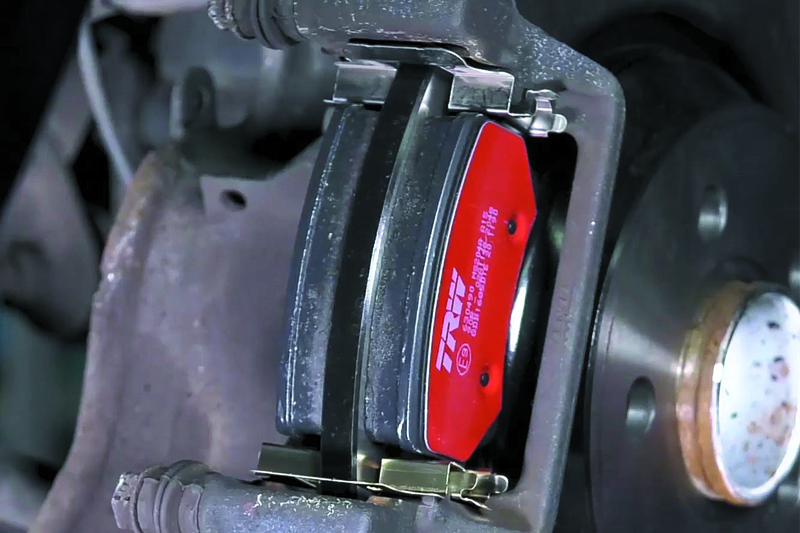
1. Fit the pad retaining springs to the brake carrier, followed by the brake pads. If the springs or pads jam during fitting, clean the brake carrier again or replace it if damaged or distorted. Do not be tempted to machine the carrier or the pads to ease fitting, and avoid using any lubricants unless specified by the vehicle manufacturer or the parts supplier.
2. The brake piston needs to be retracted to its original position before the housing can be refitted to the brake carrier. Unlike some mechanical handbrake systems, the brake piston in an EPB caliper must not be rotated back to the start position – this would damage the pressure nut and/or spindle. Instead, use a pad spreading tool or similar to push the piston straight back without any rotation.
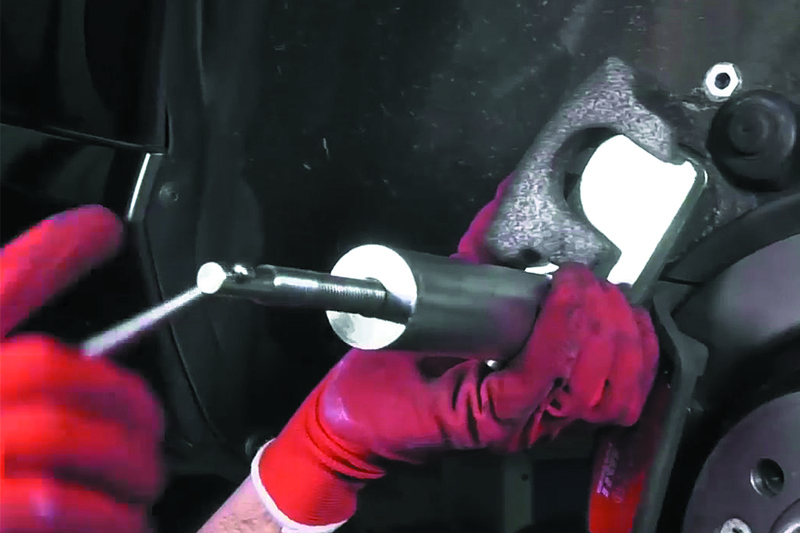
3. Insert the fixing bolts for the brake housing and tighten them to the torque setting specified by the vehicle manufacturer. It may be necessary to counterhold the guide pins on the brake caliper with a spanner. Reconnect the brake pipe and reinstate the electrical connection, then bleed the brake hydraulic system.
4. Once all of the EPB components are reinstalled, the system must be calibrated using a suitable diagnostic tool according to the vehicle manufacturer’s instructions.
Following the advice above will ensure continued safe operation of the EPB system. For other repair and servicing operations on passenger cars, ZF Aftermarket also supplies a comprehensive range of replacement braking, chassis, steering and suspension parts.


