
1. Use the supplied guide to plan where to install the lights within ECE regulations, including the direction they face. You can log on to www.led-drl.co.uk to upload a picture of a particular car to see how it will look.
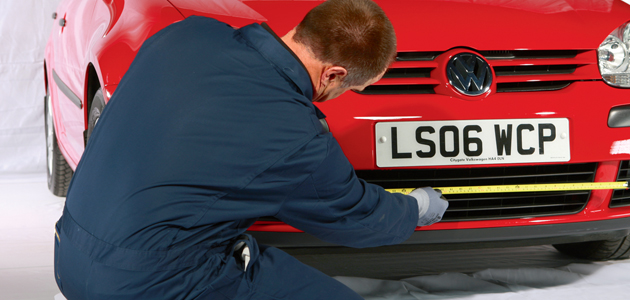
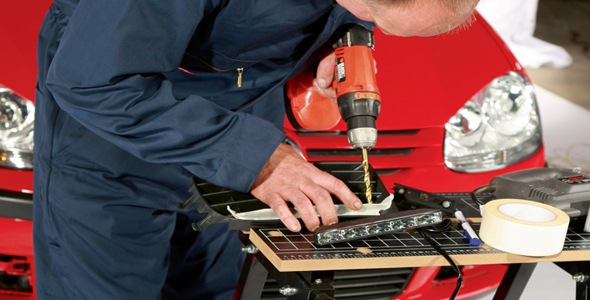
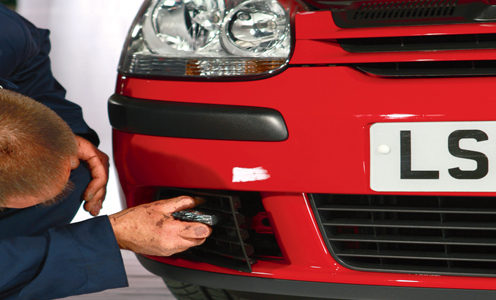
2. With positions carefully marked, fix clip-on brackets with the screws provided. Brackets can be surface-mounted or inset depending on the car.
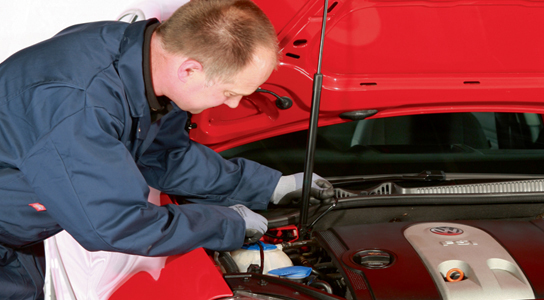
3. Find a solid place under the bonnet to mount the control box, (preferably near the battery and away from heat). Don’t fix the box yet, but ensure the mounting surface is clean.
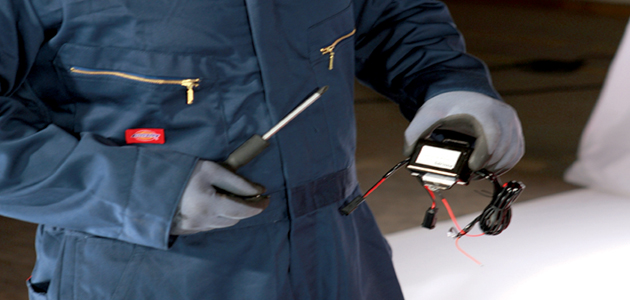
4. It is recommended for safety that the negative lead from the battery is removed before connecting control box power cables.
5. Route the light module wires through the mounts and engine bay to the control box. Do not clip home the lights yet.
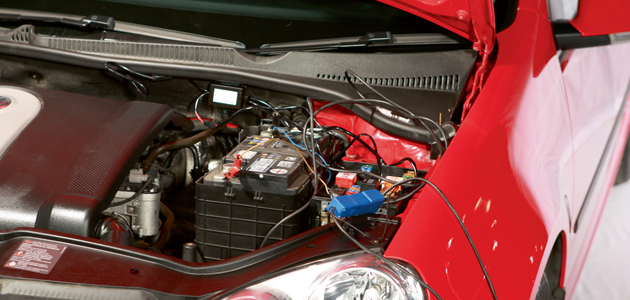
6. Turn on sidelights, remove the headlight connector plug and use the control box lead to identify the supply. An LED on the control unit indicates when you’ve found it.
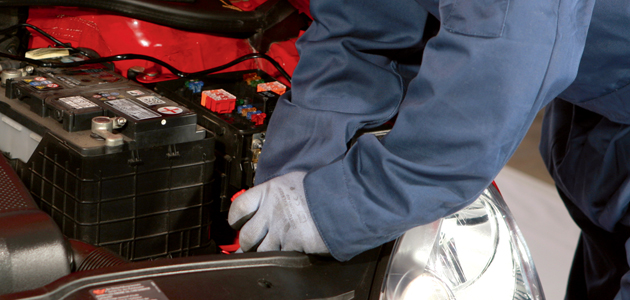
7. Turn off sidelights. Use supplied one-touch connector to securely join the control box sidelight lead to the power supply you have just found. Firmly fix the control box under the bonnet using the adhesive pad. Plug the two sidelight modules into the control box.
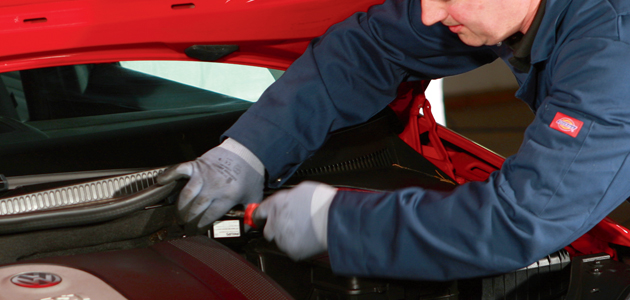
8. Check everything is working by starting the engine. Depending on the model, the LEDs will automatically dim or go off when the car’s own lights are used.

9. Clip lights into brackets and replace any panels removed, including the battery cover. Tidy the wiring using the kit’s cable ties.
Please note: Each of the Philips DayLight DRL kits is installed in the same way and contain two light modules with leads, mounting brackets, a ready-wired control box plus screws, cable ties, connector and instructions.
Want more technical advice? Click here to get an explanation of modern day lighting technology and terminology


