
Prestone coolants
Prestone is a global leader in advanced coolant technology with over 80 years’ experience in developing patented, cutting- edge products. The first coolant to market back in 1927, today Prestone boasts 12 state-of-the-art laboratories and is used as first fill for many OE manufacturers.
Prestone Coolant’s unique, patented formulation is guaranteed to be compatible with all makes and models of passenger car and light commercial vehicle. It also mixes with any colour of coolant so it’s perfect for top-ups as well as flushing the cooling system, making the motor mechanic’s job much more straightforward and easier. All Prestone car care products are manufactured here in the UK.
Step 1 – Drain
ENSURE YOU HAVE ENOUGH PRESTONE COOLANT
Check the capacity of the cooling system before you start the job to ensure you have enough new coolant to refill the cooling system. Similarly, ensure that you have a receptacle large enough to collect the coolant that will be drained out of the system.
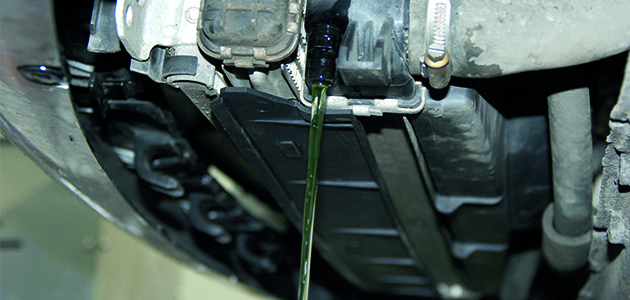
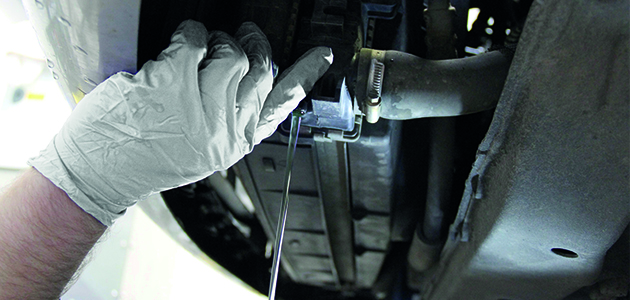
DRAIN COOLING SYSTEM
Remove the cap on the radiator/expansion tank and identify the cooling system drain plug or the bottom hose on the bottom of the radiator.

COLLECT WASTE COOLANT
Place a suitable receptacle to collect the coolant; remove the drain plug or bottom hose and allow the coolant to drain out into the receptacle.
Beware of spills and clean up immediately.
Step 2 – Flush
FLUSH
Securely re-attach the bottom hose or drain plug, and refill the cooling system with de-ionised water. Alternatively, for older vehicles, pour Holts Speedflush into the cooling system and top up with de-ionised water to the ‘max’ level on the expansion tank.
Bleed the system to remove trapped air, and re-attach the radiator/expansion tank cap.
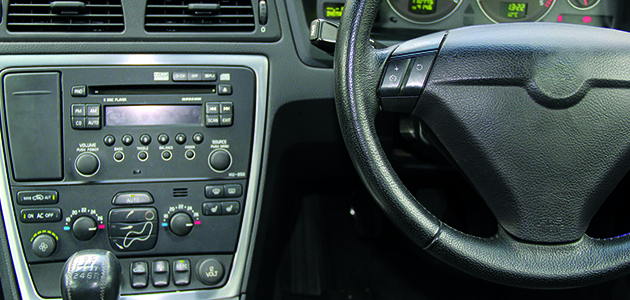
RUN ENGINE
Run the engine with the heater on full power until the engine reaches normal temperature. This ensures flush water has circulated thoroughly throughout the cooling system.
DRAIN
Switch off the engine and allow it to cool down. Remove the cap on the radiator/expansion tank and detach the drain plug or bottom hose (as in Step 3), ensuring a suitable receptacle is used to catch the flush water. Replace the cap and securely re- attach the drain plug or bottom hose once the system has completely drained.
Step 3 – Fill
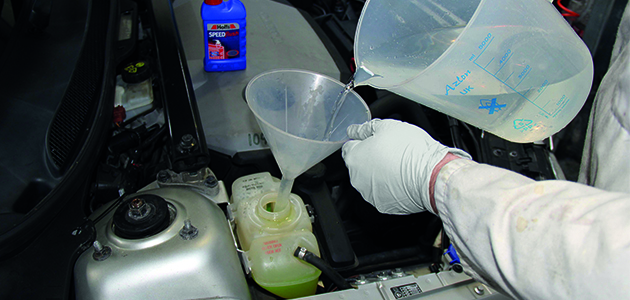
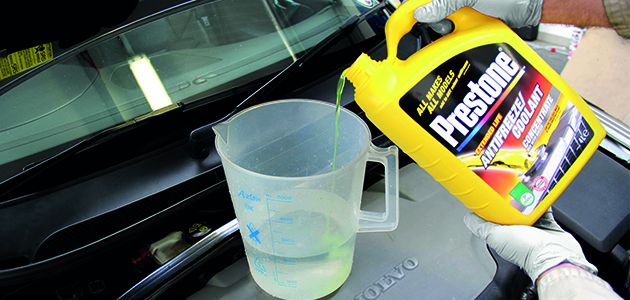
DILUTE CONCENTRATED PRESTONE COOLANT WITH WATER
Mix Prestone Concentrated Coolant with water – ideally de-ionised – to the recommended dilution in a jug.
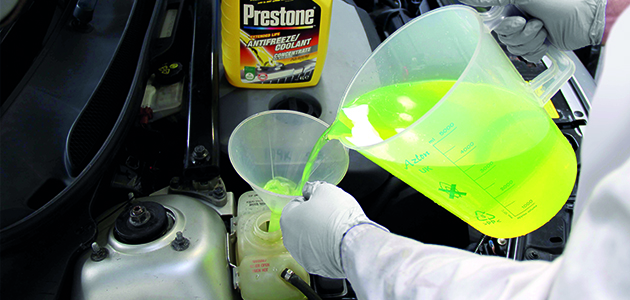
POUR INTO THE EXPANSION TANK
Pour the diluted coolant mixture into the expansion tank. If the measured volume exceeds the ‘max’ level, you may have trapped air in the system, which will need bleeding.
RUN ENGINE
Run the engine, checking for leaks, and allow the temperature to reach the normal level.
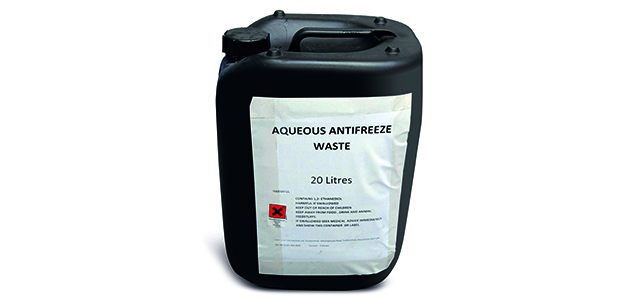
DISPOSAL
Label and dispose of the waste coolant and flushing fluids responsibly.
Prestone Coolant is available in 1L, 4L, 20L, 60L and 205L sizes. It is also available in ready-to-use.


