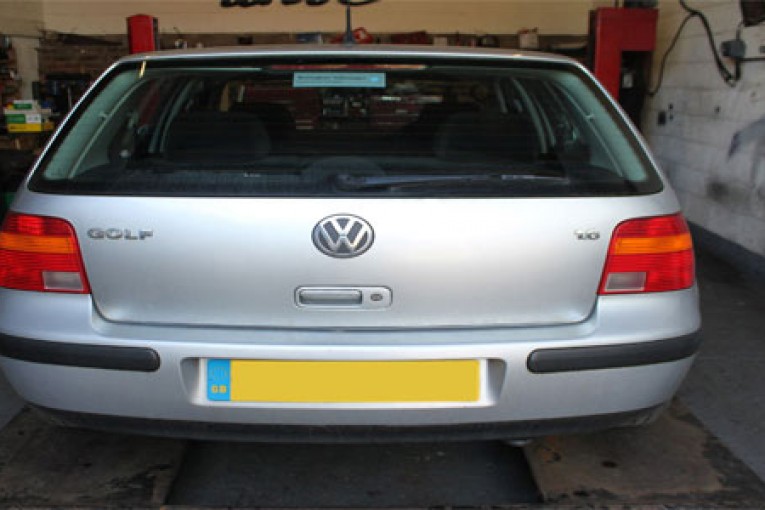
The Volkswagen Golf has always been a very popular vehicle with families and company car drivers. The Mark 4 Golf was introduced in 1997 and continued in production until mid 2005.
With over 500,000 of these vehicles on our roads, replacing the clutch on one of these is a common occurrence in workshops up and down the country.
No special tools are required to complete the repair. The only additional tools needed are a transmission jack, an engine support cradle and a long axle stand. A four-post ramp was used in this example however a two-post ramp could also be used for the repair. For the sake of safety it is considered best practice to disconnect the battery earth lead before commencing work. If the vehicle has alloy wheels it may be fitted with anti-theft wheel bolts, so make sure you have the key before you start.
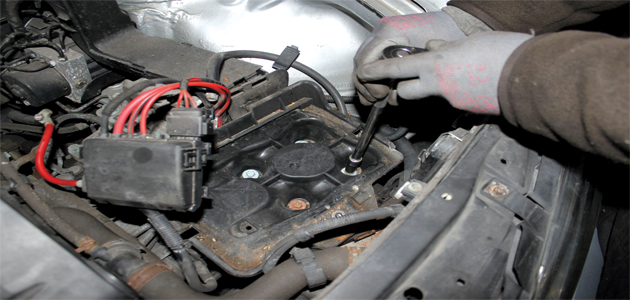
Remove the plastic battery cover and unclip the satellite fuse box situated on top of the battery. Disconnect both battery terminals and remove the plastic surround from around the battery. Unbolt the battery clamp and lift out the battery. Undo the bolts securing the plastic battery undertray (pictured below) and remove it, making sure to disconnect any attached wiring harnesses.
Disconnect the electrical connections to the starter motor and any that are attached to the top of the gearbox. Unbolt the brackets fitted to the face of the starter motor bolts. Unbolt the two starter motor bolts and remove the starter. Unbolt the earth strap attached to the gearbox and remove the slave cylinder and stow it to one side.
Release the linkage
Remove the gear selector linkage by removing the large circlip (pictured below) on top and releasing the remaining linkages with a forked tool.
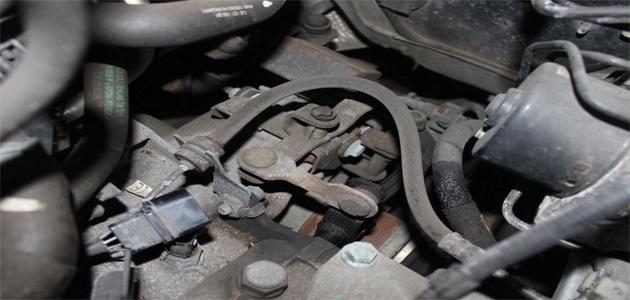
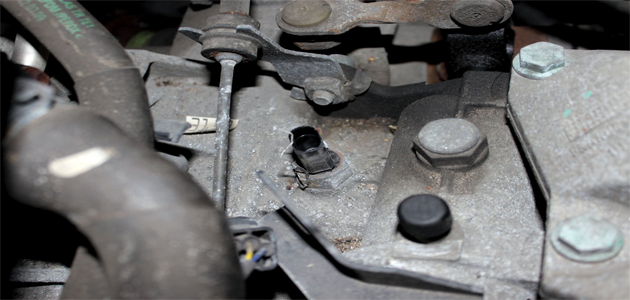
If extra clearance is needed the mounting bracket can be unbolted to aid the removal process. Disconnect the reverse light switch (pictured below) and the speedometer connectors on top of the gearbox.
Unbolt the power steering pipe near to the gearbox mounting and stow it to one side. Support the engine and gearbox with the support cradle and remove the complete gearbox mounting assembly (pictured below).
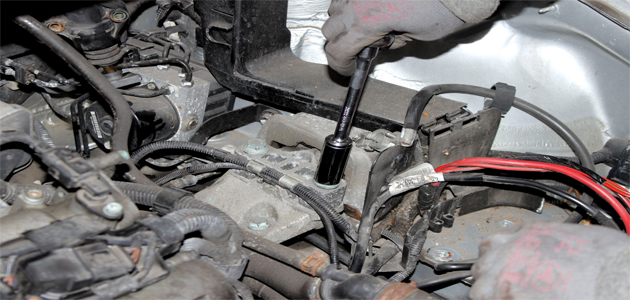
Remove the remaining bell-housing bolts that are accessible from the top and raise the vehicle part way into the air.
Remove the nearside side wheel and raise the vehicle. Remove the engine undertray and undo the bolts on the nearside driveshaft flange and stow it to one side. Undo the offside driveshaft flange and release it from the gearbox. Undo the large gearbox steady support bracket and the remaining lower gearbox bellhousing bolts. Finally, using the transmission jack, carefully lower the gearbox to the floor.
Using a flywheel locking tool undo the clutch cover retaining bolts and remove the cover. Release the locking ring (pictured below) and remove the release plate from the clutch assembly.
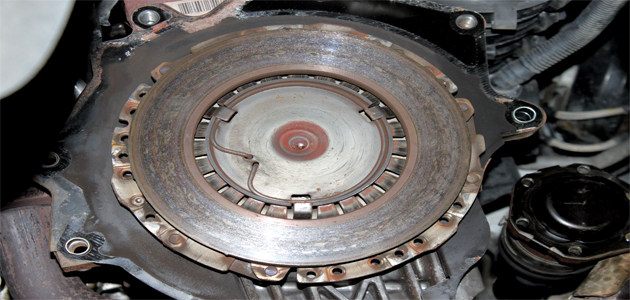
Undo the large bolts securing the pressure plate and remove the plate. To replace the release bearing, tilt the gearbox slightly – to prevent fluid loss – and remove the gearbox end cap. Remove the old bearing from the housing using a large magnet (pictured below) and install the new bearing, ensuring that the end cap is replaced and not reused.
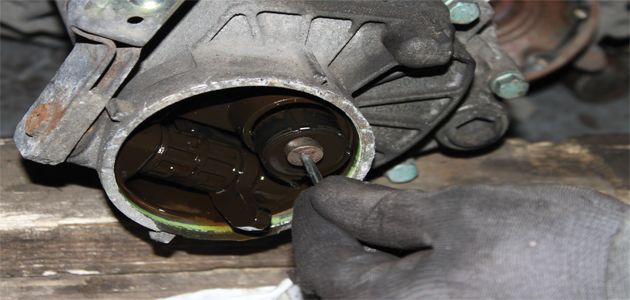
Replace the release bearing
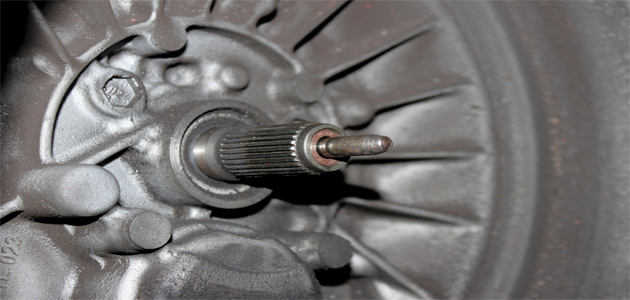
With the transmission removed, clean the first motion shaft splines and any debris from the bell housing. Ensure that the release bearing is always replaced if the clutch has worn out. Check that the pushrod (pictured below) is not excessively worn or bent and that the oil seals surrounding it are not leaking.
Put a small dab of high melting point grease (not a copper based product) on the first motion shaft splines and make sure the new driven plate slides freely back and forth. This not only spreads the grease evenly but also makes sure you have the correct kit. Wipe any excess grease off the shaft and the driven plate hub. Check that the driven plate is the correct way round (note “Getriebe Seite” is German for “Gearbox Side”) so the clutch can be bolted to the engine evenly and sequentially.
Before fitting the gearbox make sure the locating dowels are in place and not damaged. Refit any that have become dislodged and refit the gearbox. Make sure the gearbox bell housing bolts are secured before lowering the jack. Refitting is the reverse of the removal and make sure the manufacturer ’s recommended torque settings are used.


