With over 50,000 Peugeot Experts on the UK roads today, this handy guide from LuK for replacing a pull type clutch on the 2.0hdi engine should help to cut the recommended repair time of seven hours down to just over three.
For this job we used a two-post ramp and two transmission jacks. If the vehicle has alloy wheels fitted, then check the locking tool is available before starting any work. From underneath the bonnet, first disconnect the battery earth terminal and stow safely.
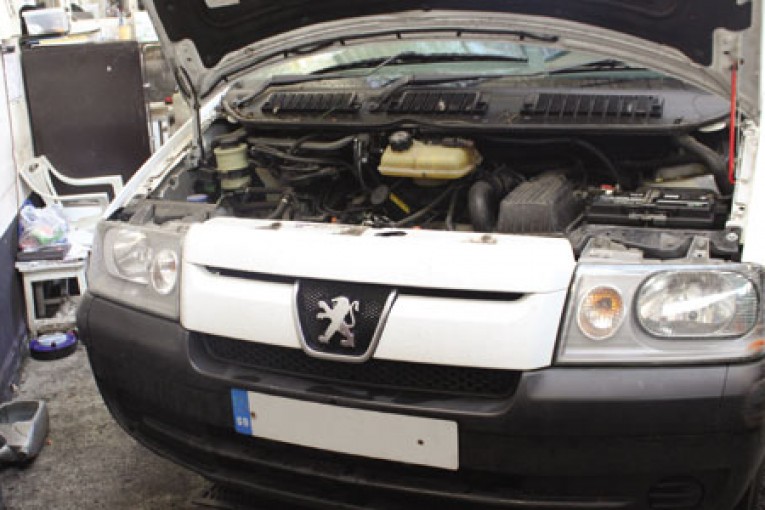
Remove the air filter housing and remove two nuts that hold the front section of the air hose to the bracket fitted on the starter motor. The front section of the hose can then be stowed securely by a bungee rope around the slam panel so as to not get damaged. Remove the cap that covers the release fork and slave cylinder.
Disconnect the gear change selector cables (one on the top and one on the side) of the gearbox by pressing in the push button on each cable and they will pop out of position. Stow to the side.
Twist the cylinder
Remove the support bracket for the slave cylinder and then twist the cylinder one and a quarter turns to the left to release from the bayonet connection on the gearbox. Stow inside the front bumper. You do not need to remove or disconnect the hydraulic pipe. Remove the starter motor secured by three bolts; two also hold the air hose bracket.
Remove the top bell housing bolts and the gearbox mount and bracket. Remove the earth cable and disconnect the speed sensor and reverse light switches.
Raise the vehicle and remove both front wheels. Remove the near side wheel arch liner. Drain the gearbox oil. Disconnect the pipe from the intercooler to the turbo, you do not need to remove this as it can be positioned out of the way; it is a good idea, however, to either block the pipe with a suitable bung or, in our case, it was easy enough to flex the pipe in an upright position so no oil leaked.
Undo both ball joints and separate. Carefully pull the near-side drive shaft from the gearbox. Release the offside drive shaft bearing support and then remove carefully from the gearbox.
You do not need to remove the sub-frame for this repair as the gearbox can be moved towards the near side wheel arch, allowing enough room to change the clutch and DMF. In some cases, the bolt heads securing the sub frame can be sheared, which can then be very difficult to remove. Support the engine and gearbox with the transmission jacks. Remove the remaining bell housing bolts and the gearbox can then be separated from the engine. As this is a pull type gearbox, the release fork will separate itself from the bearing as the gearbox is removed. Carefully move the gearbox towards the nearside wheel arch.
Check the DMF
Remove the worn clutch, taking note that the release bearing is attached to the pressure cover. With the clutch removed, check the dual mass flywheel (DMF) for signs of heat stress and evidence of grease loss. The DMF should also be tested for free play and rock between the primary and secondary masses; LuK tool number 400 0080 10 is specifically designed for this purpose on all LuK manufactured DMFs. Full instructions and tolerance data for all LuK DMFs are contained on a CD, which comes with this special tool. Check the release mechanism for damage. Clean the first motion shaft splines and any debris from the bell housing, which is especially important when a release bearing has failed. Put a small dab of high-melting point grease – not a copper-based product – on the first motion shaft splines and make sure the new driven plate slides freely back and forth.
This not only spreads the grease evenly, but also makes sure you have the correct kit. Wipe any excess grease off the shaft and driven plate hub. Using a universal alignment tool and checking the driven plate is the correct way round (note: “Getriebe Seite” is German for “Gearbox Side”) the clutch can be bolted to the flywheel evenly and sequentially.
Refitting the gearbox is the reverse of removal, however, the release bearing must be attached to the release fork – do not locate the bearing into the clutch cover. Once the gearbox is back in place, the release bearing can be snapped into the cover using an appropriate tool through the clutch cylinder aperture.


