Delphi Technologies has supplied this step-by-step guide courtesy of their recently launched Masters of Motion hub for independent garage technicians.
Delphi’s new training resource has articles, tips, training, resources, advice and more. There are sections called ‘Advance your workshop’ and ‘Need to know’ to support on new technology and other challenges.
Delphi says through Masters of Motion, it is committed to helping garages meet the demands future vehicles will present. The aim is to develop a stronger connection with the independent garage and workshop technicians that form ‘the backbone of the aftermarket’.
Getting down to it
This guide comes from a selection of around 30 ‘How To’ videos covering a range of workshop jobs including ADAS calibration, diesel injection, engine management and more.
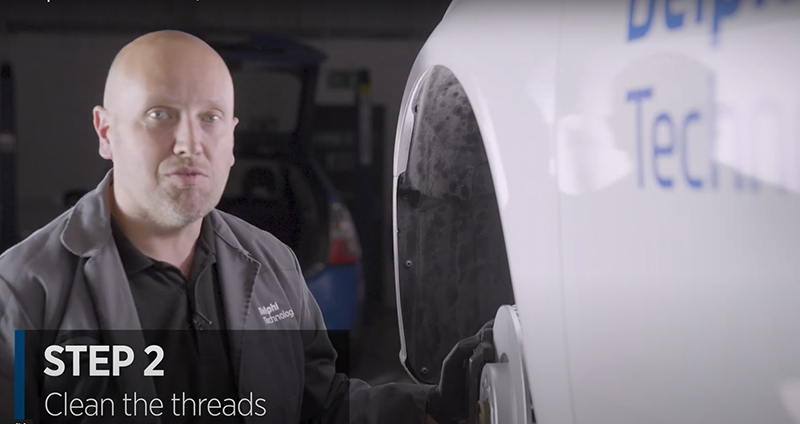
This video sees Matt from Delphi working to change a stabiliser link, also known as an anti-roll bar drop link, on an Audi A3 e tron at Delphi’s in-house training workshop in Warwick.
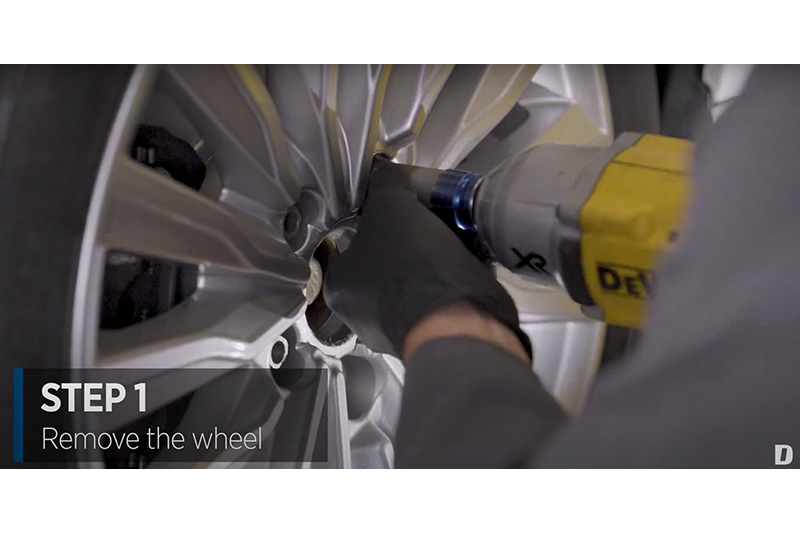
Step 1 Remove the wheel
Step 2 Clean the threads
Cleaning away loose debris and any corrosion with a wire brush makes it easier to undo the locking nuts. Rolling the strut around is recommended to give better access.
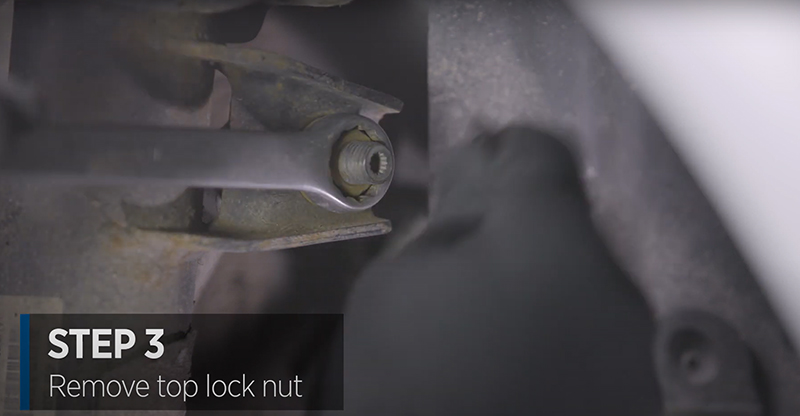
Step 3 Remove the top lock nut
Step 4 Raise the vehicle
This improves access to the bottom lock nut.

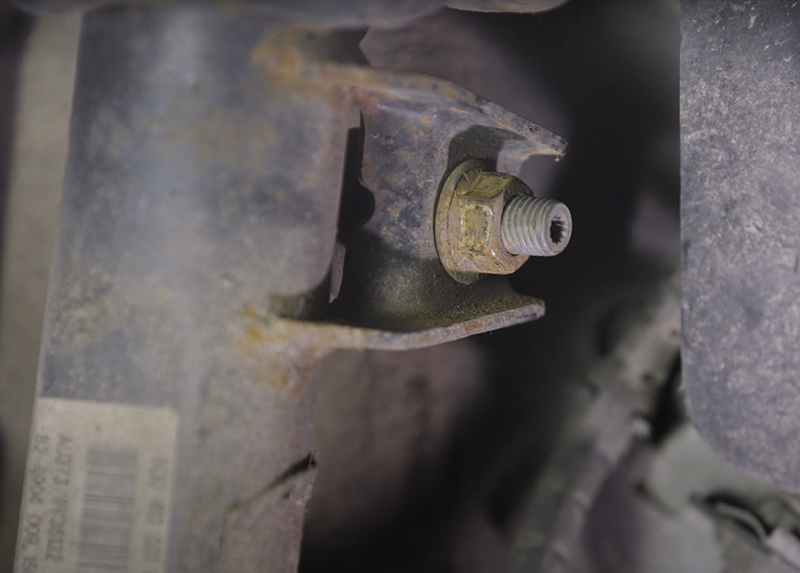
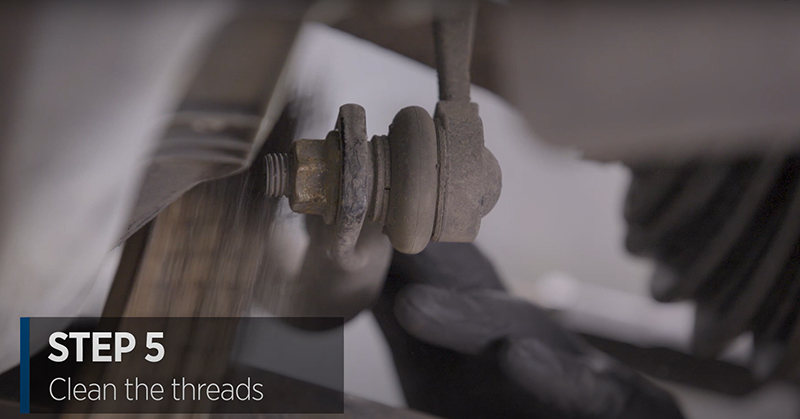
Step 5 Clean the threads
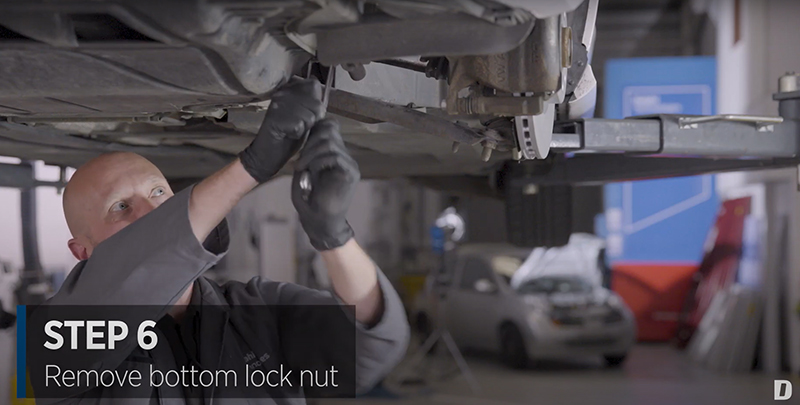
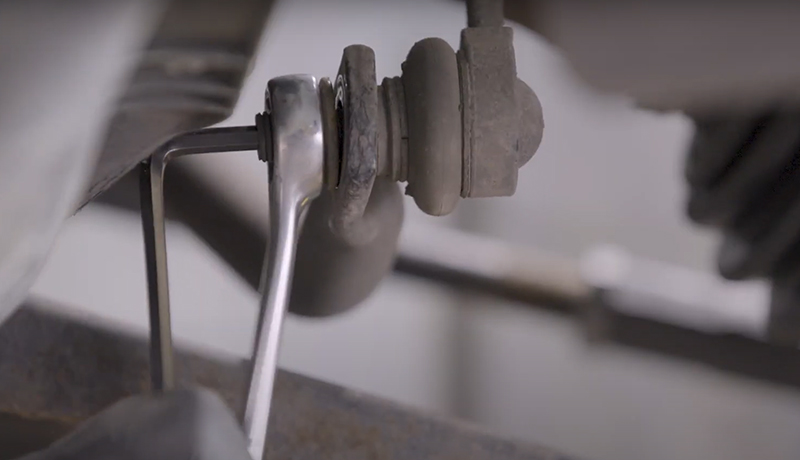
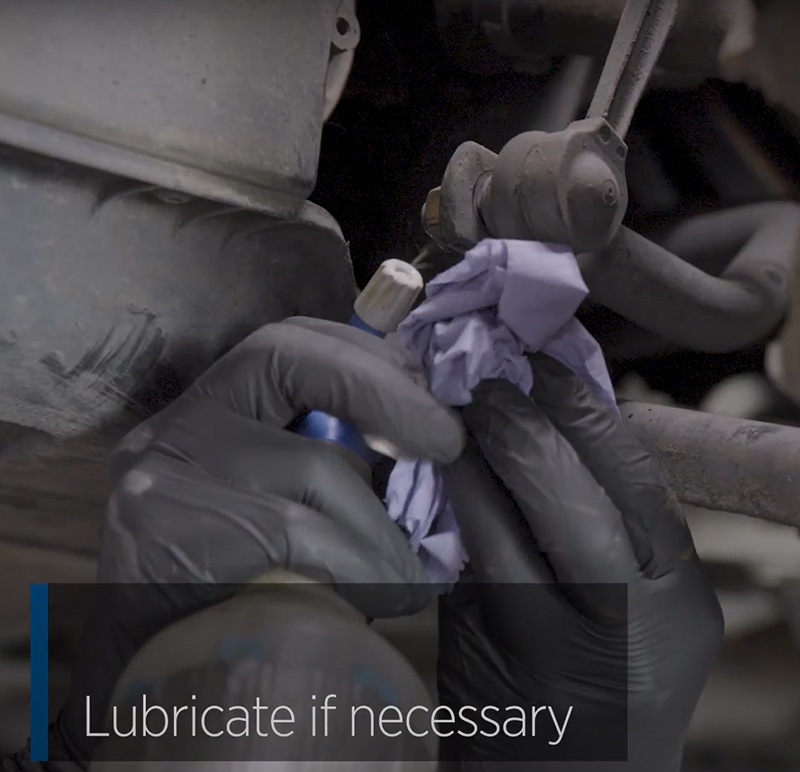
Step 6 Remove the bottom lock nut
This involves ‘working it backwards and forwards’ to release the nut from binding on the thread. In this case the nut still would not release, so some lubricating oil was added to free it.
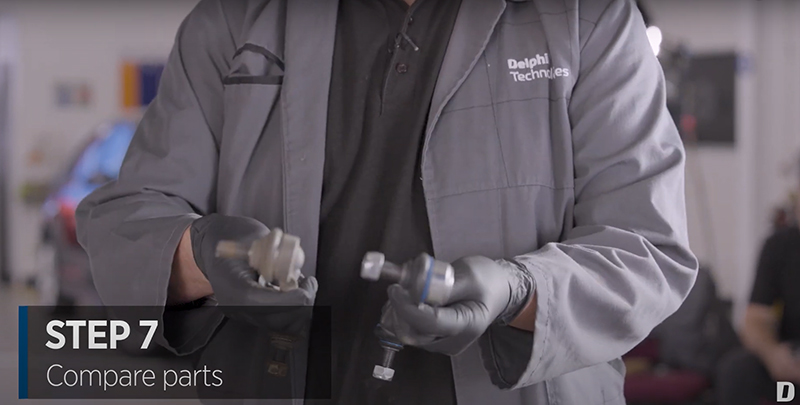
Step 7 Compare the parts
Having removed the part, take time to make a visual comparison before fitting the new part.
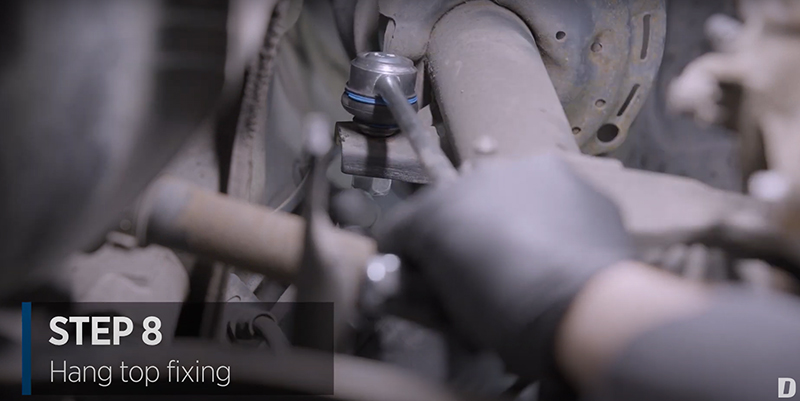
Step 8 Hang the top fixing
The new component is hung loosely from the top fixing to take the weight before the bottom section is fully secured.
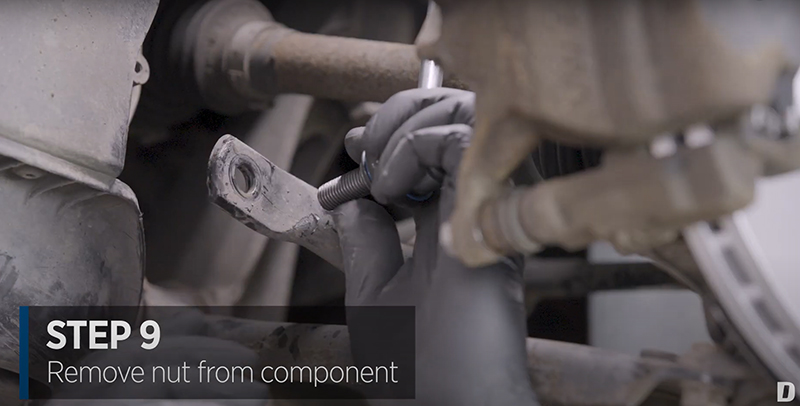
Step 9 Remove the nut from the component
The nut is removed from the lower fixing point of the component. In this case, the size of the nut is different to the one on the part that was removed but the part is fully compatible.
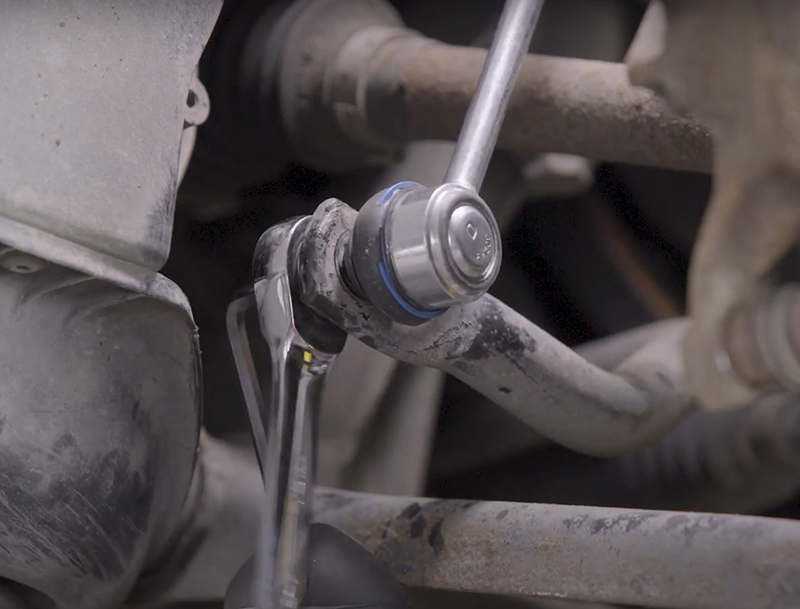
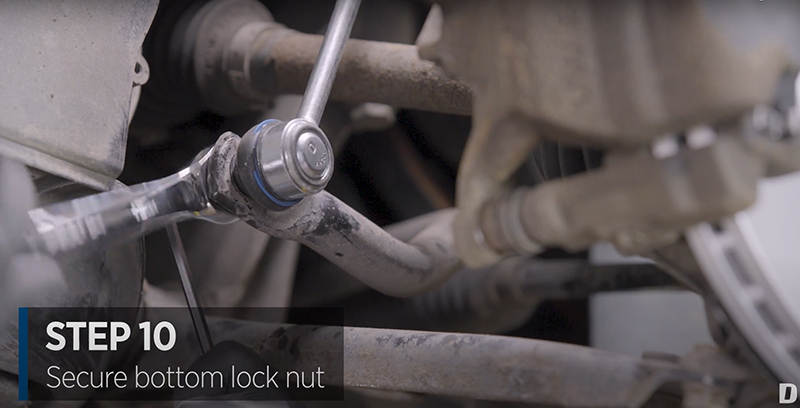
Step 10 Secure the bottom lock nut
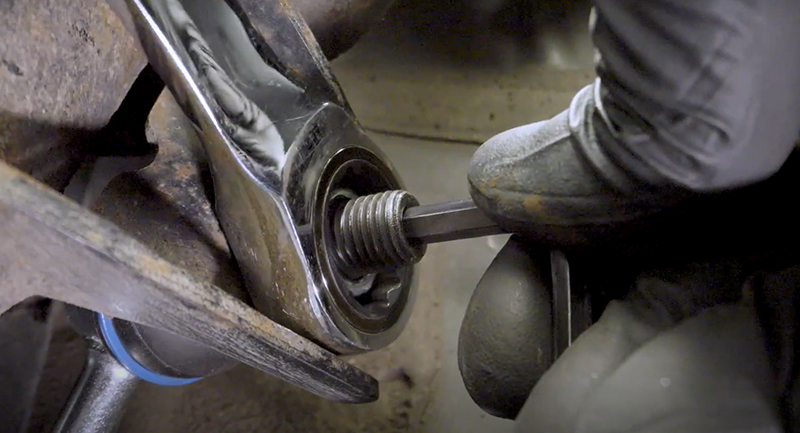
After a change of spanner, the centre of the fixing is held by an allen key whilst the lock nut is tightened up until there’s some tension.
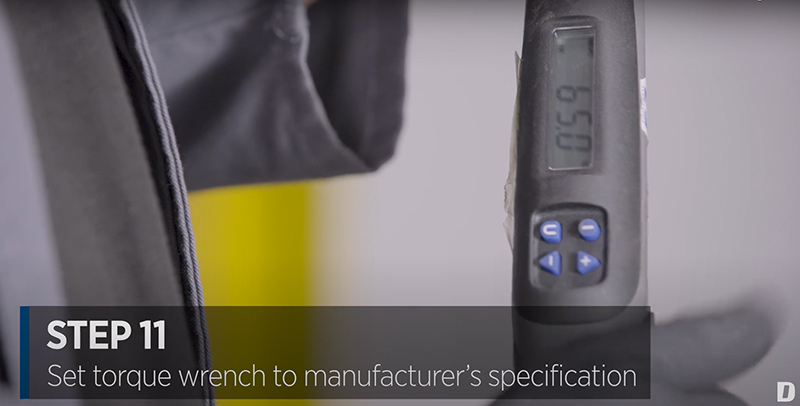
Step 11 Set torque wrench to manufacturer’s specification
In this case, the wrench is set to 65Nm.
Step 12 Tighten bottom lock nut fully with torque wrench

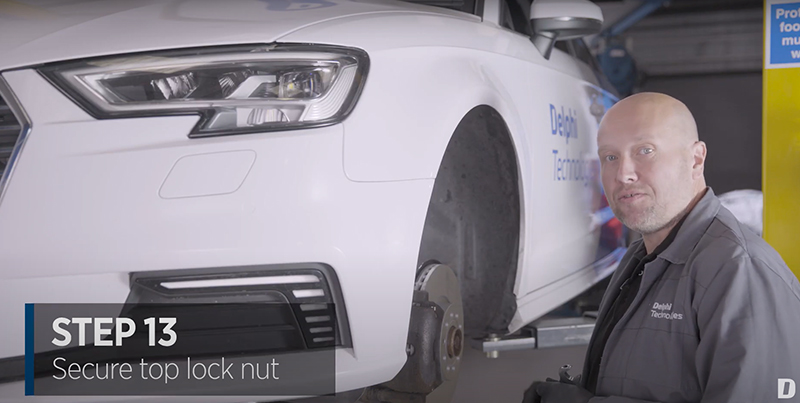
Step 13 Secure top lock nut
With the bottom fixing secured, the car is lowered again so the top locking nut can be tightened in the same way with the rachet spanner and allen key.
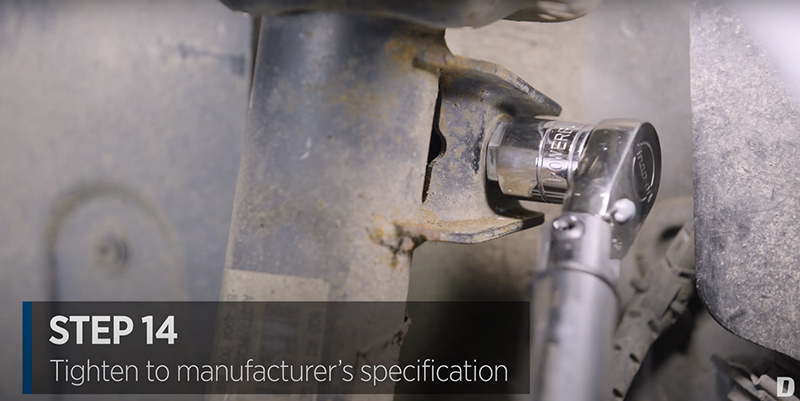
Step 14 Tighten to manufacturer’s specification
Complete the tightening process with the torque wrench once again.