
Darren Darling returns this month to demonstrate why carrying out a thorough assessment is imperative in making sure that you treat the cause, rather than the symptoms, of a DPF-related issue.
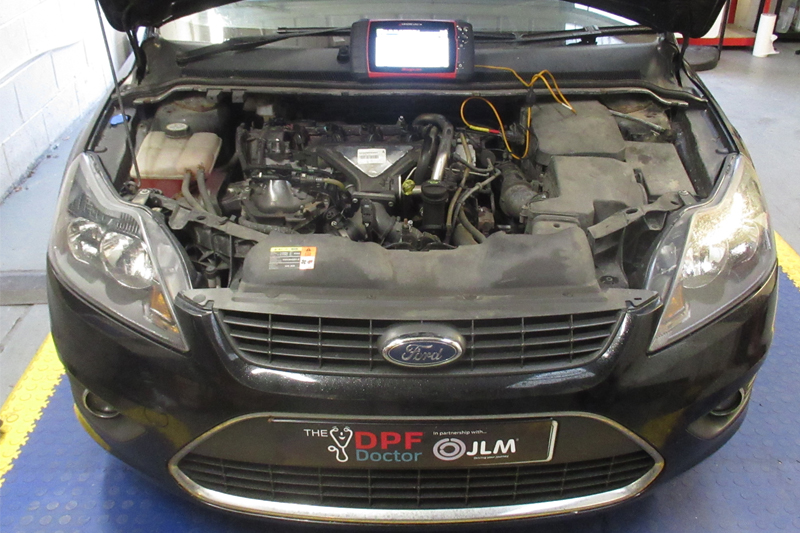
Vehicle: 2010 Ford Focus 2L TDCI
This vehicle was presented to us after we were recommended by another garage. The customer had been advised that the car ‘just needs a regen’, but the first garage had been unable to perform one. This isn’t unusual, and indeed we’re often asked ‘how much for a regen?’ or ‘how much for a DPF clean?’ before we even get a chance to examine the car.
As with any DPF problem, the first thing is to carry out a thorough assessment to gain a clear understanding of why the DPF is having issues. If we didn’t do this first, we would be treating the symptom rather than the cause, and it wouldn’t be a reliable fix. Our typical assessment includes reading the fault codes, analysing live serial data, pressure testing, sensor plausibility testing and various other tests to make sure we’re not dealing with multi-layered faults.
In this instance, we first scanned the car for fault codes. We found that ‘P2002 DPF efficiency below threshold’ was the only fault present. We then moved on to analysing serial data. We could see there was no pressure reading. Could it be a simple faulty pressure sensor? We decided not to jump to conclusions, so we did some testing and continued our assessment.
Next, we found a perished pressure pipe. This could be the cause of our problem. We noted this and continued with the assessment, the next step of which was to check the plausibility of the pressure sensor using an oscilloscope, wiring diagram, and a mityvac. This showed that the pressure sensor was actually dead and we saw no change in voltage. We now had two issues that needed resolving. We noted this and continued with our assessment as we’d still not finished.
After other checks, we moved on to the DPF itself to see if there was an issue with it. The DPF back pressure was excessive, with 124mb at idle. We needed to clean it after taking care of the sensor issue and the perished pipe. The high pressure in the DPF was unfortunate – had we seen this car sooner, it’s likely the DPF wouldn’t have needed cleaning.
With the assessment complete, we contacted the customer and discussed our findings. We presented the results of our assessment, along with the evidence gathered, to prove our diagnosis and confidently quoted the customer for a first time fix. The customer duly authorised us to proceed with the repair.
In general, we keep parts in stock for repairs, which minimises time off the road. In this case, we replaced the perished pipe and the pressure sensor, and then repeated our previous sensor plausibility test to confirm that it was now functioning as it should and that it was in specification. This was also verified by serial data and we were now seeing what we would expect.
Let’s move on to the easy part – cleaning the DPF. Our weapon of choice for tackling a clogged DPF is the JLM DPF Clean & Flush. This gives consistent, great results. We pumped in the stage one DPF cleaning fluid via the differential pressure pipe and left it to soak. We then ran the engine for a few minutes, before pumping in the DPF flush. Checking the DPF pressure again, we had a nice, healthy 4mb at idle. The car was taken on an extended road test while we monitored live serial data to confirm the fix.
Job done!


