
The most important fact to be aware of in brake bleeding is that brakefluid is hygroscopic. That means it absorbs moisture from the air (via the breather hole and the rubber hoses). It is therefore absolutely vital that brake fluid is stored in air-tight containers and ideally a new bottle is used for each brake job.
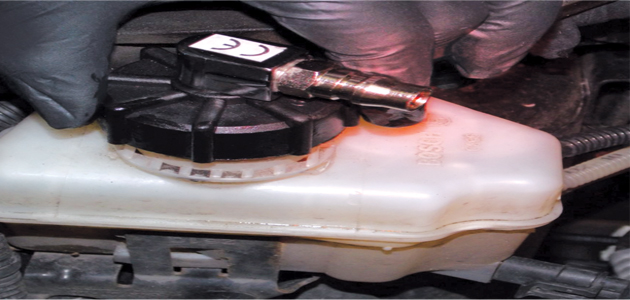
To establish if the customer’s fluid requires a change, or to convince the customer that it needs replacing, always use a boiling point tester. The test should be repeated after the fluid change to show the customer that the work has been successfully completed. Age and mileage are not necessarily an indication of contamination while checking the colour isn’t a valid way to check brake fluid. ‘Topping up’ also won’t improve brake fluid performance.
Brake fluid is complex and new fluid added at the master cylinder doesn’t magically make its way to the wheels (where the braking effect is felt). The measurement at the master cylinder is on average 10% higher than at the wheel, so this should always be factored into any decision to recommend a fluid change. Remember, the heat generated by braking friction at 56mph is enough to boil a kettle in 5 seconds!
10 easy steps
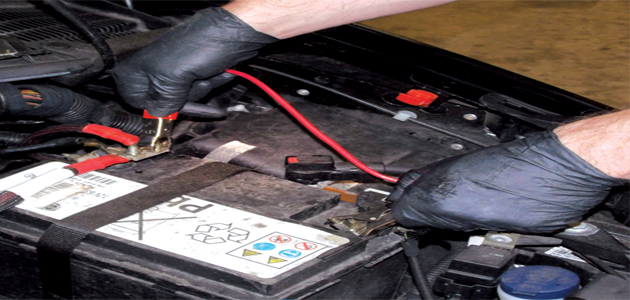
1. After ascertaining that the brake fluid needs changing and purchasing a new bottle of fluid, attach the crocodile clips to the vehicle battery.
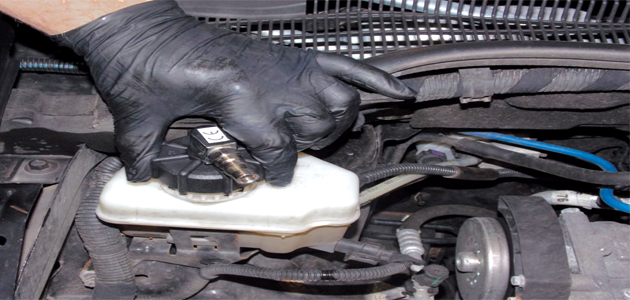
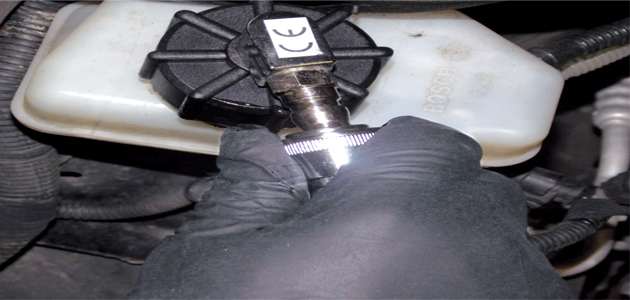
2. Remove the cap from the vehicle master cylinder and fasten the cap adapter to the master cylinder.
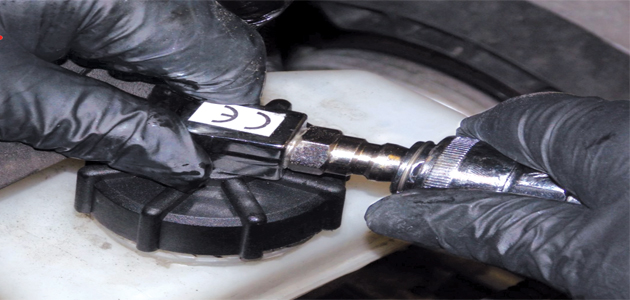
3. Attach the cap to the bleeder hose via the quick release coupling. This coupling ensures that once the hose is disconnected from the cap, the flow of brake fluid will stop.
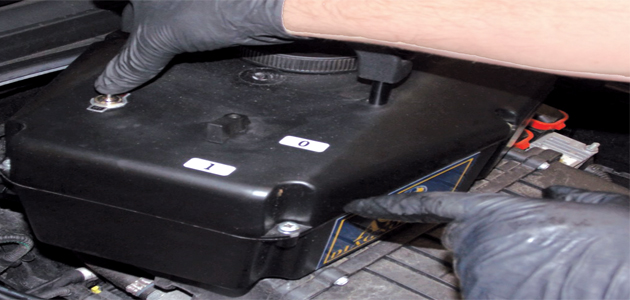
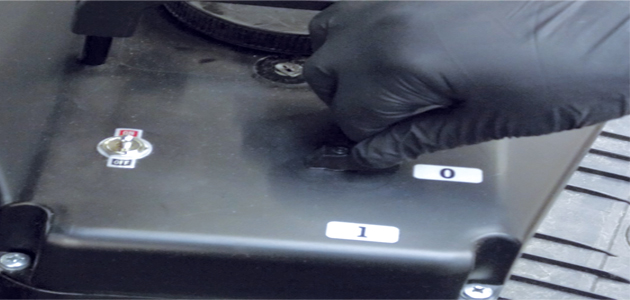
4. Switch unit on to pressurise the system. Once the system is pressurised, the pump will stop.
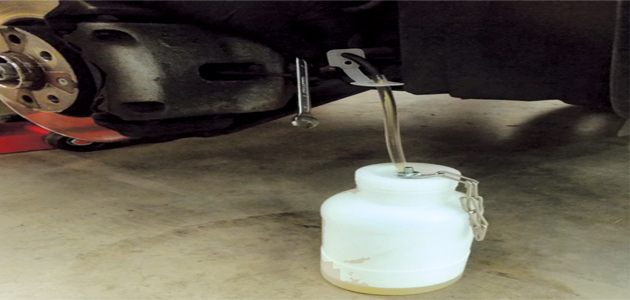
5. Open the first bleed nipple and allow the old fluid to drain into the collection bottle supplied. As the bleed nipple is opened, the bleeder pump will re-start to pulse the new fluid through the system.
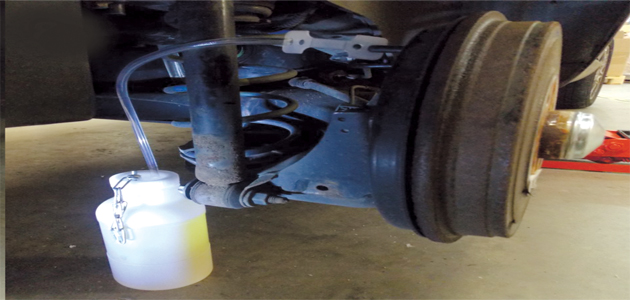
6. Close the bleed nipple and repeat the process at the remaining three wheels.
7. Once complete, release the pressure on the brake bleeder unit before removing the cap adapter. This will ensure the level of fluid in the master cylinder is returned to the level at which the bleed-job was started.
8. Disconnect the cap from the hose via the quick release coupling. Check to see if the fluid level requires topping up (it may have been low to start with).
9. Remove cap adapter and replace vehicle cap onto master cylinder reservoir.
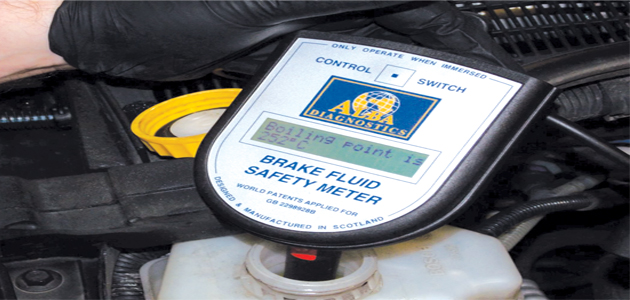
10. Check the boiling point of the brake fluid with a boiling point tester to verify fluid change is complete and back to standard.


