
Niterra UK, the company behind NGK, provides the three non-negotiable steps you need to follow to achieve precision glow plug fitment.
You are midway through a routine service when it happens: a glow plug refuses to budge. A little more pressure and it snaps, leaving part of it trapped in the cylinder head. What should have been a straightforward job has now become hours of extraction work, head removal and an unhappy customer.
It’s an unfortunate scenario and one that’s entirely avoidable. Glow plug replacement isn’t a simple swap but a precision maintenance task. Following three essential steps ensures correct fitment, protects the cylinder head threads and delivers reliable cold-start performance for years to come.
STEP 1: Preparation and extraction
Every good job starts with preparation. Just as a chef begins with a clean kitchen, servicing should begin with a clean working area.
Before attempting removal, apply penetrating fluid and allow it to soak. This helps loosen carbon deposits around the glow plug threads and reduces the risk of seizing. Work slowly with even pressure; if resistance is felt, stop and reapply fluid. Forcing removal is what causes plugs to shear.
Once removed, check the old plug is intact. Missing tips or distorted threads suggest underlying issues such as injector problems or excessive combustion chamber carbon. Clean the glow plug bore thoroughly to remove soot and oil residue. Excessive deposits can affect heat transfer and may point to other faults needing attention.
A clean, carbon-free bore allows accurate seating of the new plug, ensuring correct temperature transfer and consistent ignition performance.
STEP 2: Correct voltage and current
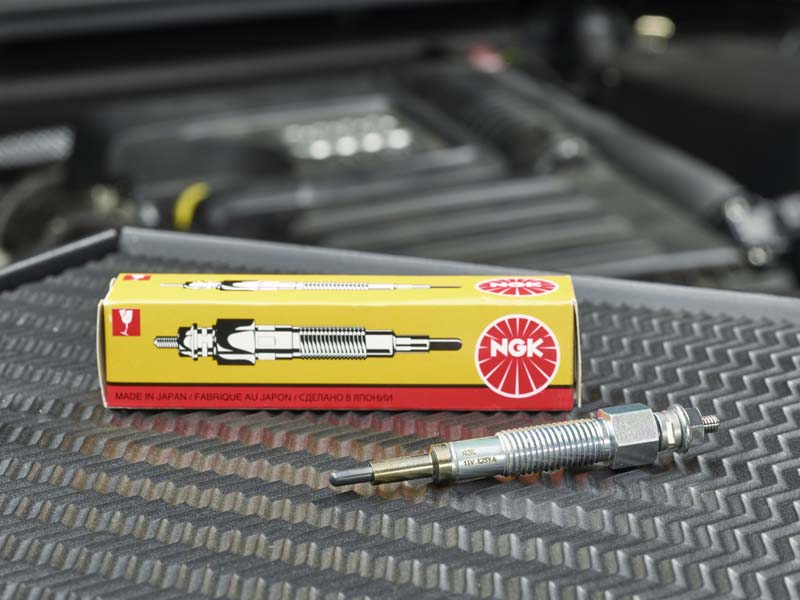
Even a perfectly installed plug will fail early if supplied with the wrong voltage or current. Glow plugs are designed for specific electrical parameters, commonly 5V, 7V or 11V, as set by the vehicle manufacturer.
Too low a voltage or a weak battery prevents the plug from reaching its operating temperature, leading to hard starts and increased emissions. Too high a voltage can melt the heating coil or shorten the plug’s life.
Check system voltage, battery health, and the glow control unit before replacement. Many modern systems use pulse-width modulation, so the ECU precisely manages heat-up time. Using the wrong plug type can upset this balance. Always cross-check part numbers and specifications ensuring the correct match for the application.
STEP 3: Correct tightening torque
The final, and often overlooked, step is applying the right tightening torque. Glow plugs are precision components; incorrect torque can cause expensive damage.
Over-tightening can strip or deform the cylinder head threads, dropping metal into the combustion chamber and affecting sealing. Under-tightening can cause compression leaks and poor cold starts.
Always use a torque wrench and follow manufacturer recommendations, typically between 10 and 20Nm depending on the plug and engine type. Correct torque ensures the plug seats properly, allowing efficient heat transfer and long service life.
Why quality is important
Glow plugs play a vital role in diesel performance and emissions control. When installed correctly, they deliver smooth cold starts, efficient combustion and reduced exhaust smoke.
NGK’s OE-quality glow plugs are engineered to meet the same standards required by vehicle manufacturers worldwide. Each plug delivers rapid heat-up, stable postglow function and exceptional reliability.
The range includes advanced ceramic types capable of exceeding 1,000°C in less than two seconds – ideal for modern engines that demand fast starts and low emissions. Whether it’s a family diesel or a high-performance LCV, NGK offers the right solution backed by decades of ignition expertise.
Combine these premium components with the three non-negotiable steps and every replacement becomes a confident, time-saving fit – not a risky repair.


![Bosch’s ESI[tronic] diagnostic software](https://pmmonline.co.uk/wp-content/uploads/2026/03/Febi-diagnostics-tool-165x109.jpg)