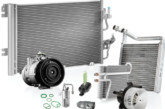
Suspension specialist KYB offers its advice on diagnosing and replacing suspension mounting kits.
Just like a shock absorber, a suspension mounting kit is pushed and pulled 1,500 times per mile – over the course of 50,000 miles that means this small but important component has moved up to 75 million times, deteriorating the rubber components in the mounting kit.
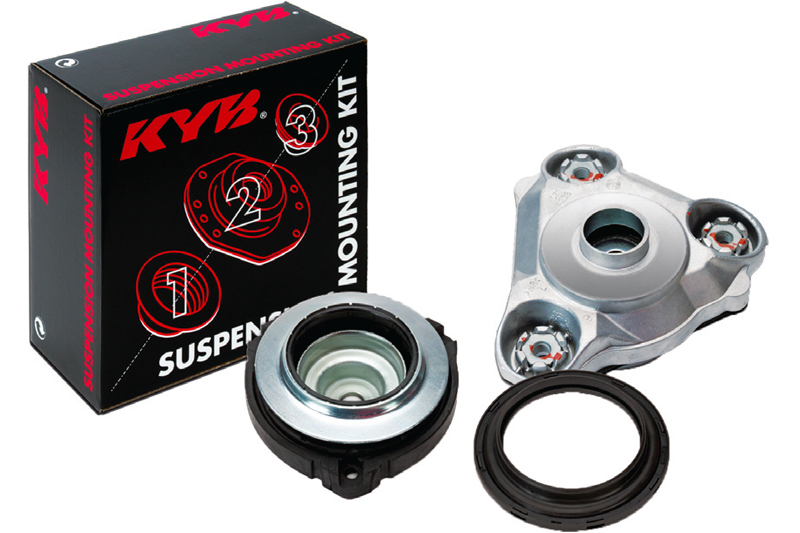
Worn mountings have an adverse effect on ride control and safety. Mount wear depends on the type of travel, however a good guideline is that if the struts are worn out, the mounts will probably be worn out too. Therefore, suspension mounting kits should be replaced every time the struts are replaced.
Mounting kits provide a rubber cushion between the chassis and suspension, helping to reduce stress on the suspension by absorbing vibration. There is also a bearing in front mounting kits which allows the steering wheel to turn the suspension column and the wheels. It returns the steering wheel smoothly back to its natural straight position if released. Suspension mounting kits can affect the angle of how the shock absorber sits – if the rubber is worn, it can cause extra stress upon it and its surrounding components.
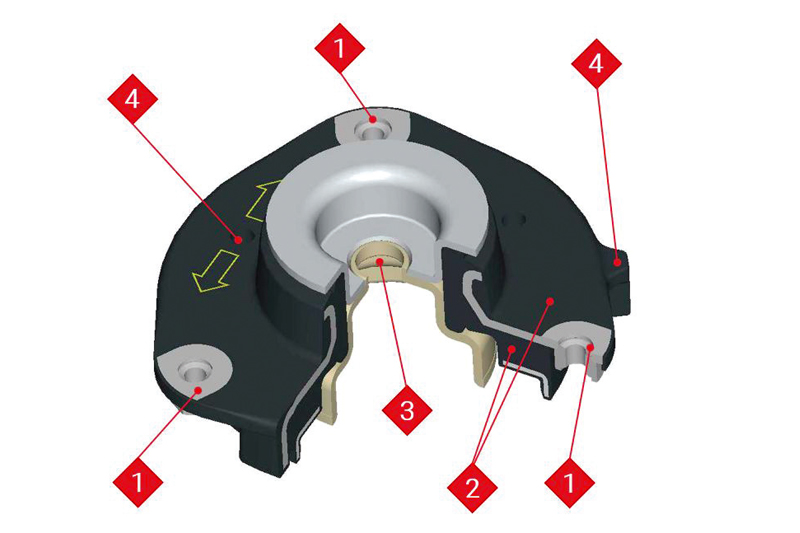
- Fixing points for the upper suspension mounting kit and the shock absorber to the vehicle.
- Rubber element used to absorb vibrations transmitted from the chasis to the vehicle.
- The bearing is often placed in a rubber cushion reducing friction and ensuring optimal movement of the shock absorber column while turning wheels.
- Construction markings indicate the correct mounting position of the upper mounting.
How to diagnose worn mounting kits
Test driving vehicles is a key part of diagnosing suspension issues and helps to explain the issues to the motorist. Find a short circuit that includes the following:
Bumpy road surface/speed bumps (feel for ride harshness)
Listen for noises, feel for steering wheel vibration and any irregularities with the steering
Turn the steering wheel and release your hands – does it return to its natural straight position?
Pick a route by your workshop that is quiet, and one you can use repeatedly
Aim for a 3-minute, 1 mile long route that includes a speed bump, a place where you can brake and accelerate quickly, and swerve safely. Your speed will not need to be over 30mph
When you return to the workshop, eliminate any other factors such as any excessive movement in the other suspension components such as the ball joints and bushes.
Broken/cracked metal – rubber joint
This could have been caused by aggressive driving or road conditions such as potholes and uneven surfaces. It can result in excessive vibrations transferred to the vehicle’s steering system and driver, decreasing comfort, increasing fatigue; changed damping parameters of the suspension; accelerated wear of the suspension and co-operating components.
Seized bearing
This could have been caused by incorrect installation if the full weight of the vehicle wasn’t applied when tightening the nuts to the required torque. It can result in excessive vibrations transferred to the vehicle’s steering system and driver, increased force will be required to move the steering wheel, the steering wheel will not return to a straight position once the steering wheel is released, and there will be noise coming from the suspension.
Deformation of top support bearing
This could have been caused by excessive axle load, or aggressive driving or road conditions such as potholes and uneven surfaces. It can result in excessive vibrations transferred to the steering system, changed damping parameters of the suspension, and noise.