Delphi’s Phil Mitchell illustrates a routine process from its Masters of Motion archive.
A blocked fuel filter affects the engine’s ability to draw fuel. The vehicle is likely to feel sluggish and, in worst case scenarios, the engine may fail to start. Fuel filters must be replaced in accordance with the vehicle manufacturer’s service schedule, usually at around every 30,000 miles or two years.
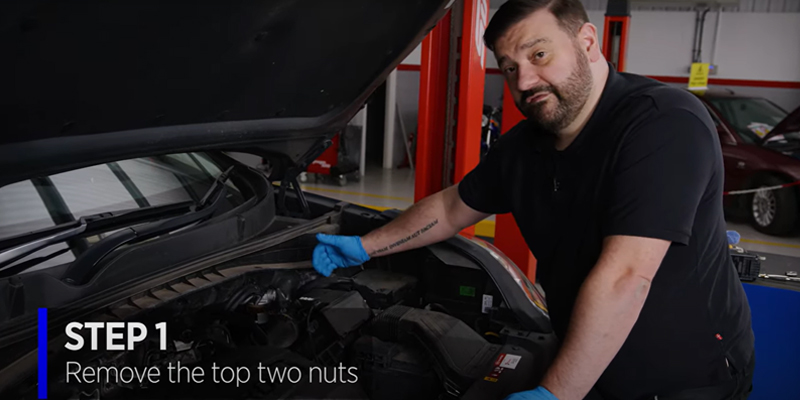
Step 1: Remove the top two nuts
Use a 12mm socket to remove the two nuts holding the fuel filter housing bracket. Move the bracket back, giving access to the wiring harness plugs.
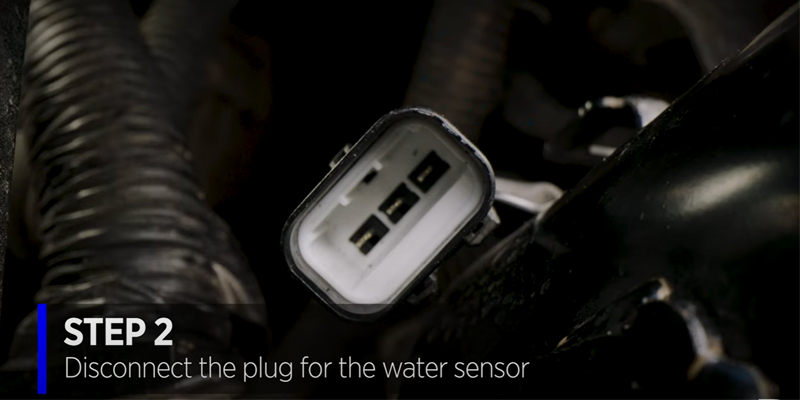
Step 2: Disconnect the fuel filter heater and water sensor plugs
Disconnect the fuel filter heater plug at the top. This will give you access to unplug the water sensor underneath.
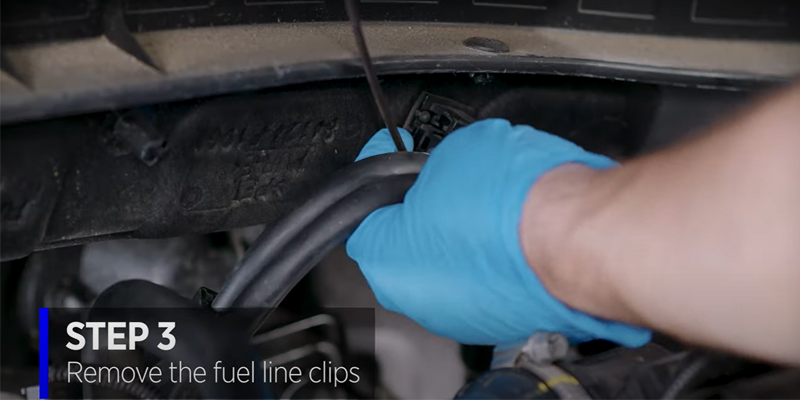
Step 3: Remove the fuel line clips
Disconnect the fuel lines from their clips to free the fuel filter housing.
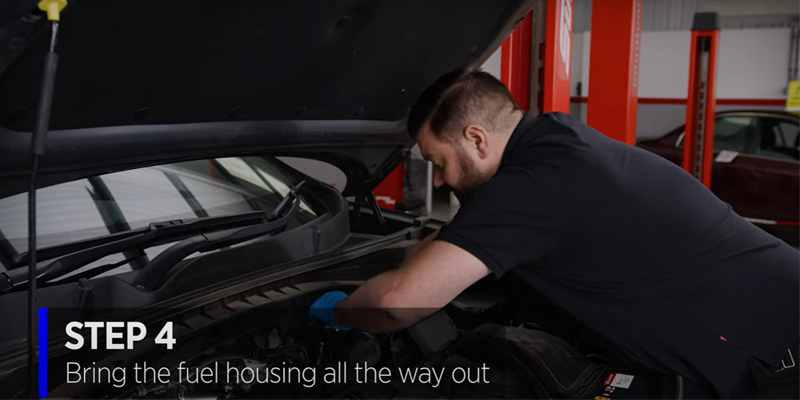
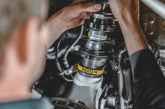
Step 4: Lift out the fuel filter housing
Take off the fuel filter bracket and lift out the fuel filter housing. Note the orientation of the filter in the housing bracket for correct reinstallation.
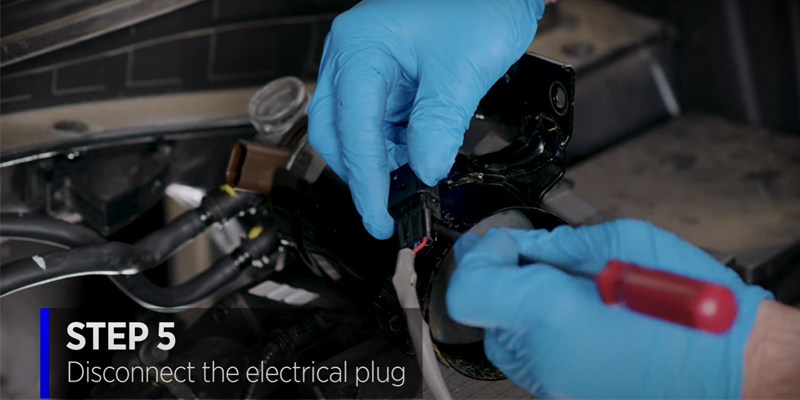
Step 5: Disconnect the electrical pump from the filter
Release the clamps and slide the housing back. Disconnect the electrical plug and remove the filter housing.
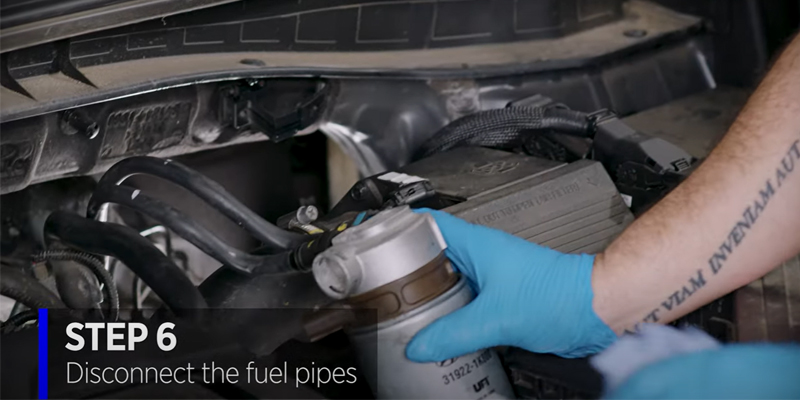
Step 6: Disconnect the fuel pipes
Remove the outlet fuel pipe first, then the inlet fuel pipe being careful to catch any fuel that might spill. Remove the filter.
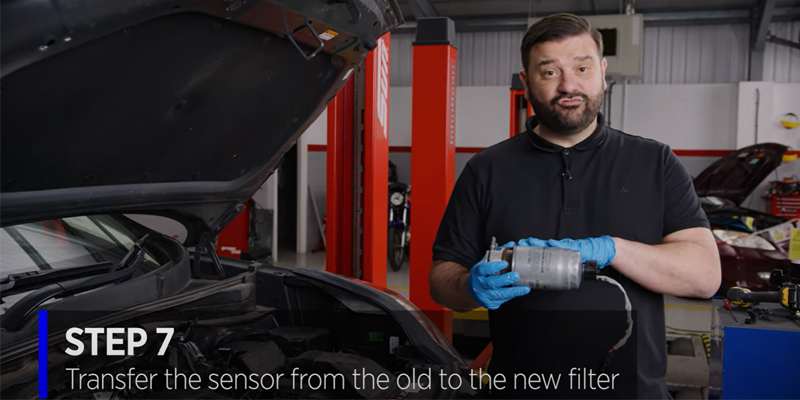
Step 7: Transfer the filter sensor
Drain the old filter before unscrewing the sensor, ready for installation on the new filter.
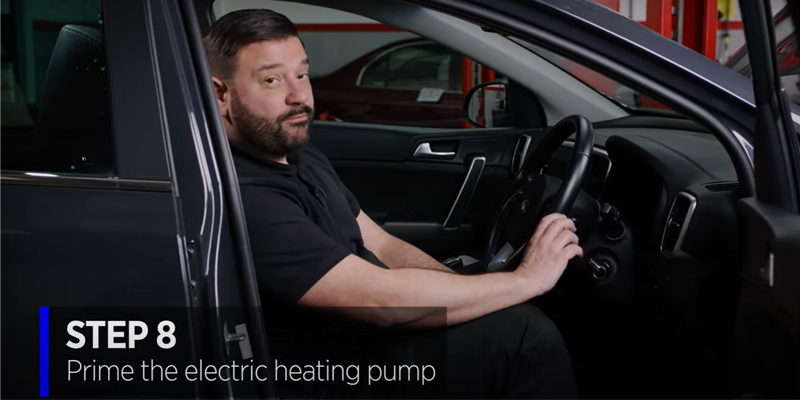
Step 8: Prime the electric heating pump
The electric pump must be primed by cycling the ignition. Turn the ignition on and listen for the priming. Repeat three times before starting the engine.

