Wheel alignment specialist Pro-Align outlines how workshops can quickly perform a wheel alignment check with the Hunter Elite TD, step by step.
Wheel alignment is an essential element of making repairs to steering and suspension systems and can also prove to be a highly profitable source of income for workshops. While specific operating procedures for individual aligners vary between manufacturers, the Hunter Elite TD sets itself apart from more inferior options.
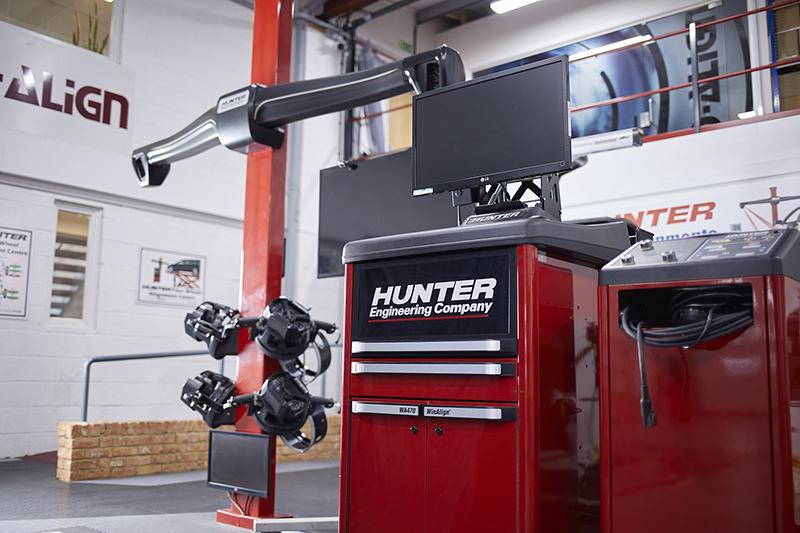
The Elite TD is the fastest wheel alignment system on the market, capable of conducting a full 14-point alignment check in just 90 seconds. With such speed, many workshops are using their Elite TD aligner to embrace speculative alignment, helping to bring further income to their business.
Now, let’s take a look, step-by-step at just how fast the alignment process is with the Hunter Elite TD.
Step 1:
Position the vehicle
Drive the car or van onto your alignment ramp, stopping just short of the turn plates. Leave the handbrake on but turn the ignition off and lower the driver’s window in preparation for completing the caster wing.
Step 2:
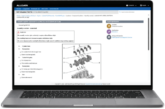
Select your vehicle
Using the alignment console, create a work order and recall the correct vehicle specification from Hunter’s comprehensive list of original vehicle manufacturer data available.
Step 3:
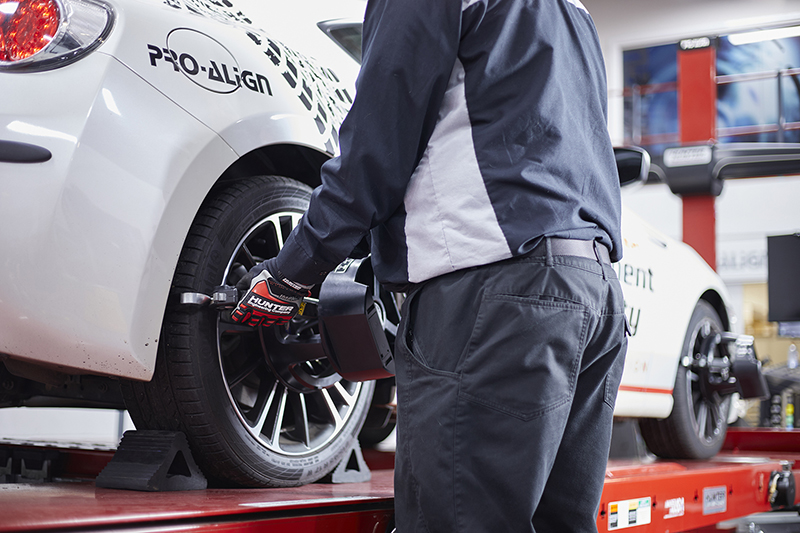
Mount targets
Raise the ramp to the appropriate working height and attached the high-definition 3D targets using the Hunter QuickGrip adapters which have been designed to eliminate metal-on-metal contact and reduce damage to the customer’s wheels.

Step 4:
Perform rolling compensation
To perform a rolling compensation check, simply roll the vehicle forward directly onto the turnplates until the console screen turns green, indicating the Elite TD’s QuickComp feature has captured the motion. Stop and wait for the readings to load. This completes the compensation check including toe and camber angles. You can now access the alignment figures on the console.

Step 5:
Steer caster
Remove any locking pins from the front turn plates and release the rear slip plates. Move into the vehicle to follow the console screen instructions to perform the caster swing, turning the steering wheel left to right as indicated, before returning it to the straight-ahead position.
Step 6:
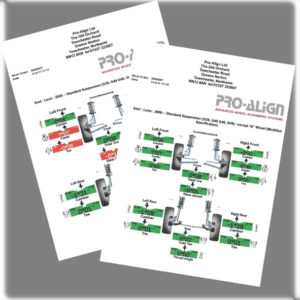
Print the results
Save and print the initial alignment measurements and discuss the measurement findings and potential adjustment work recommendations with the customer.
Step 7:
Sell the service
And there you have it. In just 90 seconds you have a clear printout (or digital) alignment result. Where correction is indicated by the measurements in red, your team can now make the necessary corrections ensuring tyre wear is reduced and fuel economy is increased. Alternatively, if you’re providing an alignment service you can charge the customer for the correction ensuring that they see the same cost-saving benefits.