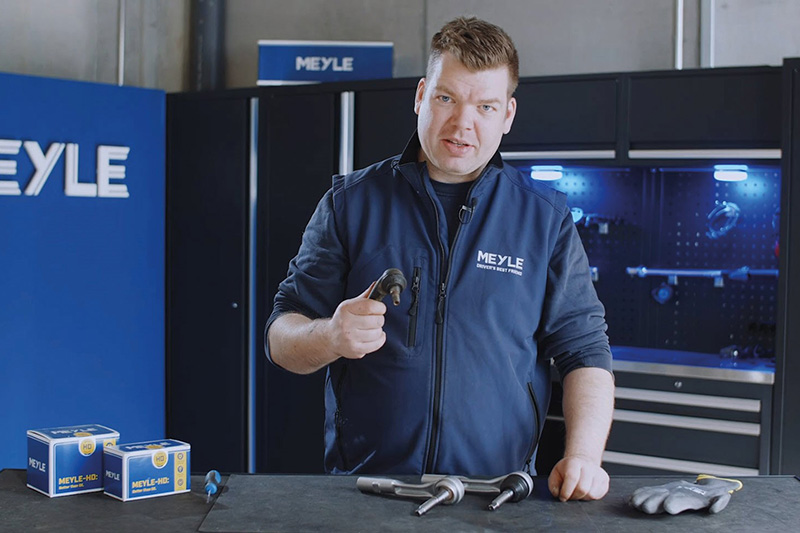
Meyle guides readers through the four easy steps to a proper installation of its Meyle-HD tie rod ends.
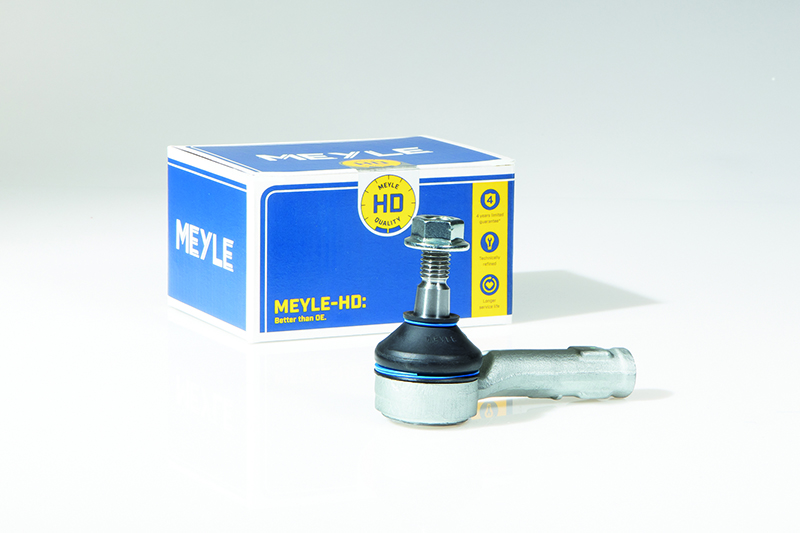
The technically optimised Meyle-HD tie rod ends come with improvements such as a larger ball diameter or a high-performance grease in the joints. This reduces the parts wear and offers increased longevity.
The ball diameter of the firm’s ball stud is significantly larger than the OE equivalent. This extends its service life because the forces acting on the ball are distributed over a larger surface area, reducing the surface pressure on the plastic seat of the ball joint. Like that, there is less wear on the ball stud, which results in added durability. In addition, the HD tie rod ends feature high-performance grease in the joints that aims to further reduce wear on these highly stressed parts.
Although tie rod ends are particularly robust components with a range of up to 100,000 km, they are typical wear parts and need to be replaced regularly. The wrong installation of tie rod ends can result in serious damage and impair the vehicle’s directional stability – an obvious safety risk.
To guarantee safety and the intended longevity of parts, it is mandatory to carry out a proper installation. Let’s take a look at how to install these tie rod ends in four steps.
Step 1
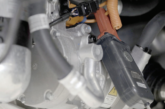
Clean the steering knuckle
Before the installation of the new tie rod end can begin, the contact surface of the steering knuckle on which the rubber rests must be cleaned. This is necessary so that the rubber on the steering knuckle can rotate freely.
Step 2
Lubricate the steering knuckle surface with silicone grease
After cleaning the contact surface on the steering knuckle, it should be lubricated with silicone grease. This will help the rubber sleeve to slide over the surface of the steering knuckle so it won’t be twisted when the steering wheel is turned.
Step 3
Install the tie rod end
Now install the tie rod end and tighten the nut with 65 Nm. The nut must be tightened by hand until the ball pin is no longer able to turn. The final torque is then tightened with a torque wrench. Do not use an impact wrench under any circumstances to tighten the tie rod end.
Step 4
Carry out the wheel alignment
It is always necessary that a wheel alignment is carried out after the installation of the tie rod end in order to adapt the axle geometry of the vehicle to the manufacturer’s specifications. Then the lock nut of the tie rod end is tightened with 55 Nm.