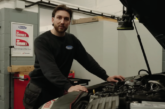
Due to the high failure rates in headlight tests, it is vital that any adjustments are made professionally and accurately. According to GEMCO, first rate headlight adjustment equipment is a must-have, if test stations are to retain customers and avoid a damaged reputation.
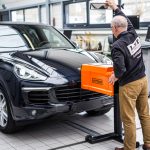
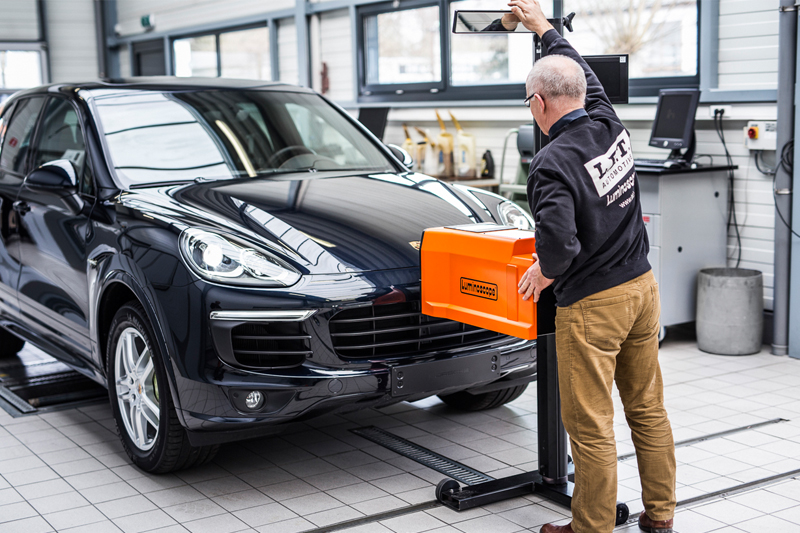
The quality of headlight adjustment equipment is determined by a variety of factors, but it’s equally important the equipment is used correctly. For instance, when using reliable technology such as the LET PLA 20,25 and now the latest version PLA35 headlight testers, it is essential to ensure a level area in the workshop, and using rail system that is mounted on a rail can give you good results. The fully electronic PLA20, PLA25 and PLA35 give the user a simple ‘pass’ or ‘fail’ result. Installation has also been made easier for workshops with the introduction of the single rail for MOT test stations.
Points to note for headlight tests
For best results, the headlight tester should have a permanent place in the workshop, on a level surface. That way you can be sure that the vehicle remains level during testing and is always in the same position in relation to the equipment. The best rails are adjustable and are sunk into the ground so they are not deformed when the vehicle drives over them.
This gives you the most accurate results. An important criterion for quality is the robustness of the sliding column on which the optical assembly moves up and down. There must be the no deflection due to a weak sliding column. When it comes to correct measurement, an electronic device has an advantage over a device that works mechanically and optically.
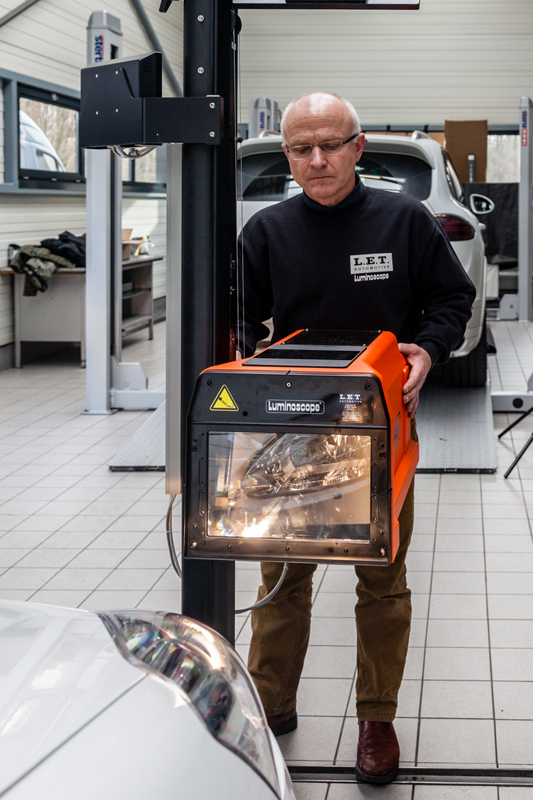
The ability to locate the optical assembly correctly in relation to the vehicle and the lights is important. A rotating column that is easy to operate, combined with a reflector mounted high up on the unit (or a laser beam), is the best solution. A line laser, as opposed to a mirror, offers a more precise and ergonomic solution for alignment of the headlamp tester. The floor of the standing area must be level. The unit must be able to provide an accurate, fast and unambiguous measurement. This means testing not only takes less time, but it is also easier to make any adjustments.
Before the adjustment of the lights is checked, consideration needs to be given to the position of the vehicle. The wheels need to be in the straight-ahead position and tyre pressures corrected. The vehicle should not be loaded. In the case of vehicles with pneumatic suspensions, the engine should be operating during testing in order to maintain the correct ride height.
Checking headlight glass and reflectors
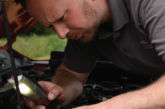
The lights and reflectors should also be checked in advance. They should be rigidly mounted and not contain water or condensation. Both diffusers/lenses should be identical and should not be dirty, damaged or cracked. The glass can become cloudy as a result of stone strikes, moisture or weathering, interfering with the light beam and increasing the risk of dazzle. Damaged and cracked glass is a common failure of the test. Reflectors should be checked for damage or rust.
After adjustment, the headlights should be secured in place to prevent accidental misalignment of the beam.
The headlight bulb has changed dramatically over the last five years, and with the introduction of LEDs, and now laser headlights, the test will become more exacting and require an electronic measurement test. The introduction and approval of the PLA20, PLA25 moved the test forward and now the PLA35 will be a useful platform with electronics making this a reliable investment.