Remanufacturer and fuel systems specialist, Carwood, troubleshoots a common fault on a VW Caddy, equipped with CAYD engine.
The vehicle, a 2014 plate, was presented with the engine warning light illuminated and the owner reporting long engine cranking, rough idling and exhaust smoke. Whilst these issues are typical of engine misfire, determining why is not always straightforward. Possible causes include a faulty high-pressure fuel pump or injector, problems in the fuel system, vacuum leaks and on rare occasions a compression drop in one or more cylinders, so it’s important to follow a methodical approach when diagnosing one.
Interrogate the vehicle’s fault code history with an EOBD diagnostic tool to get a clearer picture of what is happening. The Bosch KTS scan tool returned a P019100 fault code – fuel high pressure sensor.
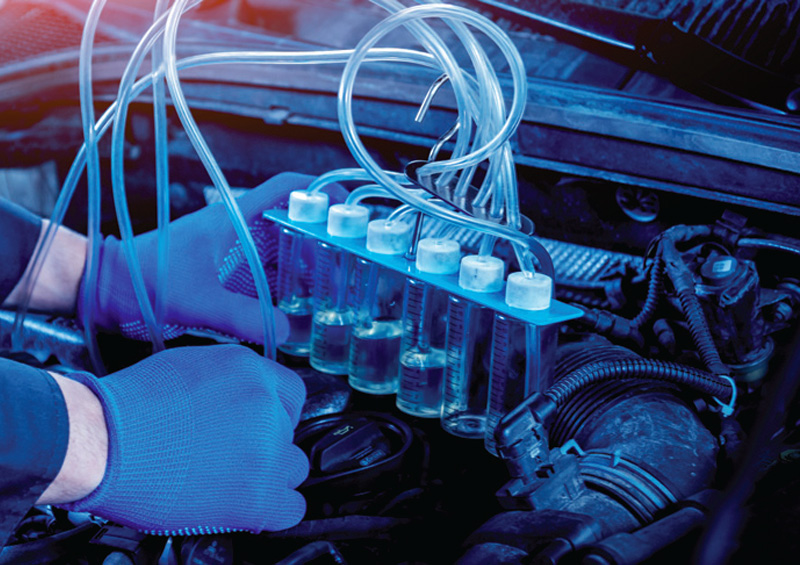
Test the injector’s back leak on vehicle to pinpoint possible faults. With the test kit connected, start the engine, let it run at idle speed for a while, then stop the engine and measure the diesel fuel in the containers.
Unfortunately, there’s no simple pass/fail criteria, and this method relies on experience. However, as a rule of thumb, look for an imbalance between the injectors; a high backleak flow on one injector doesn’t necessarily mean this is at fault, and it’s possible that the three others with a much lower backleak, are to blame.
Check the high-pressure pump: most EOBD tools can display rail pressure demand and feedback during engine cranking and while the engine is running. If this test shows no rail pressure feedback during engine cranking, then a sealed rail kit must be used to isolate the high-pressure hydraulic system, as a faulty rail pressure sensor could misdiagnose a faulty high-pressure pump, wasting valuable time and money.
In this case, the high-pressure pump generated the correct rail pressure during engine cranking and engine idling but was slow to do so. Furthermore, based on the EOBD fault codes stored in the vehicle ECU, plus the injector backleak check, two of the injectors were thought to be faulty. Although the simplest option would be to replace the high-pressure pump and all four injectors, it’s essential to determine why they failed, and address this, before doing so. If not, the replacement units could fail immediately, adding unnecessary cost and inconvenience to the vehicle owner.
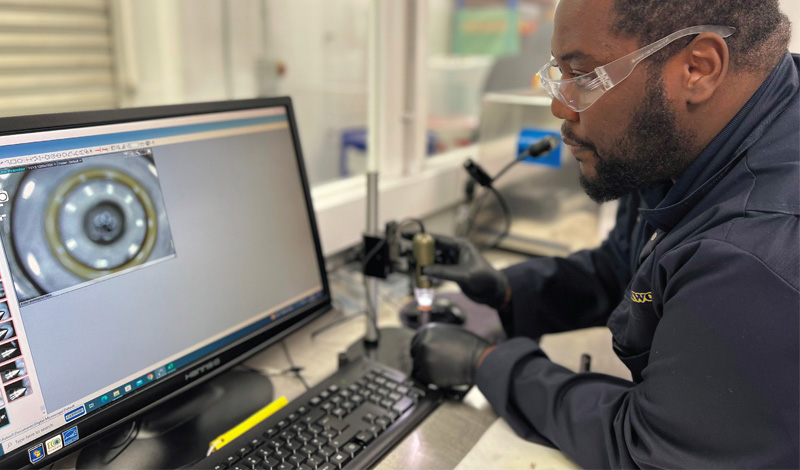
Have a specialist test the injectors: after removing them from the vehicle, the injectors are put through a series of rigorous tests at Carwood’s fuel systems facility in Birmingham, to identify why they failed. This includes:
- A surface level inspection to detect anomalies such as structural damage, missing components, evidence of tampering or gas blowby.
- An electrical check, incorporating a dynamic actuation test where the piezo stack is charged and discharged for ten minutes to ensure it is not breaking down.
- A basic hydraulic test at low pressure to check for correct spray pattern and fuel atomisation from the nozzle.
- A bench test to OEM specification.
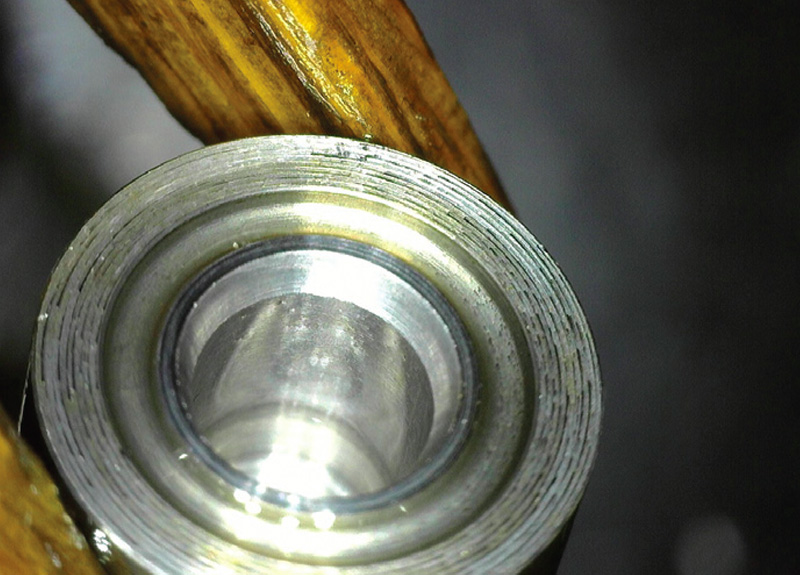
Two of the injectors failed the basic hydraulic test with no injection, and the other two failed the bench test due to low fuel delivery. So, to establish the exact failure mode, the parts are disassembled, and the individual components inspected under microscope. The analysis concluded that the injectors are contaminated with metal.
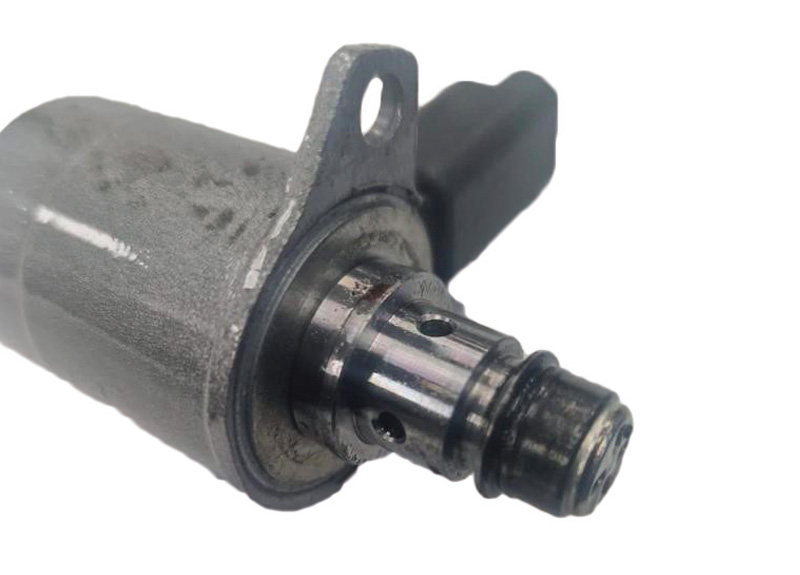
Remove the pump: With evidence of contamination, the high-pressure pump is put through equally thorough checks. The tests confirmed that this too is contaminated with fine metal debris, caused by the high-pressure pump starting to fail.

Buy a genuine alternative to new: Since both the pump and all four injectors will need to be replaced, the technician has a choice. Fit new OE or a cost and eco-friendly unit, that’s just as-good-as new, from an OE-approved remanufacturer like Carwood.
Flush the system before the replacement parts are installed into the vehicle, to remove any trace of contamination. To do this, clean the fuel tank and low-pressure hydraulic pipework using traditional flushing methods and replace all high-pressure pipes, the rail assembly and fuel filters with new parts.
Fit the high-pressure pump, ensuring both the pump and rail fittings are clean. Remember to pressurize the fuel system by turning the ignition key on and check for leaks.
Recode the injectors into the vehicle ECU before installing them. This will ensure that the timing and quantity of fuel delivered is calibrated, in order to enable optimum performance. To do this, note both the newly generated calibration code on each injector, and which cylinder it will be fitted to, and then enter the code into the correct cylinder, using an EOBD tool.
Perform a relearn: All Continental/VDO injectors have an ECU self-adaption process that needs to be performed after the injectors have been reprogrammed and fitted to the vehicle. This teaches the ECU the ideal pilot injection for the engine, in order to prevent engine knock. Although the procedures can vary by manufacturer (always check the handbook), as a guide:
- Ensure no fault codes are present in the ECU.
- Drive the vehicle until the engine coolant temperature is a minimum of 80˚C.
- In third gear, increase the vehicle speed to 3000rpm and allow the engine to naturally deaccelerate to 1500rpm. Do not depress the brake pedal during this step as it will cancel the adaptation. Repeat this step two more times.
Reconnect the scan tool, clear all fault codes and take the vehicle for a short road test to confirm that the fault has been eliminated. Job done!