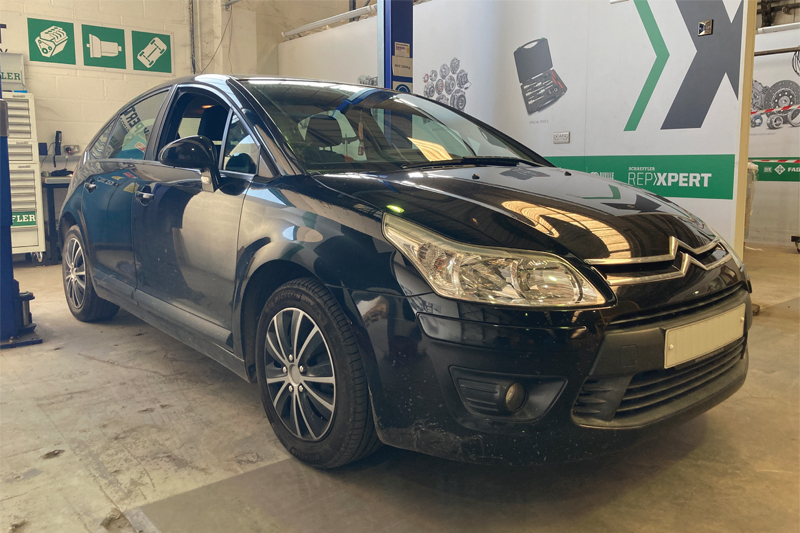
In this month’s Belt Focus, Schaeffler’s REPXPERT, Alistair Mason is replacing the INA timing belt and water pump on a 2010 Citroën C4 1.4 16v that has covered just over 46,000 miles.
Scheduled time: 2 hours 45 mins
Workshop equipment required:
- Vehicle lift (two post is ideal)
- Engine support
- Engine timing/locking kit
- Coolant vacuum bleeder
This 1.4 16v engine is a popular engine used by Citroën and Peugeot in a range of their vehicles and with a replacement interval of 80,000 miles or 10 years, this is a likely service repair for any independent garage. It is also good practice to advise and replace the coolant pump when replacing the timing belt as this is driven by the timing belt and easily accessible. An INA timing belt kit with water pump is the obvious choice, being OE specification with all supporting information such as fitting guides easily available through Schaeffler’s REPXPERT information portal and app.
When replacing a timing belt, always follow Schaeffler’s 4T rule:
- Temperature – Always carry out timing belt replacements on an engine that is at ambient temperature as this can affect belt tension
- Tools – Timing/locking tools are essential for correct & accurate timing on today’s engines
- Torque – Ensure all bolts are torqued to the manufacture’s specifications
- Tension – Always tension the belt correctly, ensure the tensioner is tensioned in the correct rotation, tension marks align & pulley movement is available where required
Timing belt removal process
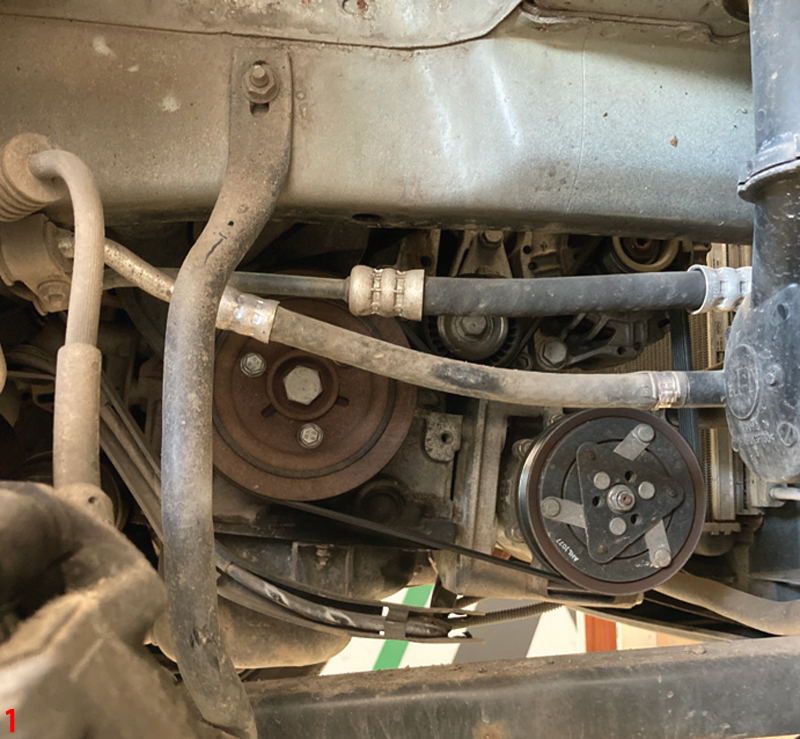
With the vehicle placed on the lift, raise the lift and remove the engine undertray. The engine needs to be supported as the O/S engine mounting has to be removed. Therefore we attached a sub-frame mounted engine support at this point, lowered the lift to waist height and removed the O/S/F wheel and wheel arch liner. This now gives good access to the lower section of the timing belt area (Fig. 1).
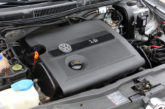
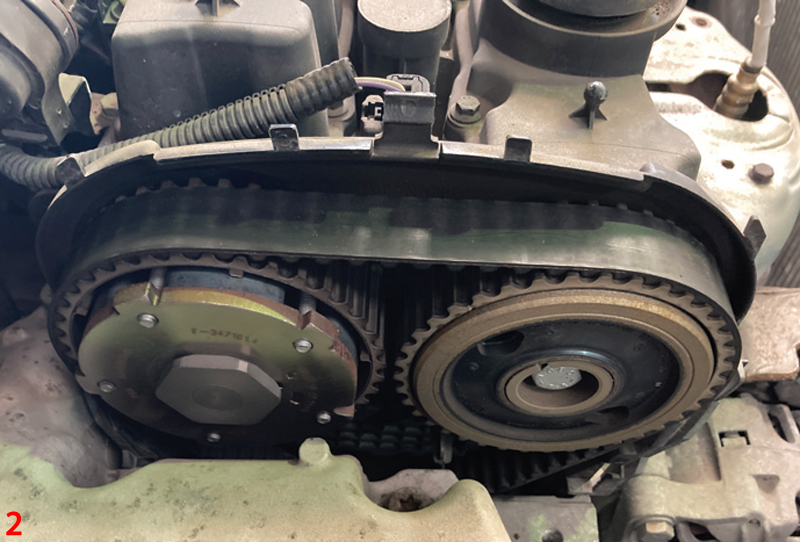
Now, slacken the three crankshaft pulley bolts before removing the auxiliary belt. Lower the lift to gain access to the engine bay, remove the engine cover and then the upper timing belt cover (Fig. 2).
Remove the auxiliary belt and inspect for any wear and replace if required. Remove the engine mounting assembly (Fig. 3) and raise the lift to waist height again. Remove the crank pulley and inspect the pulley for any cracking or deterioration in the rubber area as this absorbs crankshaft vibrations. If wear is present, replace the pulley. Finally, remove the bottom timing belt cover.
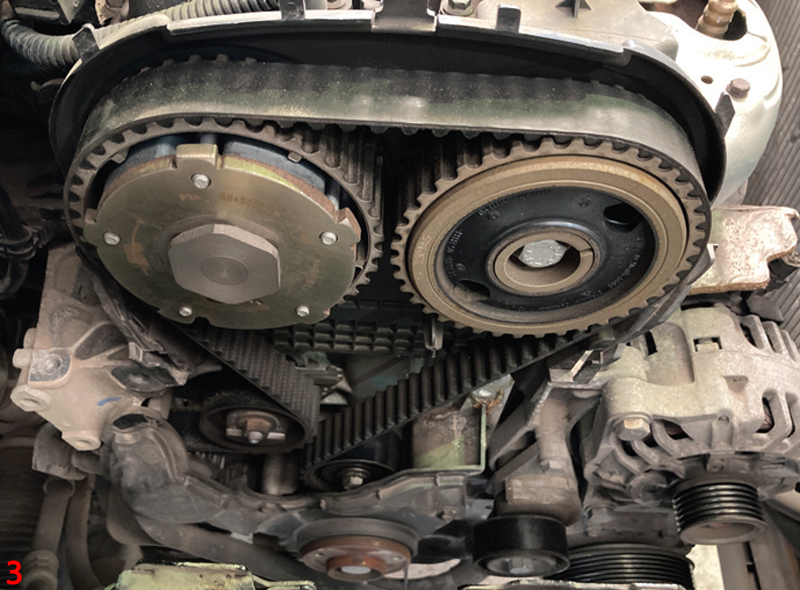
Rotate the engine to align the camshaft locking pin holes and lock the two camshafts (Fig. 4) and then lock the crankshaft through the 5mm hole behind the oil filter. Slacken the timing belt tensioner and remove the timing belt.
A new idler pulley and tensioner stud are supplied in the INA timing belt kit, so at this point swap the idler pulley and the tensioner stud supplied and torque as required. The coolant pump was also replaced, this is mounted on two bolts and the seal was lubricated with coolant prior to fitment.
Timing belt installation
Before fitting the new timing belt, ensure there are no oil leaks or coolant leaks that will contaminate the new timing belt kit, if leaks are present, rectify before belt fitment.
Mount the new timing belt onto the crankshaft pulley, up and around the coolant pump, to the tensioner and then over the camshaft pulleys and finish off by sliding the belt onto the idler. Ensure the belt is sat squarely and centrally on the pulleys.
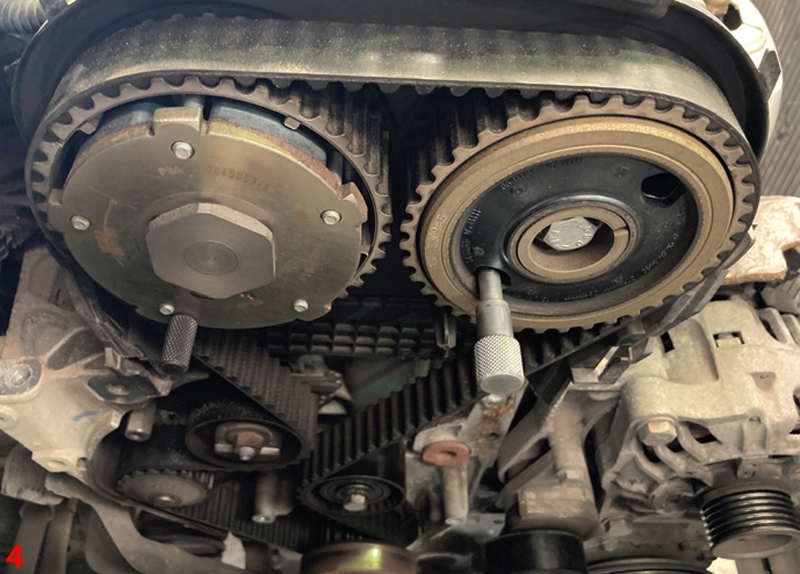
Remove the crankshaft and camshaft’s locking pins, then using a hex key, rotate the tensioner so that the pointer aligns in position 1 (Fig. 5) and tighten the tensioner, rotate the engine four revolutions in the direction of rotation and insert the crankshaft and camshaft’s locking pins to confirm the timing is correct.
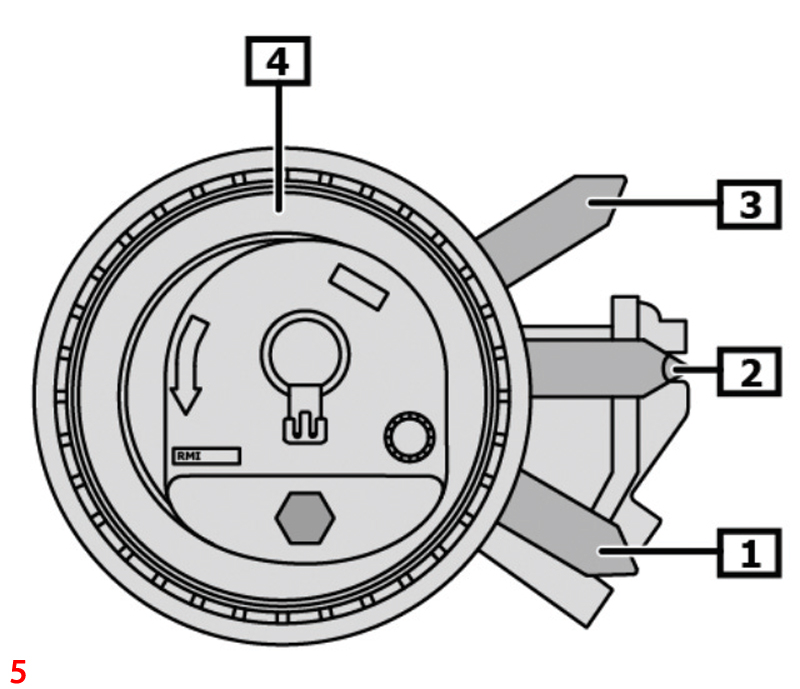
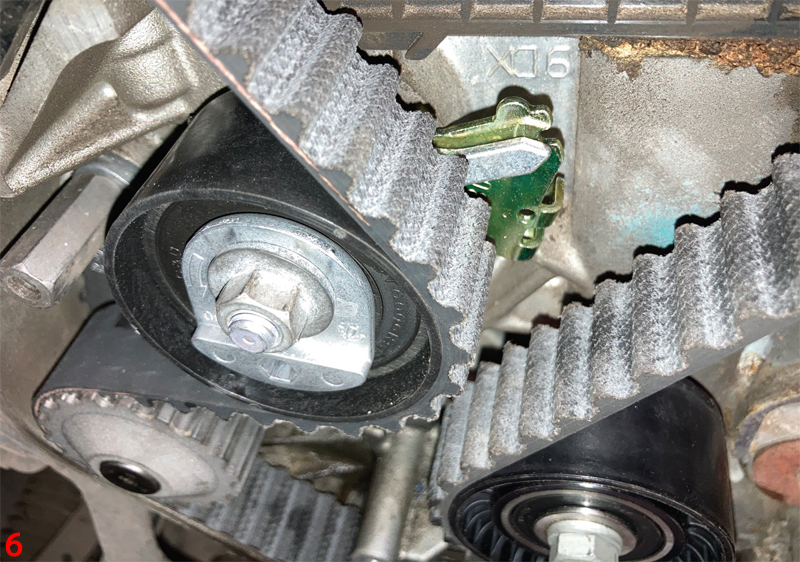
Remove the locking pins and then insert the hex key into the tensioner. Slacken the tensioner nut and rotate the tensioner so that the pointer aligns with the notch in position 2 (Fig. 6), when aligned, tighten the nut and torque to the manufacturer’s specified value. Rotate the engine four revolutions to ensure the tensioner still points to position 2 and that the locking pins still align.
Installation is in reverse order of removal and you should torque bolts as required. Refill the cooling system with the correct specification of coolant and vacuum bleed to ensure that all air has been expelled.
Always carry out a full road test to ensure the heater works correctly and the correct cooling level remains.


