A blown cylinder head gasket is usually fairly easy to detect; the engine oil may have become contaminated with coolant, and the coolant may show signs of being contaminated with engine oil, displaying a creamy sludge in the header tank.
A badly blown head gasket may affect the running of the vehicle, and clouds of white water vapour will be evident at the exhaust tail pipe. Sometimes, though, a slightly blown head gasket does not display these obvious signs.
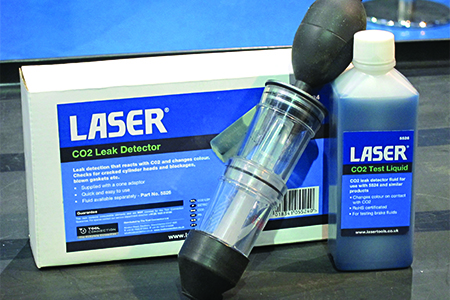
In this case, a CO2 leak detector, like the one offered by Laser Tools, will confirm the presence of combustion gases in the cooling system and aid the diagnosis of the blown head gasket.
It is important to discover if the head gasket has indeed blown. If a small coolant leak has been noticed, it could be from the radiator, a hose or corroded water pipe, but if it is from a blown head gasket, then the coolant will become contaminated (exhaust gases destroy the inhibitors in the coolant for example) which, if left undetected, can lead to further and additional expensive repairs.
It figures
The composition of exhaust gases is fairly complex, but typically a petrol engine exhaust will contain 14% carbon dioxide (CO2) with a diesel engine exhaust CO2 figure being slightly less at 13%. Fortunately, the use of a CO2 detector makes the diagnosis of combustion gases in the vehicle’s coolant – and thus a blown head gasket, or even a cracked head or cylinder block – a quick and very straightforward process.
The leak detector works by drawing vapour from the cooling system through a specialist test indicator fluid; this fluid is bright blue in colour, but in the presence of carbon dioxide (CO2) it turns yellow. This is quite a quick reaction and, if CO2 is present in the cooling system, the test fluid changes colour in a matter of seconds.
How to use the CO2 combustion leak detector
Before the test is carried out, be aware of the dangers when working with hot, pressurised cooling systems. There is a serious risk of scalding, so never attempt to remove a header tank cap or radiator cap on a hot engine. Always wear suitable clothing for the workshop, and wear hand and eye protection when working on the cooling system.
Step 1:
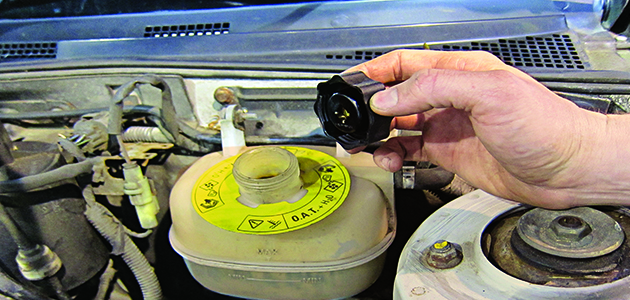
The vehicle should be cold or cool. Remove the radiator cap or header tank cap, turn on the engine and let the cooling system warm up.
Step 2:

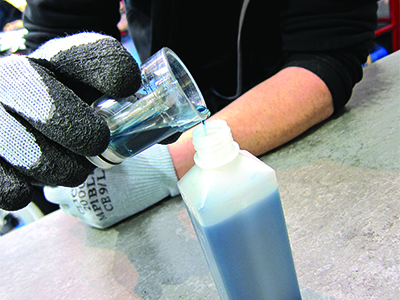
Fill the upper chamber of the leak detector with the supplied test fluid to the marked line.
Step 3:
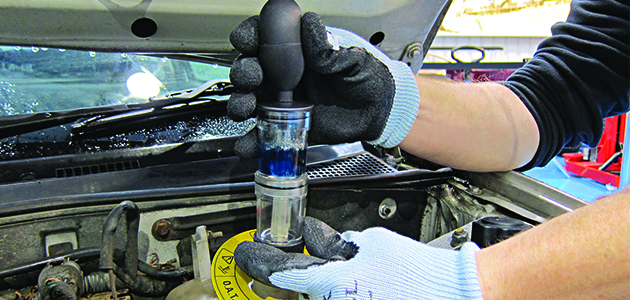
When cooling system is near normal operating temperature, place the tester on to the header tank filler or radiator filler neck and hold it down firmly so that it makes an effective seal against the opening.
Step 4:
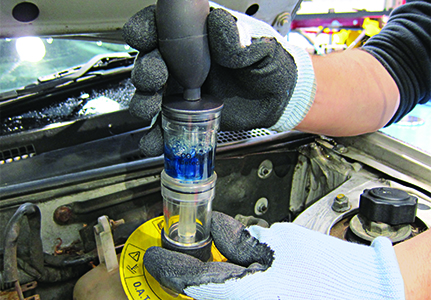
As pressure builds into the lower chamber, you may see bubbles appearing in the blue test fluid; at this point pump the rubber bulb to continue drawing the vapour into the upper chamber and through the test fluid.
Step 5:
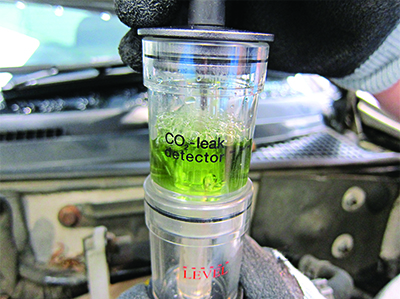
If the fluid turns yellow, this indicates the presence of CO2 in the coolant and the need to investigate further. Remove the leak detector and turn the engine off. Replace the header tank or radiator cap.
Step 6:

Dismantle the upper chamber from the lower chamber by twisting them apart. Then pump the rubber bulb several times to draw fresh air through the test fluid.
Step 7:
When it has returned to its original blue colour, it can be returned to the container and used again at a later date.