The experts at ContiTech have provided a step-by-step explanation of how to change the belt correctly in a Fiat 500. The manufacturer recommends checking the timing belt every 60,000km or every two years and, where appropriate, changing the belt every 120,000km or after five years – or, in the case of vehicles driven under harsh operating conditions, after 120,000km or four years. The labour time for changing the timing belt is just over two and a half hours.
Kit needed
Fitters need the following special tools for the procedure:
1. Engine support beam cross member OE (1870595000)
2. Support bearing for engine support beam OE (1870650000)
3. Engine support beam longitudinal member OE (1860851003)
4. Bracket(s) for engine support beam OE (1871001300)
5. Crankshaft locking tool OE (2000004500)
6. Camshaft setting tool OE (2000004400)
7. Tensioning tool OE (1860987000)
Preparatory work
Identify the vehicle using the engine code and then disconnect the vehicle battery. Do not turn the crankshaft and camshaft once the timing belt has been removed. Turn the engine in the normal direction of rotation (clockwise). Turn the engine ONLY at the crankshaft pulley and not at other pulleys.
Comply with all tightening torques. Jack up and prop the front of the vehicle and if the water pump is also to be changed, drain the cooling water.
Removal – camshaft belt
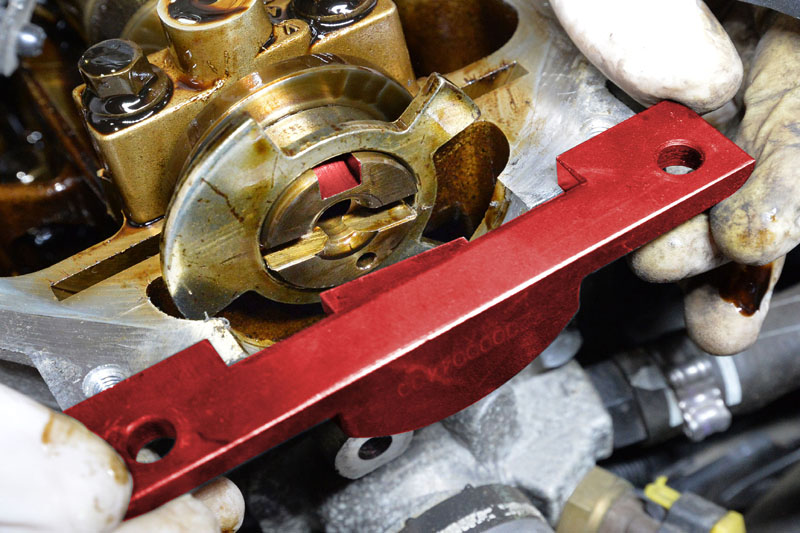
Insert camshaft gauge OE 2000004400 into the camshaft (Figs 1 and 2). To do so, turn the crankshaft in the direction of engine travel using a suitable tool until the markings on the camshaft (notch) point
upwards to the 12 o’clock position (Fig 3 – camshaft gauge and notch are shown in red here). Secure the camshaft gauge with two screws (Fig 4). Next, fit locking tool OE 2000004500 to the crankshaft pulley (Figs 5 and 6). Loosen the tensioning pulley nut and release tension on the tensioning pulley. Finally, remove the timing belt.

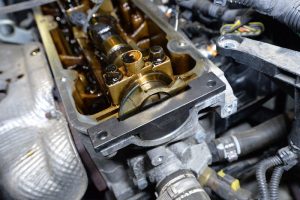
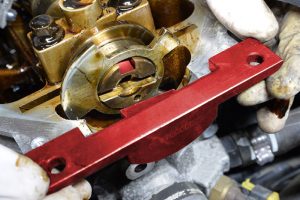
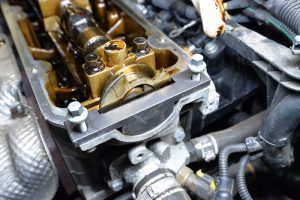
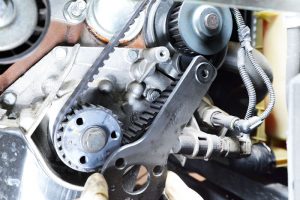
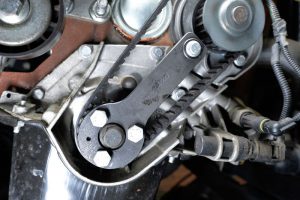
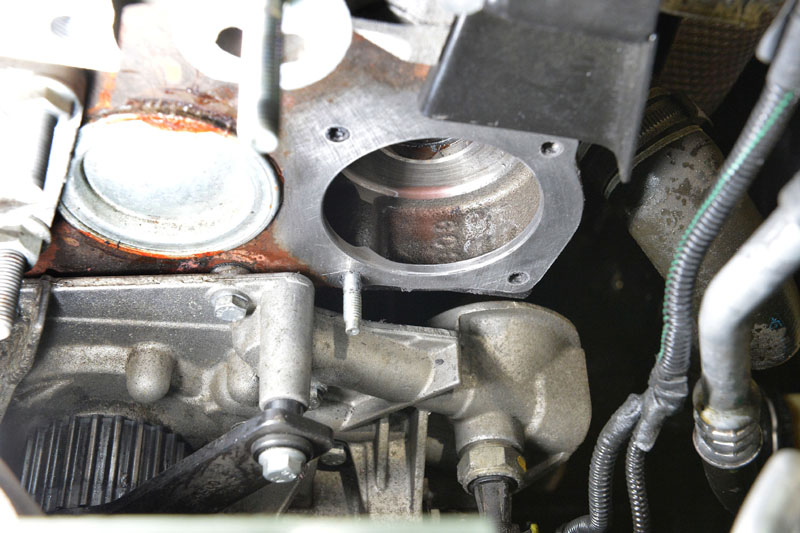 Fig 7
Fig 7
Installation – camshaft belt
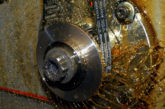
Change the tensioning pulley and, if necessary, the water pump. Thoroughly clean and degrease the contact face between the water pump and engine (Fig 7).
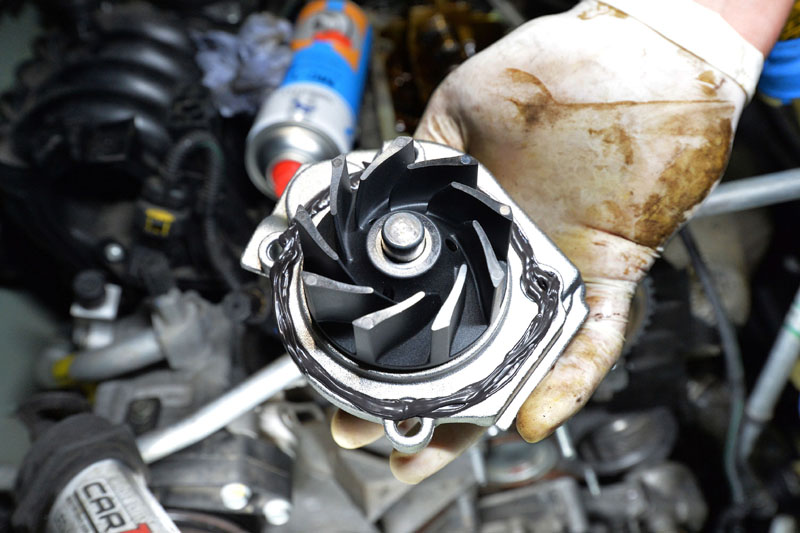
Carefully apply sealing compound paste only to seal surface of the water pump (Fig 8), using no more than the amount specified. Excess sealing compound paste often results in leaks with mechanical shaft seals. If sealing compound paste is used when fitting the water pump, wait approximately one hour with the coolant circuit completely drained.
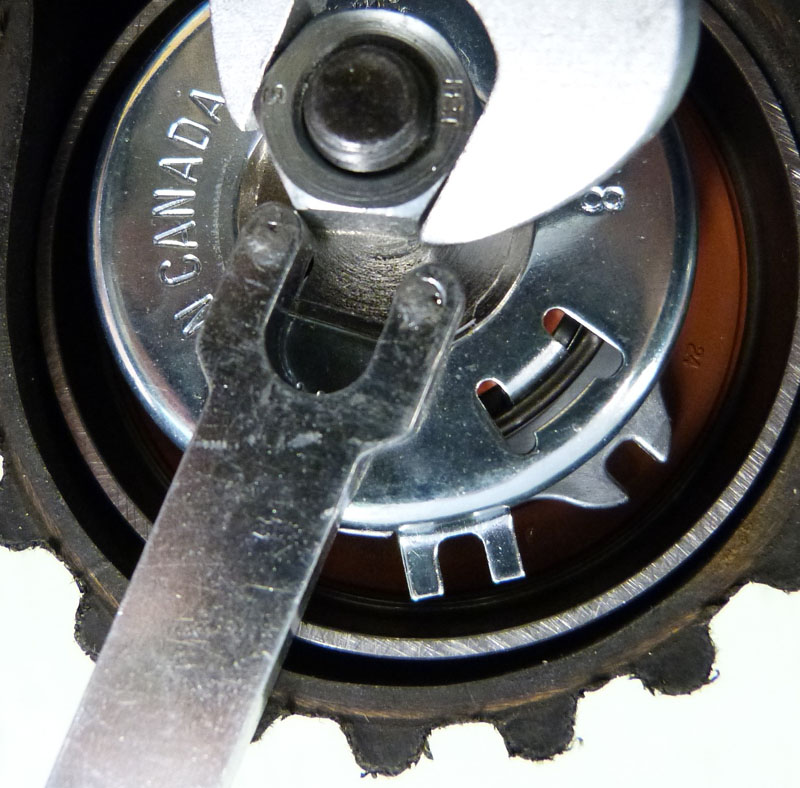
Fit the timing belt on the crankshaft pulley, starting counter clockwise. The timing belt is placed around the tensioning pulley as a final step. Take care to ensure that the timing belt is not kinked during fitting. The timing belt must be tight between pulleys on the tight side. Turn the tensioning pulley counter clockwise towards the stop, using tensioning tool OE 1860987000 until the tensioning pulley is at maximum adjustment, then tighten the tensioning pulley nut (Fig 9). The timing belt is now tensioned to its maximum extent.
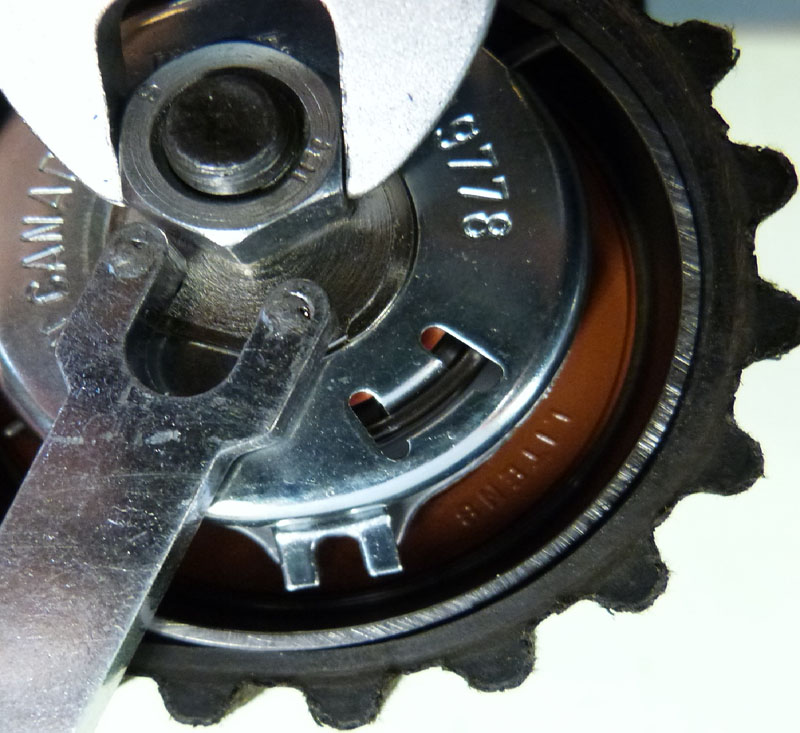
Now remove the locking tools from crankshaft and camshaft, and turn the crankshaft through two revolutions in the direction of engine travel. The purpose of over-tensioning the timing belt is to set the teeth better in the pulleys. This is done to avoid subsequent setting of the timing belt during normal operation, which can result in a reduction in timing belt tension. Check the engine setting and then fit the locking tools for the crankshaft and camshaft as before. Set the tension of the tensioning pulley to he mark. To do so, loosen the tensioning pulley nut, then turn the tensioning pulley counter-clockwise using tensioning tool OE 1860987000 until the pointer is aligned with the reference mark (Figs 9 and 10).
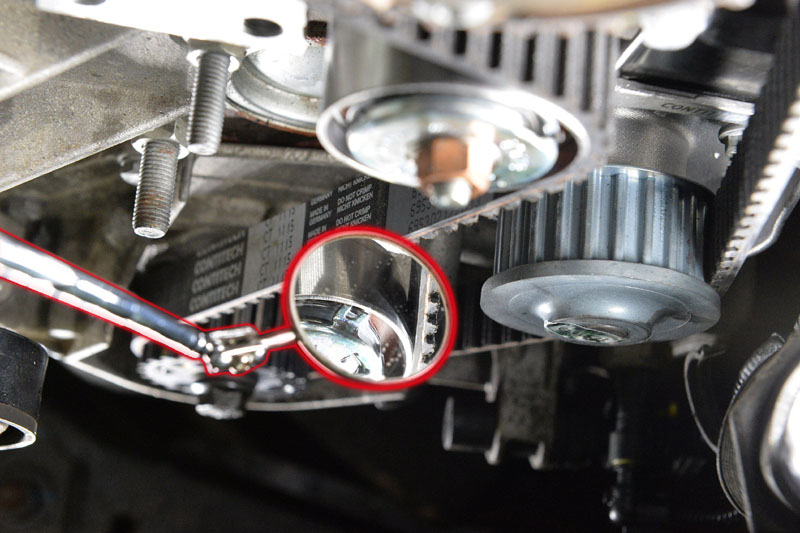
Tighten the tensioning pulley nut to a torque of 25Nm. Since markings can only be seen from below, use of a small mirror is recommended (Fig 11).
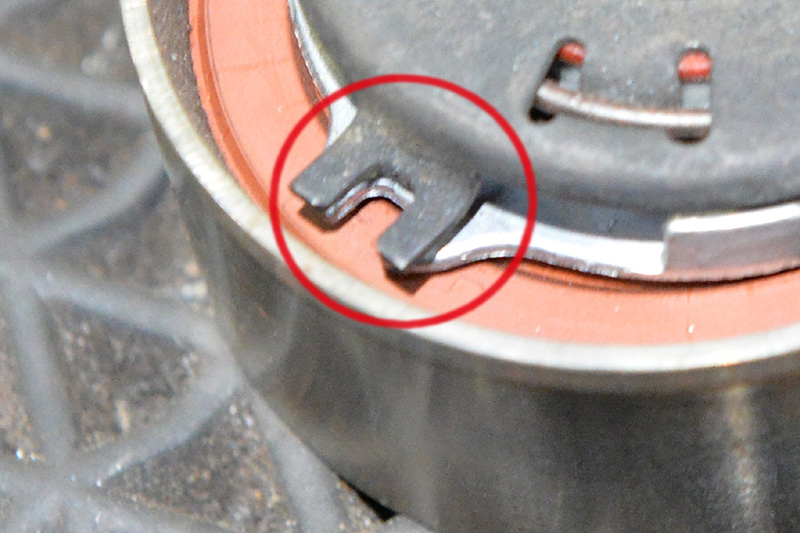
Next, remove the locking tools from crankshaft and camshaft, before turning the crankshaft through two revolutions in the direction of engine travel. Check the engine setting again and then fit locking tools for the crankshaft and camshaft as before. If the locking tools cannot be inserted, correct the valve timings. Check the timing belt tension again, and then check the tensioning pulley setting (Fig 12), resetting if necessary.
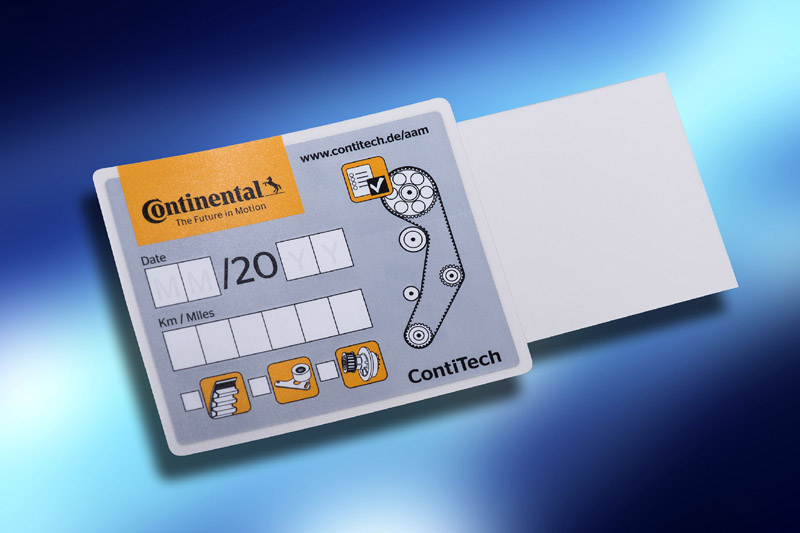
Remove the locking tools and gauge, then remove the holding tool and fit the components in reverse order of removal: Timing belt guard, crankshaft pulley 25Nm, ancillary unit belt, engine mount bolts and engine mount, air intake hose of air filter housing and air filter housing itself, engine cover, engine compartment underpanel, front right wheel, fender shield. Record the changing of the original ContiTech timing belt on the sticker supplied (Fig 13) and stick this in the engine compartment. Finally, carry out a test drive. Use coolant to the manufacturer’s specification, bleed and check for leaks.


