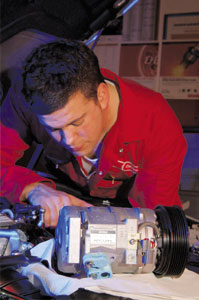
A/C Compressor failure is usually caused by just one of a handful of common faults. Alan Povey, DENSO Aftermarket Sales UK’s technical expert, shows you how to identify these:
Leak dye – get your quantities right

Failure to input the correct amount or non-SAE approved leak dye can also have consequences for the A/C system.
Too much leak dye will result in bad lubrication and poor cooling performance, whilst using non-SAE approved leak dye could result in poor lubrication or corrosion of the compressor’s inner parts. In both cases damage to the compressor will result in noise issues or seizure of the compressor itself.
Refrigerant – a must for optimum performance
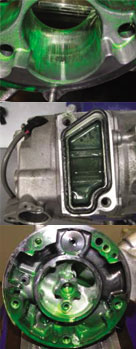
Refrigerant has a vital role to play in maintaining the performance and life span of the compressor. Insufficient levels of refrigerant will have the biggest impact on the compressor, causing the most amount of damage, as refrigerant is used to transport oil around the compressor. Insufficient refrigerant means insufficient oil is returning to the compressor.

INSUFFICIENT LUBRICATION – Low refrigeration / oil Amount
Most common failure cause – bad repair
Bad repair can be identified in a number of ways, and can manifest itself as numerous different faults. Here are some of the most common faults relating to bad repair:
1. Failure to clean the system properly can result in the compressor seizing. This seizure is caused by dirt travelling back to up to the compressor, causing damage on pistons, cylinders and bearings.
2. The use of too much compressor oil can result in damage to the swash plate due to liquid lock.
3. Compressors that are noisy or seized are often caused by system components that have not dried properly following the flushing of the refrigerant cycle.
4. Liquid lock is also caused when the refrigerant has been charged at low pressure. As the refrigerant flows into the compressor and the A/C is switched on, liquid lock is the result.
5. Failure to run in the new system also results in long term issues. By simply increasing the engine speed within the first two minutes you can significantly shorten the life of the compressor. The cause of this is because a new compressor is installed whilst full of oil. During the first operation, this oil is pushed out and begins to mix with the refrigerant, which can take up to two minutes to complete. Because of this, it is often recommended that for safety purposes, the engine is left to run idle for up to five minutes with the A/C running, to help break in the system for the first time.

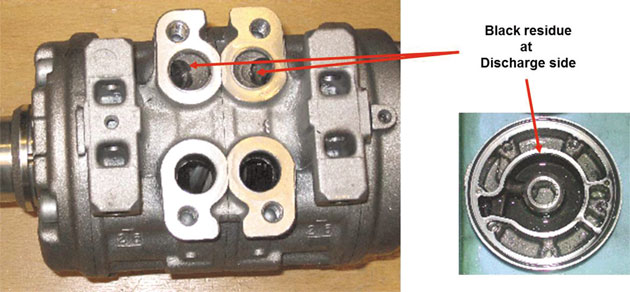
BAD REPAIR – Insufficient cleaning
Replacing the A/C Compressor – what to do and what to look out for
 1. When replacing the compressor it is essential to ask one vital question – how dirty is the refrigerant cycle?
2. Checking the refrigerant cycle is as simple as:
a) Recovering the refrigerant
b) Removing the compressor
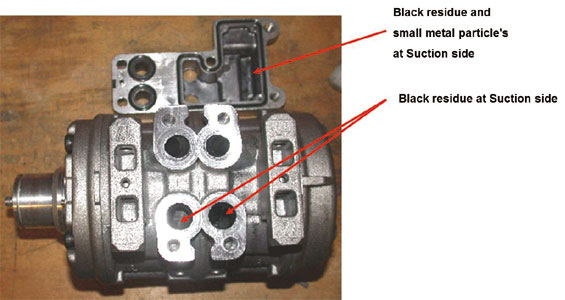
c) Checking the discharge and suction for cleanliness.
■ If the discharge and suction are clean with no black residue or metal particles then it is only necessary to replace the compressor, receiver dryer and O-rings of hoses and tubes.
■ If the discharge and/or suction or hose and condenser inlet are dirty with black residue (but no metal particles) it is necessary to replace the compressor, receiver dryer and Orings of hoses and tubes, multi-flow condenser, expansion valve and, when applicable, the multi-flow evaporator.
■ If both the discharge and suction, and hose and condenser are dirty with both black residue and metal particles it is necessary to replace the compressor, receiver dryer and O-rings of hoses and tubes, multi-flow condenser, expansion valve, as well as the discharge hose. Where applicable, it is also necessary to replace the multi-flow evaporator, and possibly also the suction hose.


