Parts supplier febi discusses timing chain rattle in the EA111 engine 1.4 TSi and what you can do about it.
The 1.4 Turbocharged Stratified Injection (TSi) variant of the EA111 Volkswagen Group engine was produced from 2005 to 2015, after which it was replaced by the current belt-driven EA211 series of engines.
This engine was used in many different models with various power outputs and is represented by at least 22 different engine codes. The engine timing is driven by a metal-toothed silent chain, tensioned by a hydraulic tensioner pressing against a plastic tensioner guide, a guide and three toothed gears, one on the crankshaft and two on the camshafts.
The inlet camshaft has a variator that allows adjustment of up to 20° of the camshaft position. This gives a variation of up to 40° at the inlet valves at the moment of opening and closing. The hydraulic tensioner sets the correct tension of the chain, without the need of any maintenance. The oil pressure holds the chain tense whilst an internal spring guarantees minimum tension during the engine start-up phase.
The two guides prevent chain vibrations when the engine is running. A second chain and a mechanical tensioner transmit motion from the crankshaft to drive the oil pump.
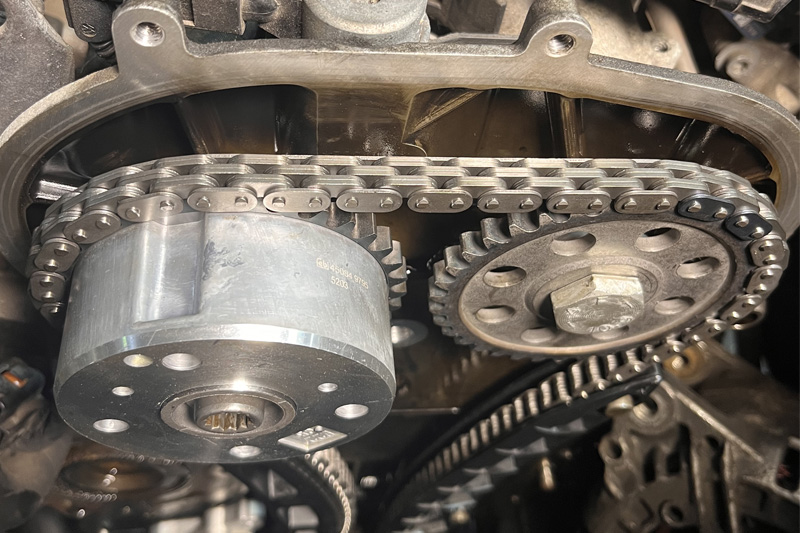
The timing chain used on this engine is, in theory, maintenance-free if the engine is regularly serviced with quality lubricants. However, its inherent weak point is the original chain wearing and elongating. Taking up this slack causes the tensioner to overcompensate, which results in a noticeable metallic noise being present after the engine starts and during operation.
This noise is the result of a change in the chain’s length, which may in turn alter the timing (Fig.1).
Timing chain replacement
It is essential that the vehicle manufacturer’s repair procedures are strictly followed. Always refer to the latest service instructions or technical service bulletins to establish any procedures and data. Due to differences with engine codes and in service updates, careful attention must be paid to selecting the correct replacement timing chain kit part number for the vehicle being worked on. Before replacing the timing chain kit, certain special tools should be acquired: Dial gauge, dial gauge adaptor, camshaft clamp, camshaft and crankshaft counter-hold tools, tensioner locking pin, crankshaft locking pin.
Drain the coolant from the engine cooling system along with the engine oil. Remove and inspect the auxiliary drive belt and water pump.
Remove the air cleaner housing and the cover plates at the rear of the camshafts, then unclip and remove all necessary pipes and wiring harnesses as required – subject to the vehicle model and engine variant.
To set the timing, the camshafts must be synchronised, and the crankshaft set at cylinders 1 and 4 top dead centre.
Next, remove the spark plug from the No.1 cylinder. Install the dial gauge into the adaptor and screw the tool fully into the spark plug hole of the No.1 cylinder. Turn the crankshaft in the normal direction of the engine rotation so that the piston reacts on the indicator pin of the dial gauge and moves the needle.
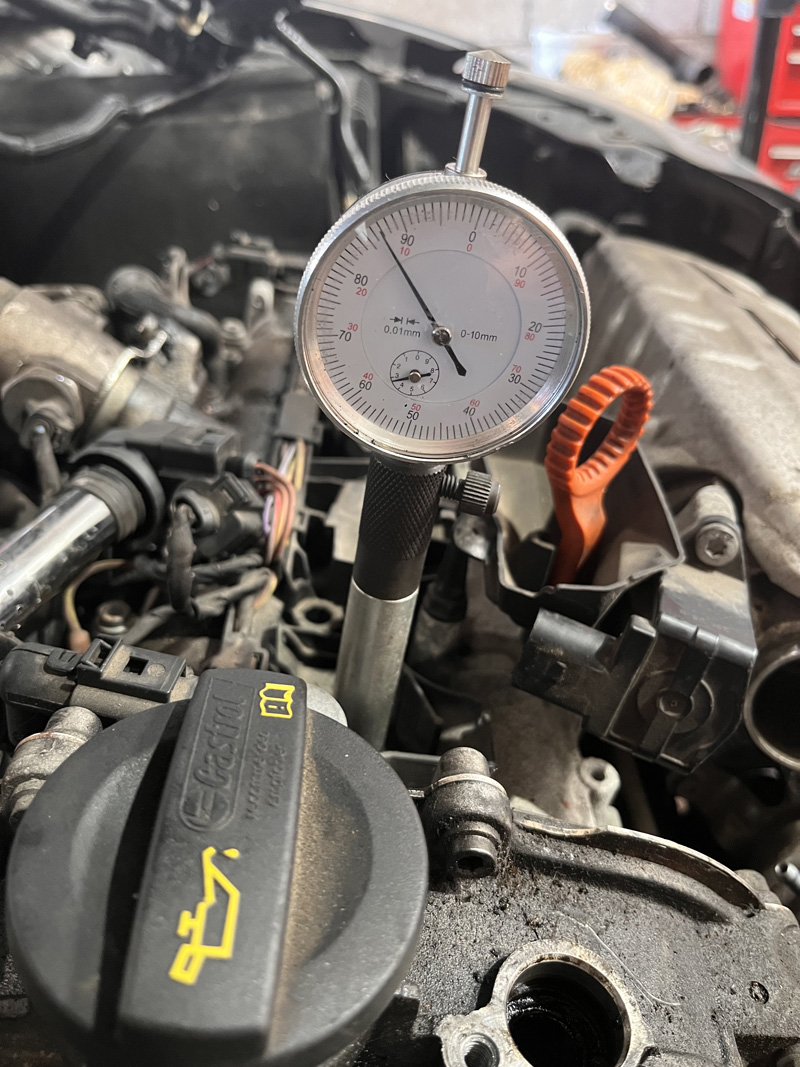
TDC is achieved when the needle reaches its highest reading, prior to it starting to move in the opposite direction (Fig.2).
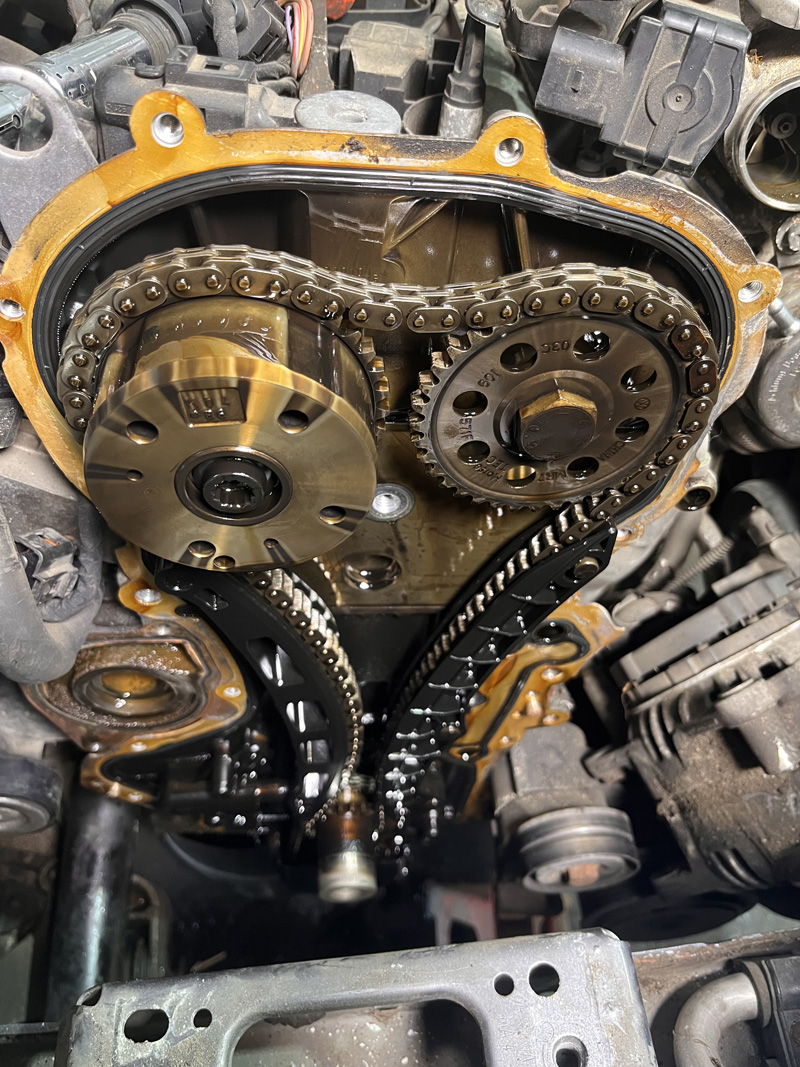
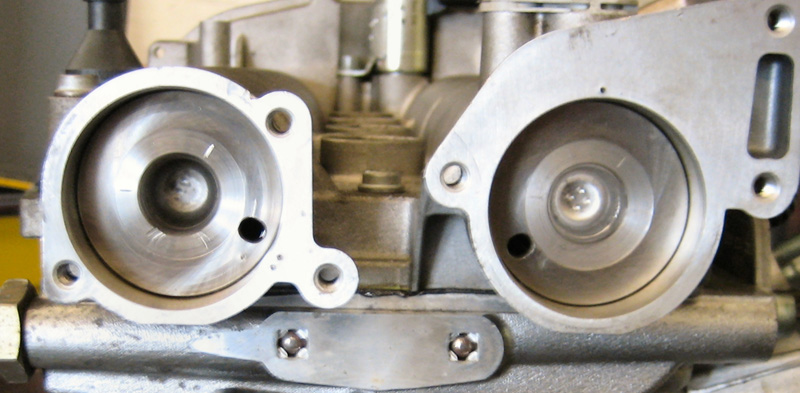
Check that the holes in the rear of the camshafts are positioned as shown (Fig.3). If not, turn the crankshaft one more turn (360°) and establish the TDC No.1 cylinder position using the adaptor and the dial gauge, then insert the crankshaft locking pin.
Insert the camshaft clamp into the recesses and the two holes at the rear of the camshafts, ensuring it is correctly inserted, and that the tool is at the right orientation. If the camshaft clamp cannot be installed, the engine timing is incorrect and must be adjusted.
Using a crankshaft pulley holding tool as a counter hold, release and extract the pulley centre bolt. Next, remove the crankshaft pulley, timing chain cover and the engine sump to gain access to the oil pump chain.
Whilst releasing the sprocket bolts and the tensioner, remove the camshaft sprockets/variable valve timing unit, timing chain and bolts using a sprocket holding tool as a counter hold. Attention: The camshaft timing adjuster bolt (inlet camshaft sprocket) has a left-hand thread.
Take off the oil pump chain and sprockets, then inspect the condition of all the parts that have been removed.
Replacement timing chain kit
It is important to replace the timing chain kit with quality parts and follow any vehicle manufacturer updates.
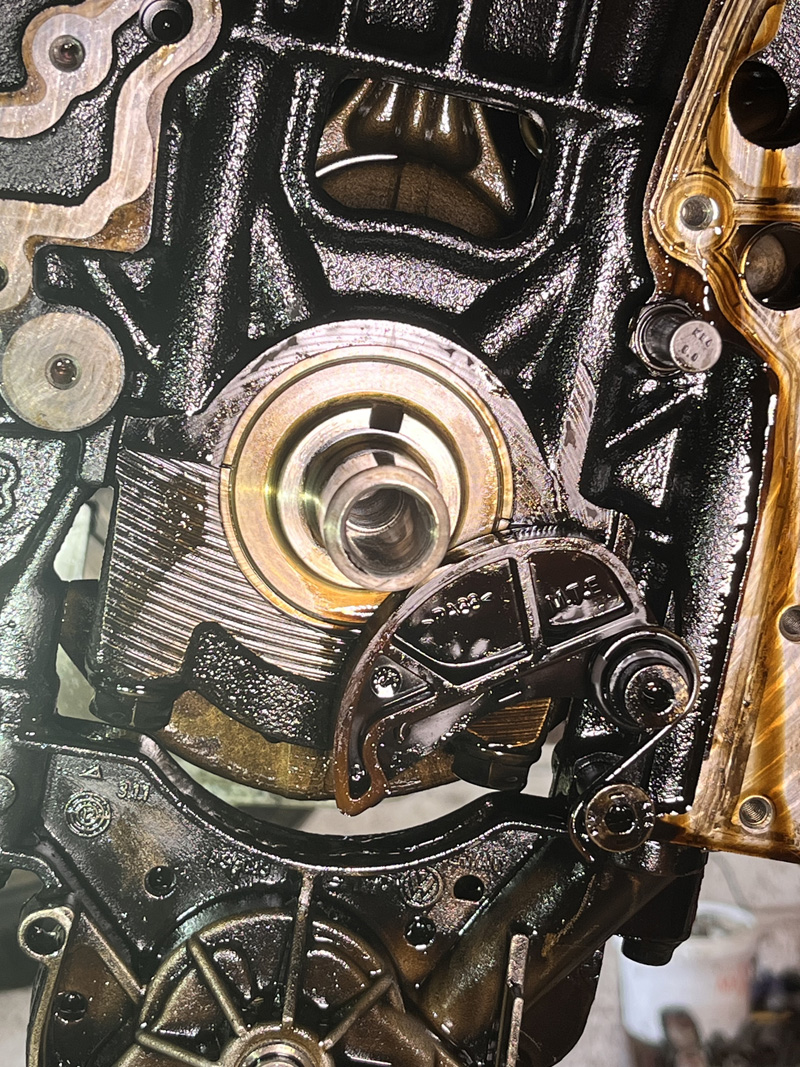
Clean all mating surfaces. Fit the new camshaft sprockets with the new bolts and guide sleeves. Install the crankshaft sprocket, ensuring the lug is located into the recess of the crankshaft (Fig.4). Replace or refit the oil pump drive chain and tensioner as required. Install the new chain guides, tensioner and chain, release the tensioner and tighten the camshaft sprockets to 40 Nm (inlet) and 50 Nm (exhaust) using a counter hold tool.
Remove all locking pins, rotate the engine twice and recheck the static engine timing. Once satisfied, tighten the camshaft sprockets by a further 90°.
Refit the timing chain cover with a new gasket and ‘O’ ring and crankshaft seals, apply sealant to the oil pan and refit it, then install the new water pump.
Install the crankshaft bearing spacer with a new ‘O’ ring, followed by the crankshaft pully, then tighten the new bolt to 150 Nm + 180° while holding the pully with a counter hold tool.
Replace the auxiliary drive belt then refit the air cleaner housing and cover plates at the rear of the camshafts. Refit all necessary pipes and wiring harnesses.
Fill engine with fresh oil and replace the oil filter, along with fresh coolant.
Start the engine, which will rattle on initial start-up for a few seconds until the fresh oil has circulated. Allow to idle and check for any fault codes, clear as necessary and road test. Rely on tested, OE-matching quality replacement parts from febi. The entire range of timing chain replacement parts can be found at partsfinder.bilsteingroup.com