The 1.6L 16V engine has been installed en-mass in Volkswagen vehicles in recent times. The manufacturer recommends checking and, if necessary, replacing the timing belt every 55,000 miles, and then every 18,000 miles thereafter, however serious mistakes are often made when doing this. The procedure should take 2.5 hours in total and it is advised that when replacing the belt, the tension pulley, idler pulley, tensioner and water pump should also be replaced.
Preparatory work
Firstly, identify the vehicle using the engine code and then disconnect the vehicle’s battery. Do not turn the crankshaft or camshaft when the timing belts have been removed. Remove spark plugs so that the engine can turn more easily and then turn the engine in the normal direction of rotation (clockwise). Turn the engine ONLY at the crankshaft sprocket and not at other sprockets and make sure you comply with all recommended tightening torques.
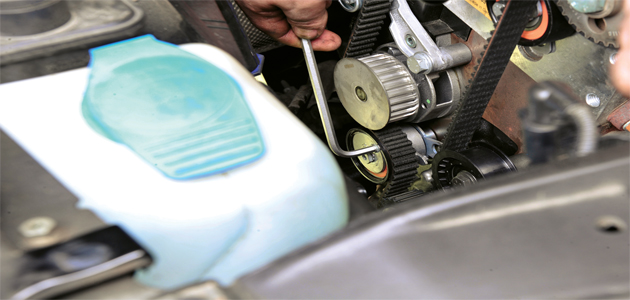
Removing the camshaft belt Jack up the front of the vehicle and support it. Remove the upper engine cover, the complete air filter, the upper timing belt cover and the steering oil storage tank (DO NOT detach the hoses).
Turn the crankshaft to the right to TDC (OT) in the first cylinder – the control markings on the crankshaft belt pulley must be aligned. Check whether the locating holes on the camshaft sprockets are aligned. If they are not, turn the crankshaft to the right a further complete turn.
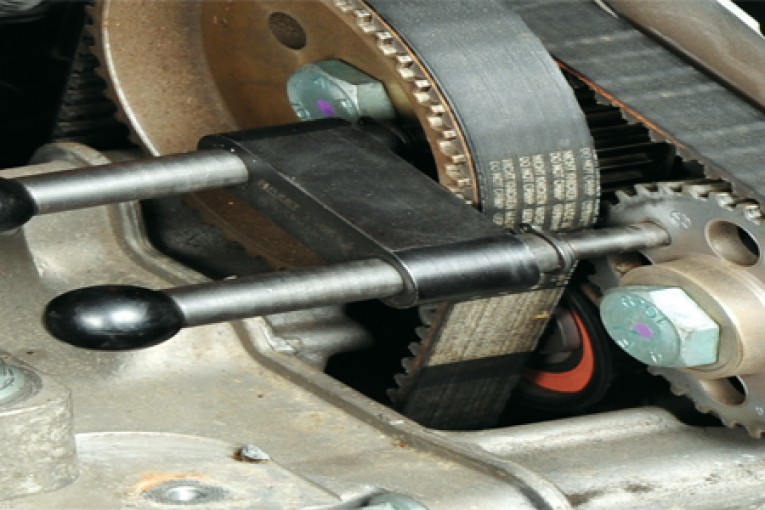
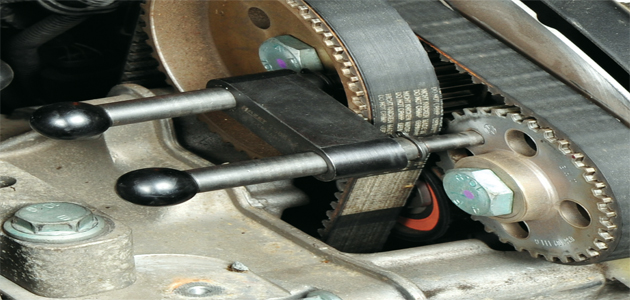
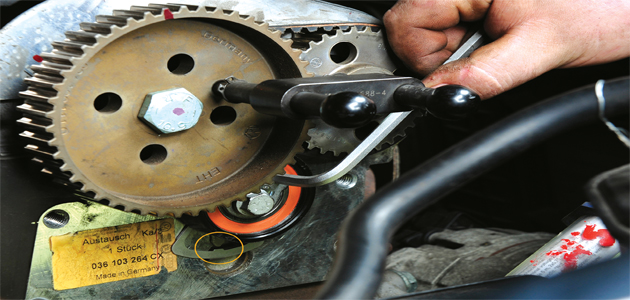
Select the appropriate locking tool for the engine code of the vehicle and insert at the camshaft sprockets (pictured below).
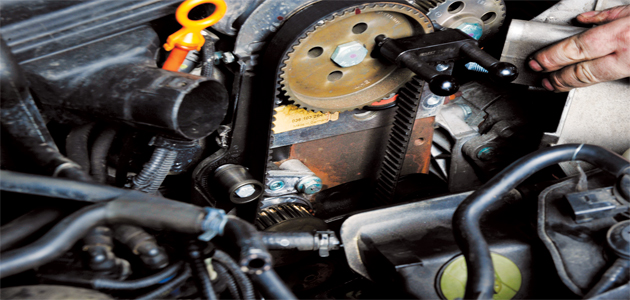
Remove the righthand engine mount (pictured below), the holder for the right-hand engine mount and the lower engine cover on the right.
Lower the engine until you can reach the crankshaft belt pulley screw. Remove the drive belts for auxiliaries (V-ribbed belts).
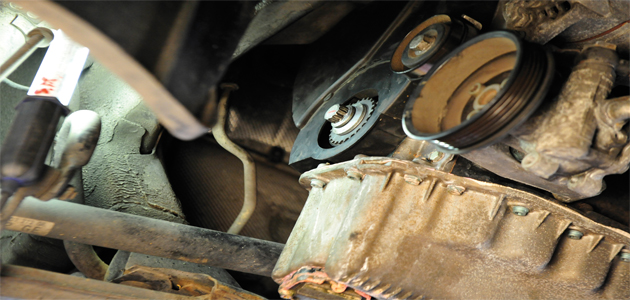
Insert the appropriate arrester for the crankshaft belt pulley and unscrew the crankshaft belt pulley screw. Remove the arrester and unscrew the crankshaft belt pulley screw before removing the crankshaft belt pulley. Place two washers onto the fastening screw of the crankshaft belt pulley. Screw in the crankshaft belt pulley screw and tighten it slightly (pictured below).
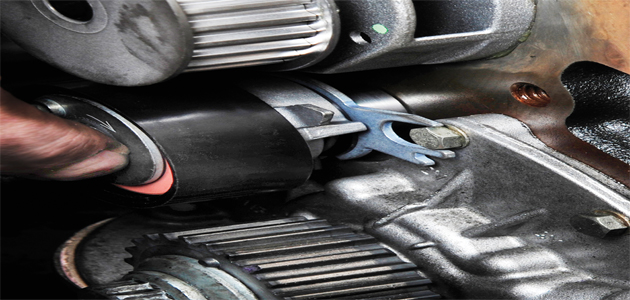
Remove the lower timing belt cover. Note: in some models with air conditioning, you also also have to remove the tension pulley and idler pulley of the V-ribbed belt to make things easier).
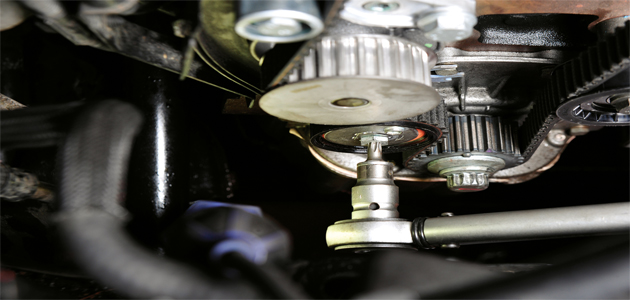
Unscrew the tension pulley screw. Turn the tension pulley to the left to release the tension on the belt. Remove the camshaft locking tool and the timing belt and then re-insert the camshaft locking tool.
Removing the drive belts for the exhaust camshaft
Unscrew the tension pulley screw. Turn the tension pulley to the right to release the tension on the timing belt. Remove the tension pulley screw, drive belt tension pulley and drive belt.
Installing the drive belts for the exhaust camshaft
The locking tool must have been inserted at the camshaft sprockets. Position the timing belt in a clockwise direction, starting at the top of the intake camshaft sprocket. Make sure that the timing belt is tight between the camshaft sprockets. Hold the tension pulley in the installation position.
Rotate the tension pulley’s eccentric so that the Allen screw points in the 3 o’clock direction. Install the tension pulley and tension pulley screw. Tighten the tension pulley screw until it is finger-tight. Note: the retaining lug on the mounting board must sit in the cylinder head hole (pictured below).

Turn the tension pulley’s eccentric to the left until the pointer is flush with the marking for the mounting board’s clamp (pictured below).
Tighten the tension pulley screw to 20Nm.
Installing the camshaft belt
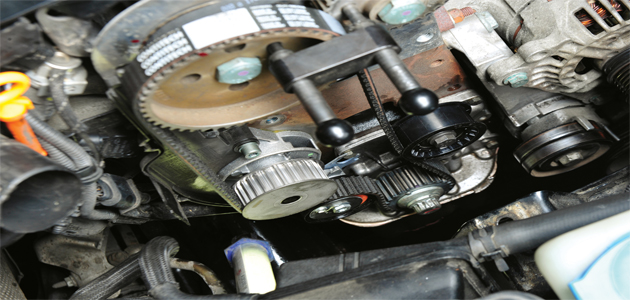
The locking tool must have been attached to the camshaft sprockets. The control marking on the crankshaft sprocket must be aligned. Insert the tension pulley. The fork of the base plate must have been placed around the screw on the crankshaft housing (pictured below).
Using the Allen key, place the tension pulley’s eccentric in an anti-clockwise direction in the 10 o’clock position. Counter-tighten the screw by hand. Place the timing belt onto the water pump, tension pulley, crankshaft sprocket, idler pulley and intake camshaft sprocket in that order (pictured below).
Turn the Allen key clockwise (pictured below).
The pointer must be flush with the recess (to the right of the fork) of the mounting board (pictured below).
Tighten the tension pulley to 20 Nm (pictured below).
Remove the arrester. Turn the engine twice in the direction of engine rotation. Position the engine at top dead centre of cylinder 1. Insert the camshaft’s arrester. Insert the locking pins. The ends of the locking pins must be at the same height. If the arrester cannot be inserted, correct the control times.
Check the timing belt tension again. Remove the crankshaft belt pulley screw. Install the lower timing belt cover, crankshaft belt pulley and the newly oiled screw for the crankshaft belt pulley. Insert the arrester for the crankshaft belt pulley (as per engine code). Tighten the crankshaft belt pulley screw (tightening torque: 90 Nm + 90°). Remove the arrester and install the components in reverse order of removal.
Record the replacement of the original ContiTech timing belt on the sticker provided and affix it in the engine compartment. Test run the engine or take the car for a test drive.


