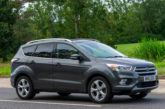
Febi takes readers through the replacement of a wheel bearing on a Jeep Grand Cherokee WK.
When launched, the Jeep Grand Cherokee WK model was reported to have good off-road capabilities and an excellent tow capacity; accordingly, many owners use their vehicles for this purpose. The focus of this article is a vehicle that had covered over 200,000 miles. It was reported that a droning noise could be heard while driving, which increased under load and during cornering.
After an initial road test and inspection to confirm the symptoms, the noise was identified as coming from the right rear wheel bearing which would require replacement.
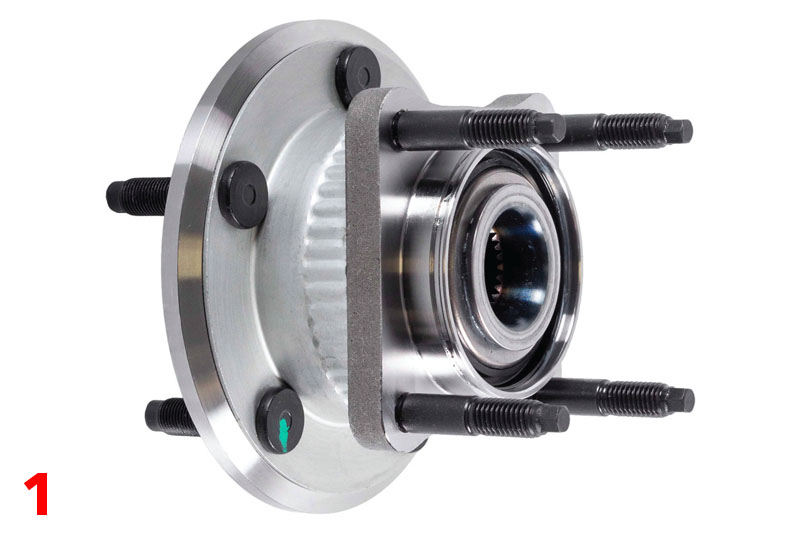
The preassembled febi wheel bearing kit 172491 was chosen for this repair. This comes complete with wheel and axle studs and the bearing is preloaded and greased ready for assembly to the vehicle (Fig.1).
Note: Parts were inspected for any unusual wear, and the security of the linings were checked, as these are prone to detaching from the metal part of the shoe. These should be replaced, as necessary.
First, the wheel was removed, followed by the brake caliper assembly. This was then supported as a means of avoiding excess strain on the brake hose.
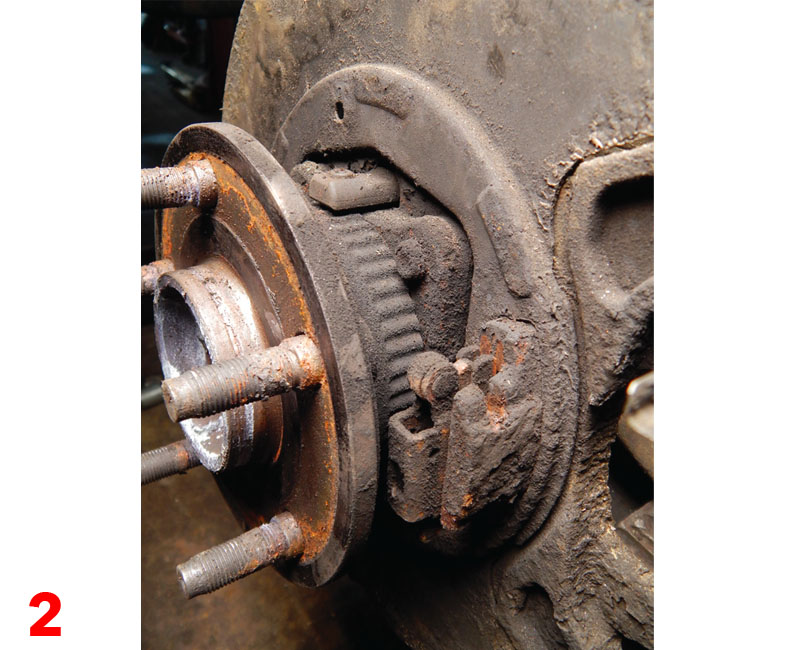
Then, the brake disc was removed. This revealed the parking brake shoes, which needed to be removed. All the springs and fixings, along with the brake shoes, were then removed and all the positions were noted for ease of reassembly. The handbrake actuator lever was removed from the cable, inspected, and checked for excess corrosion and freeness of operation (Fig.2).
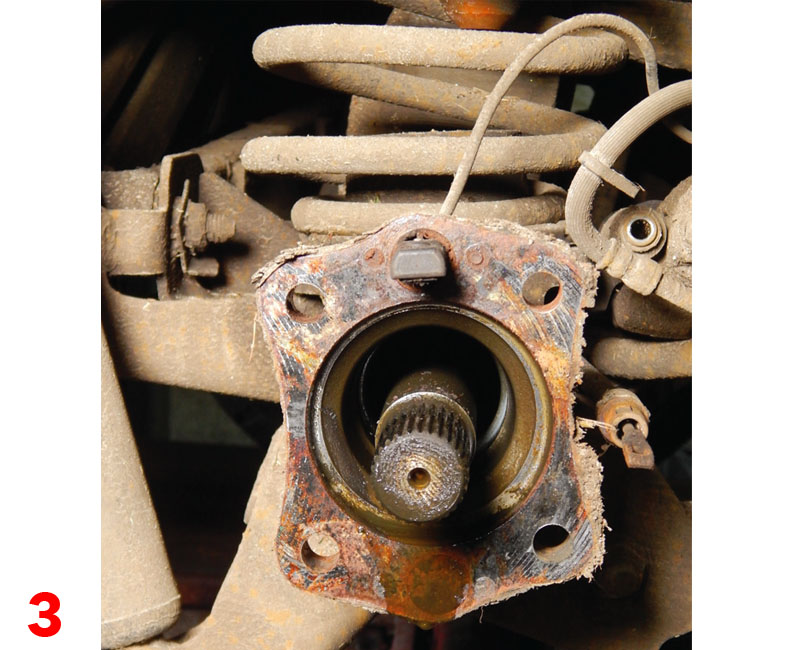
With all the brake components removed, the four retaining nuts that retain the bearing assembly to the axle were unbolted. The bearing assembly then came away, leaving the ABS wheel speed sensor in place (Fig.3). However, the brake shoe backing plate and brake caliper carrier remained attached. In some instances, there is also a possibility that the half shaft also remains attached, which then requires sliding out of the bearing and reinserting back into the differential in the axle.
While working on a bench, the caliper carrier and back plate were carefully prised apart from the original bearing assembly and inspected for damage and all mating surfaces were cleaned.
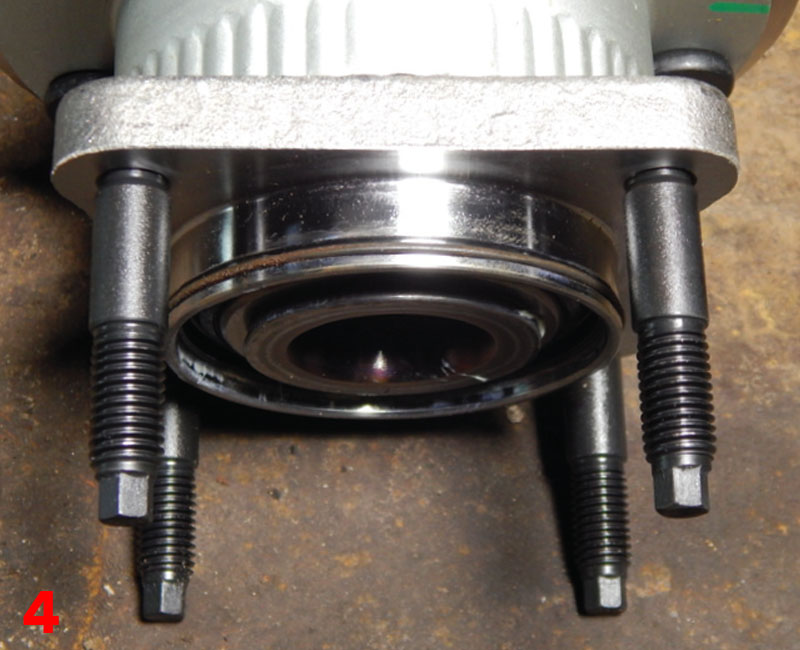
Once all the parts were ready for assembly, they were fitted to the new bearing assembly along with the ‘O’ ring seal positioned in the retaining groove on the bearing (Fig.4).
Note: Failure to fit the ‘O’ ring can cause axle oil to leak past the bearing, affecting the brake shoe linings.
The mating surface of the axle was cleaned, and the new bearing assembly was inserted onto the drive shaft and the axle housing. It was ensured that the parking brake cable was fitted through the back plate.
With the bearing in place, the four retaining nuts were tightened. The parking brake shoes were reassembled along with the actuator and a suitable brake grease was applied at any necessary contact points between the shoes and back plate.
The brake disc and the brake caliper were cleaned and reassembled. Then the foot brake and parking brake were applied several times to check operation. Then, the wheel was refitted. Finally, the fine adjustment of the parking brake shoes was carried out.
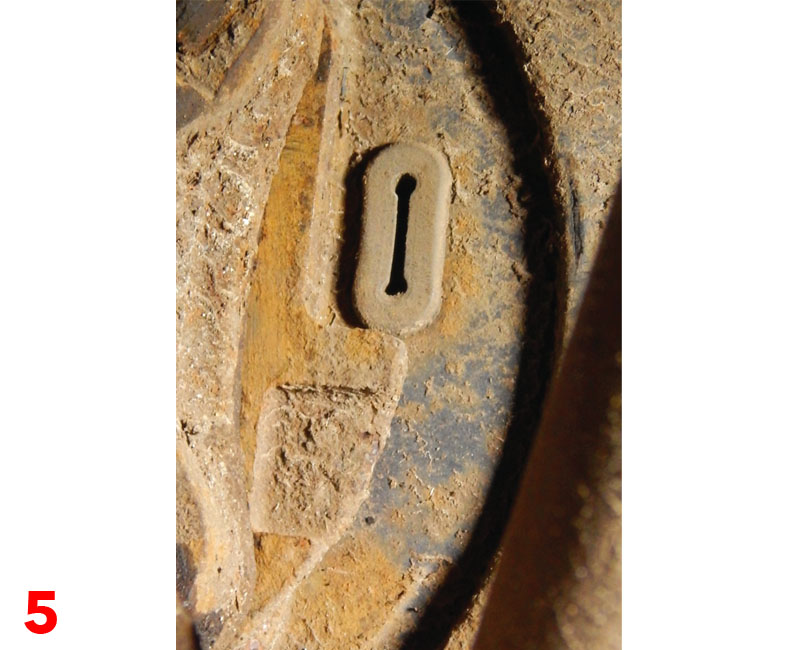
Note: If any adjustment is required, remove the plug from the access hole in the brake back plate (Fig.5). Then, loosen the parking brake cable adjustment nut until there is slack.
A suitable adjusting tool should be inserted through the back plate access hole to engage a tool in the teeth of the adjusting wheel. Rotate the adjuster until a slight drag can be felt when the road wheel is rotated.
Push and hold the adjuster lever away from the adjuster wheel with a thin screwdriver. Back off the adjuster until the brake drag is eliminated.
Repeat adjustment on the opposite wheel and refit the plug. Adjust parking brake cable and lower vehicle.
Operate both the parking brake and foot brake to make sure they hold the vehicle stationary. Release the parking brake lever and road test.