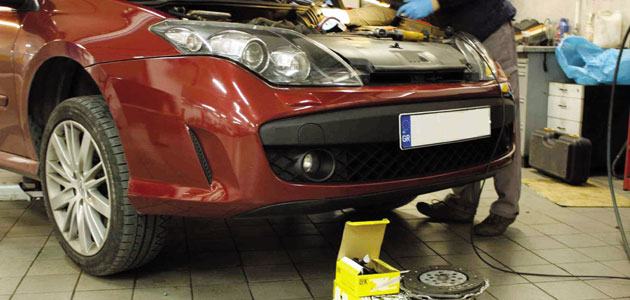
VEHICLE: Renault Laguna Generation 3 2.OL petrol model with engine code F4R
LABOUR TIME: 8.4 HOURS
LUK REPSET P/N: 624335909
LUK CSC P/N: 510022510
The Renault Laguna was launched in 1994, predeceasing the Renault 21. In 2001 we saw the introduction of the 2nd generation Laguna, with the 3rd generation model launched in 2007. The vehicle has seen very strong sales in the UK and is particularly popular with families because of the room and comfort that it offers.
The vehicle used for this guide had covered over 125,000 miles and is fitted from new with a LuK Self-Adjusting Clutch (SAC), Dual Mass Flywheel (DMF) and Concentric Slave Cylinder (CSC). To replace the clutch you need the usual workshop equipment, two-post ramp, gearbox jack, engine support and a self-adjusting clutch mounting tool.
Before starting work, if the vehicle is fitted with locking wheel nuts then make sure you have the key to hand. With the car on the ramp you should then remove the battery, battery tray, air filter, filter housing, and the starter motor.
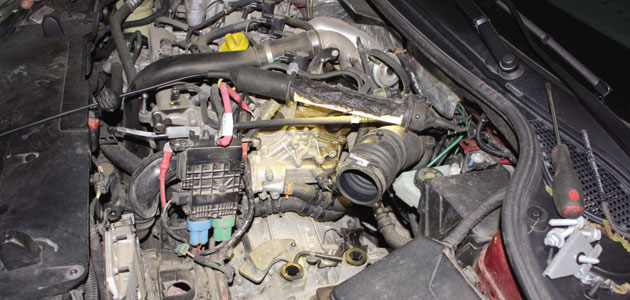
Remove the engine under-shields and drain the gearbox oil before removing the front wheels (as the drive shafts are to be removed from their respective hubs it is advisable to slacken the hub nut at this stage), front wheel arch liners, ABS wiring and headlight level sensors.
Detach the hubs
Remove the front brake calipers and discs from the front hub assemblies; detach the track rod ends and also the anti-roll bar links. Remove the two bolts from the bottom of the front suspension struts to detach the hubs from the struts.
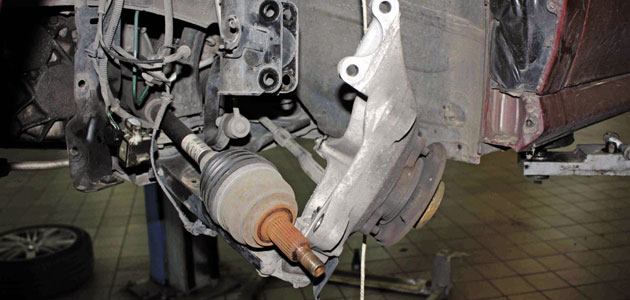
Remove the intercooler holding bar/alloy subframe and tie up the intercooler to support the hoses. Then disconnect the steering rack from the column, making sure the front wheels are in the straight ahead position before doing so (it is advisable to lock the steering wheel in position and make a mark as a reference point to help when re-connecting the rack to the column).
We can now remove the front subframe complete with front hub assemblies, power steering rack and anti-roll bar.
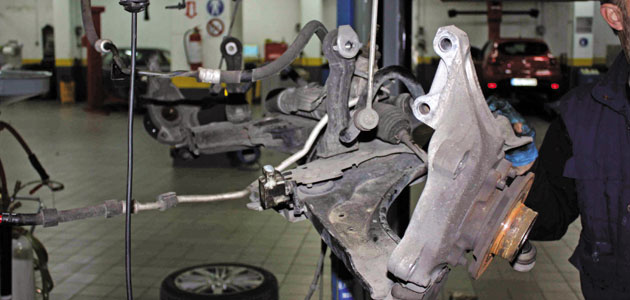
The driveshafts can also now be removed from the gearbox.
Disconnect the reverse switch multiplug and unclip the wiring loom, clamp the flexible part of the clutch hydraulic pipe and remove from the clutch concentric slave cylinder at the retaining clip. Disconnect the gear linkage cable from the gearbox and disconnect the breather pipes and coolant hoses from the retaining clips, ready for gearbox removal. Support the engine on the engine support beam and then remove the gearbox mountings. Once you’ve supported the gearbox with a transmission jack and removed the bell housing bolts, the gearbox is now ready for removal.
Lower the engine and gearbox slightly to aid removal and pull the gearbox away from the engine. Lower the transmission jack to remove the gearbox from the engine compartment. At this point we can see if the clutch is at the end of its service life by looking at the length of the small yellow springs on the pressure plate: if they’re at full extension this indicates the clutch is at full adjustment and requires replacement.
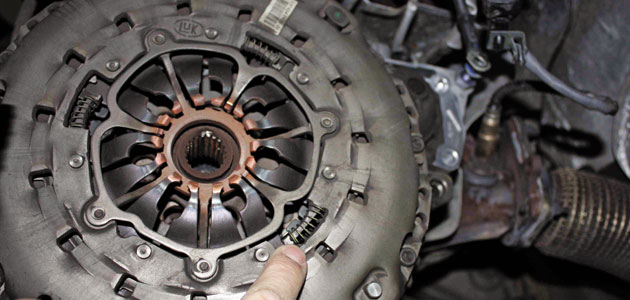
Clean the bell housing area and replace the concentric slave cylinder. Select the correct adaptor that goes inbetween the concentric slave cylinder and the clutch pipe (adaptors come with the LuK CSC), clean the input shaft splines and lightly grease using a high melting point grease; at this point we can fit the clutch plate to the input shaft to ensure the grease is spread evenly and also that the clutch plate fits the input shaft, before wiping off any excess grease.
Dual Mass Flywheel tool
Remove the clutch assembly and, as this vehicle is fitted with a Dual Mass Flywheel (DMF), it should always be checked with a specialist DMF tool and replaced if necessary (LuK part number 400008010 is specifically developed for this purpose).
The LuK self adjusting clutch installation tool should always be used for vehicles with an SAC (LuK part number 400023710) as this ensures the clutch is fitted centrally and squarely as well as guaranteeing that the adjusting ring in the pressure plate doesn’t rotate and cause incorrect adjustment.
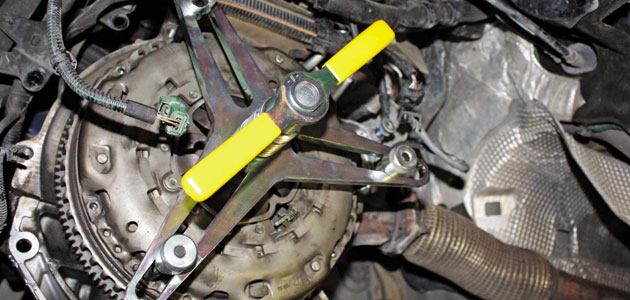
When installing the clutch plate you’ll see that stamped into the clutch plate is “Getriebeseite” or “Gearbox side”, this is to help ensure the clutch plate is fitted correctly. Torque up the clutch as per manufacturers’ instruction and ensure the dowels are fitted correctly for gearbox location and alignment.
Refit the gearbox and all other components in reverse order, always checking for correct position, condition and alignment of components. Fill the gearbox with the correct quantity and grade of gearbox oil, bleed the clutch (ideally with a vacuum bleeder) and then finally carry out a full transmission system test, ensuring clutch and gear operation is correct.


