The technical team at Corteco explains how to successfully replace a torsional vibration damper (TVD) should you notice any unwanted noise coming from the engine.
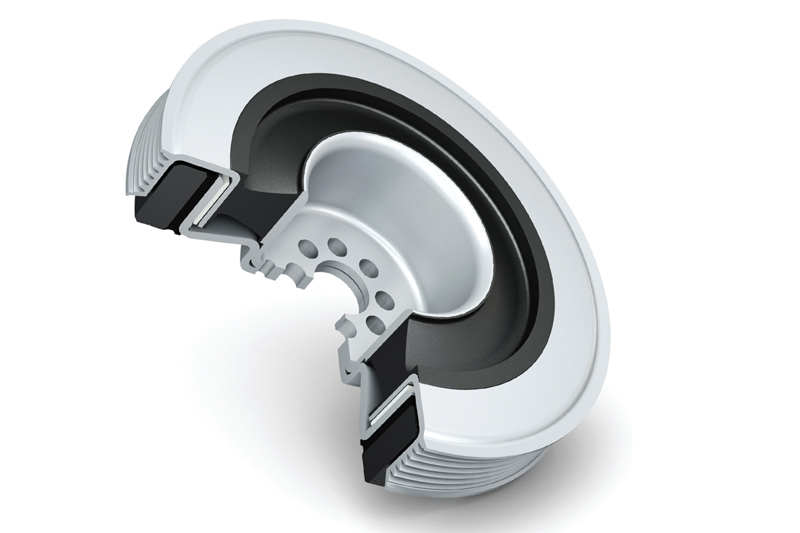
Torsional Vibration Dampers (TVDs) provide vital protection for a vehicle’s engine. TVDs are made up of rubber and metal components; the rubber within the metal absorbs excessive vibrations that are leaked from the engine. These vibrations, if transmitted, can damage surrounding components causing them to fail prematurely. Having failing parts within the engine can cause significant damage to the vehicle.
If the driver starts to hear excessive noise coming from the engine or the vehicle is vibrating excessively, then the car needs to find its way to the garage.
The steps below will show how to successfully remove and install a replacement TVD.
Step 1
The belt routing can be quite complex, so we advise that you take a picture or draw a quick sketch of this.
Step 2
Next, remove the tensioner from the belt, which can easily be done by rotating the pulley.
Step 3
To remove the TVD from the crankshaft, you need to loosen the mounting bolts. As we know, not everything is as straightforward and some TVDs are different.
If the TVD you are replacing has a central expansion bolt, then you will need to block the flywheel. Like most repairs on a vehicle, all the parts need to be replaced, and this includes the central bolt.
If the TVD you are replacing doesn’t have a central bolt, then this can be removed by holding the pulley and removing the mounting bolts. As always, we recommend that all bolts are replaced with the TVD.
Step 4
Unpack the new damper and place this on the engine.
Step 5
Now that the new TVD is on, we need to tighten the mounting bolts. If there are several bolts, we recommend tightening alternate bolts and working them in a star pattern. Torque the mounting bolts to a third of the installation torque.
Step 6
Before fully tightening the bolts, we recommend you torque the mounting bolts to two-thirds, and then continue to tighten them to the full torque as specified by the vehicle manufacturer in the manual.
Step 7
Before releasing the vehicle back to the customer, it is advised to inspect the front end auxiliary drive for wear and to replace any parts that are showing significant signs of stress.
Step 8
The final step to the installation and removal process is reloading the belt onto the tensioner by rotating the tensioner to the correct position.


