For more than 25 years, the Arnott family has been an innovator in air suspension replacement products. PMM gets the full story, and Arnott demonstrates its expertise by providing a step-by- step guide for removing the air strut on an Audi A8.
Arnott’s 27,870 square meter USA manufacturing plant is located in Merritt Island on Florida’s Space Coast. The facility is located on an 8.5 hectare campus, just a few kilometers from the Kennedy Space Center and Port Canaveral, which offers the company an excellent gateway to global shipping and logistics.
The EU Headquarters are located in ‘s- Hertogenbosch (the Netherlands), and through this facility, Arnott’s authorised distributors provide workshops and their customers with a variety of benefits, including better pricing, multiple payment options, local warehousing and shipping and easier returns for cores and warranty items. The EU office is growing rapidly and, in addition to the compressor assembly lines, in September 2016 the EU started its first air spring assembly line and is now assembling the majority of the air springs for the European market.
The bustling facility in the USA includes an impressive new 6,000 square meter research & development centre with test equipment, multiple auto lifts, a video and photography studio, and its own Mazak multi-tasking CNC machine for creating and testing new parts. In addition, Arnott houses an air-conditioned production facility which includes a 4,000W, six-axis laser and all new Mazak Integrex series CNC machinery.
The company says its comprehensive warranty and return policy has earned the trust and confidence of countless customers, installers, parts stores, and distributors, and has secured it a reputation as an industry- leading manufacturer of aftermarket air suspension replacement products.
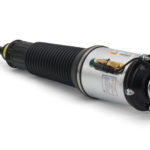
AS2776 Arnott front left air strut Audi A8 (D3); replacement procedure
Proper installation is essential to experience and appreciate the benefits of this system. The removal and installation of air suspension products should only be performed by a fully qualified, ASE Certified professional. It is equally important to be aware of all necessary safety measures while installing a new air suspension system. This includes proper lifting and immobilising of the vehicle and isolation of any stored energy to prevent personal injury or property damage.
Set steering to straight ahead.
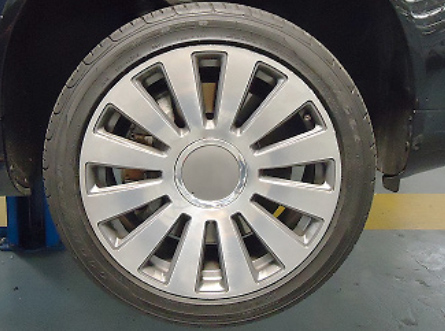
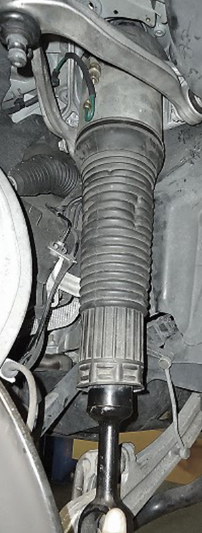
Lift vehicle and remove wheel (see below).
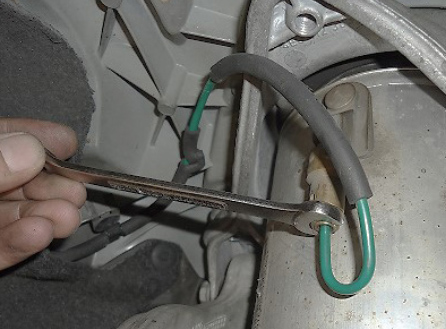
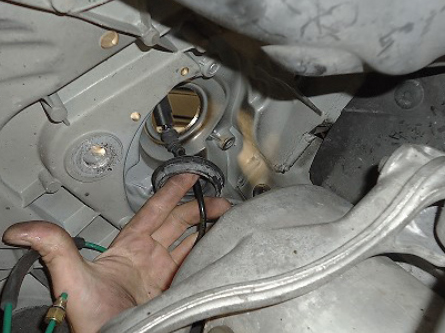
Locate the shock, and then loosen and remove the air line. Remove the air line fitting from the air hose and discard. Refer to technical service bulletin provided with the product for proper fitting usage (see below).
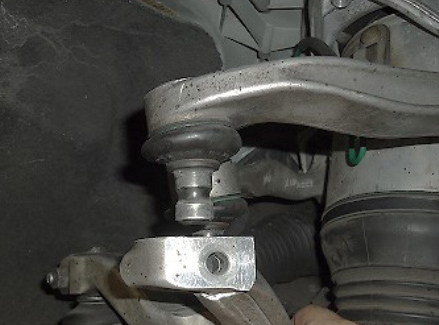
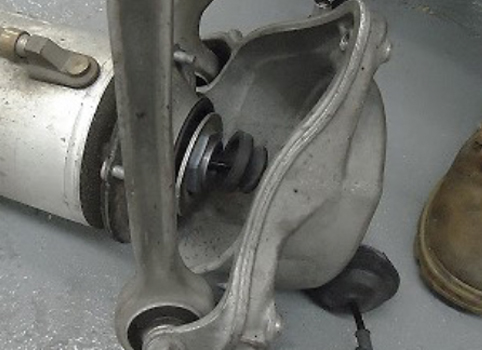
Loosen and remove the upper control arm bolt. Remove upper arms from spindle assembly (see below).
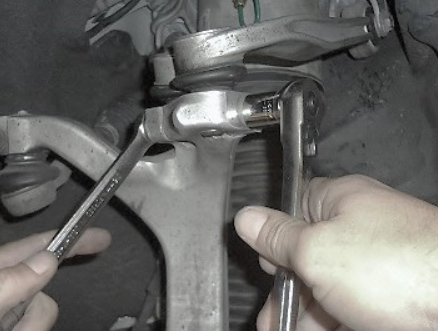
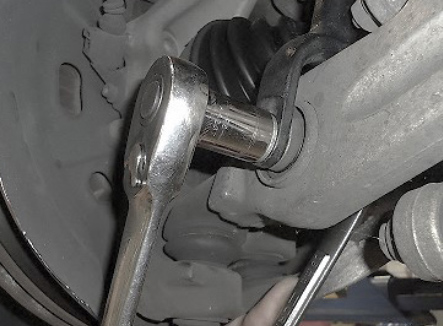
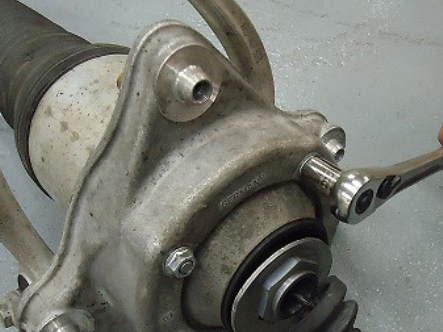
Loosen and remove the lower shock arm bolts (see below).
Raise the hood and remove applicable trim panelling to gain access to the front shock towers.
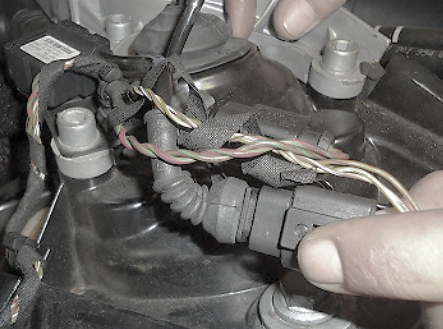
Locate and remove wire harness from mounting bracket (see below).
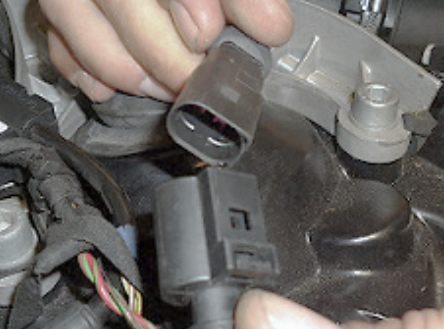
Disconnect the electrical connection (see below).
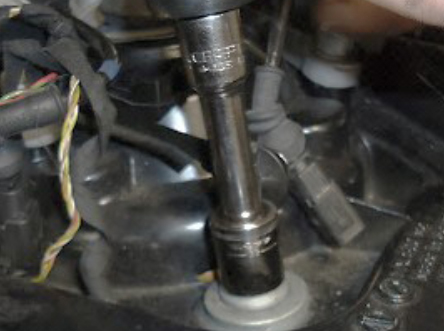
Loosen and remove the three upper shock mounting bolts (see below).
Carefully guide the wire through the hole while removing the shock (see below).
Loosen and remove (4) top mounting bolts from shock (see below).
Remove the top section (see below).
Removal complete. Installation is the reverse process of removal.


