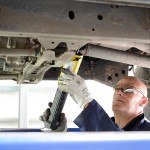
Removing exhaust bolts is often a lengthy, difficult and frustrating task for motor mechanics. The nuts securing the bolts rust easily and as they are usually placed in inaccessible areas, it makes it very hard to remove them.
However, the Mini-Ductor® II + (MD800P) handheld induction heating tool, uses invisible heat which heats ferrous metal (containing iron), and some non-ferrous metal parts in seconds. This allows all types of adhesives bonded to metal, bonded with thread lock compound and seized hardware to be removed and released much quicker and more safely than by traditional naked flame heating. And there’s no costly and time consuming damage to surrounding areas.
Why use induction heating to remove an exhaust bolt instead of the naked flame method?
6 easy steps to remove tough Exhaust Bolts
Equipment needed: Heat resistant gloves, overalls, goggles and a respirator mask (if smoke will be produced from heating).
Knowledge required: A well-reviewed proficiency of the tools safety and operating instructions.
Step 1 – Select Correct Coil
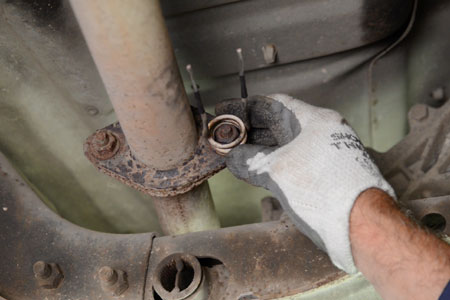
Step 2 – Bend Coil to Correct Shape

Step 3 – Tighten Preformed Coil well
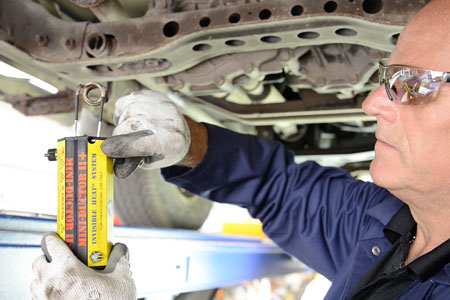
Step 4 – Do Not Heat Red Hot. Heat only enough to expand the nut.
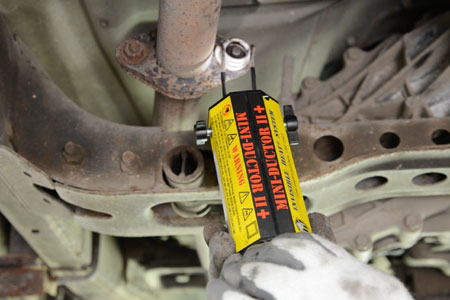
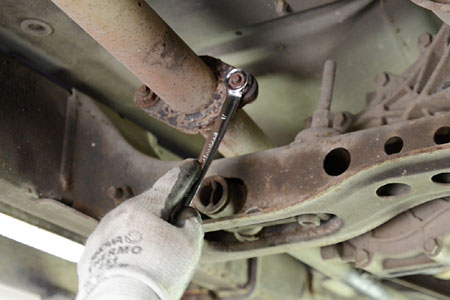
Step 5 – Remove the Nut Immediately using an appropriate tool.
Step 6 – When the Bolt has cooled it can be removed by hand.
The Mini-Ductor® II + runs off a 240V power source and is also available with 110V CE power and in a new 12V portable version, which runs off a car or portable battery, ideal for tricky roadside repairs.


