NGK Spark Plugs take us through Opel/GM ignition coil rail removal and installation.
NGK’s newly launched YouTube channel – www.youtube.com/channel/U CVveRIWmTwxoTWtMQL
WDnlQ – includes a series of technical films, designed to help technicians to improve their knowledge of products and to offer component installation and diagnosis advice.
Topics covered include: glow plugs tips & tricks; controlling emissions using NTK Lambda sensors; the removal and installation of ignition coils; installation positions for Exhaust Gas Temperature Sensors; and the installation and tightening torque for spark and glow plugs.
The latest video to hit the channel offers advice on how to correctly remove and install the ignition coil rail for Opel/GM models. This is particularly important as improper removal methods can lead to damage of the ignition coil rail.
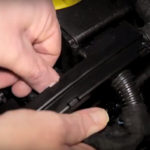
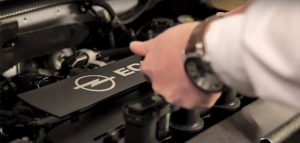
STEP 1: Unplug the ignition coil (in this example we’re using NGK p/n U6001).

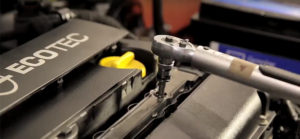
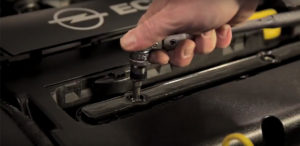
STEP 2: Now use a wrench to loosen and remove the screws.
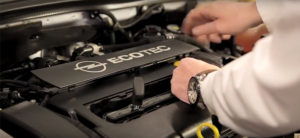
STEP 3: Insert the special tool (Klann KL-0127-85 or equivalent) into the mounting sleeve – this
avoids bending the coil which can cause internal damage or breakage.
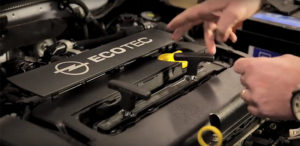
STEP 4: Now you should pull evenly on both handles to remove the rail.
STEP 5: Use special tools for installation of the rail to avoid any damage.
STEP 6: You should use a torque wrench to fix the coil in place. The recommended tightening torque is
detailed on the installation instructions inside the box. Bending or using the wrong torque are the main reasons for rail coil failure.