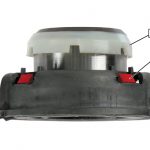
Although less commonly seen these days in passenger cars than the pushtype, the pull-type clutch is still used in a number of vehicles where its higher clamping force for a given diameter of clutch is an advantage in compact installations. According to Tim Hodgkin, Technical Support Technician at ZF, workshop unfamiliarity with this type of clutch can lead to uncertainty about correct fitting and troubleshooting procedures.
 In the majority of cases, fitting problems can be attributed to the clutch release system rather than the new clutch or bearing. The condition of the release system has a much greater significance in this type of installation, as the effects of any wear are amplified by the higher release force required by a pull-type clutch.
Tell-tale signs that there may be excessive play in the release mechanism are asymmetric or offset wear marks on the release bearing, indicating an uneven pull on the bearing or its retaining ring. As a guide, the following outlines the correct procedure for inspecting, installing and checking the operation of a Sachs pulltype clutch as fitted to Citroen Jumper, Fiat Ducato and Peugeot Boxer vehicles.
Description
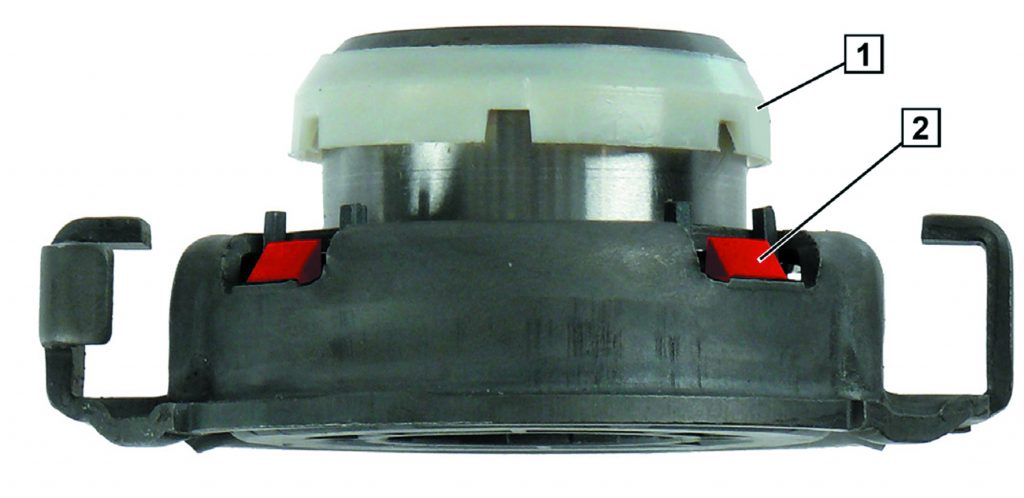
The releaser is centred in the inner diameter of the diaphragm spring fingers by a thrust ring (Fig 1.1) and secured by a retaining ring th at locks automatically when correctly aligned and pressed into place with only moderate force. Excessive force must be avoided, as this could cause breakage of the mounting clamps (Fig 1.2). The thrust ring of the releaser must be above the retaining ring. Inspect for defects.
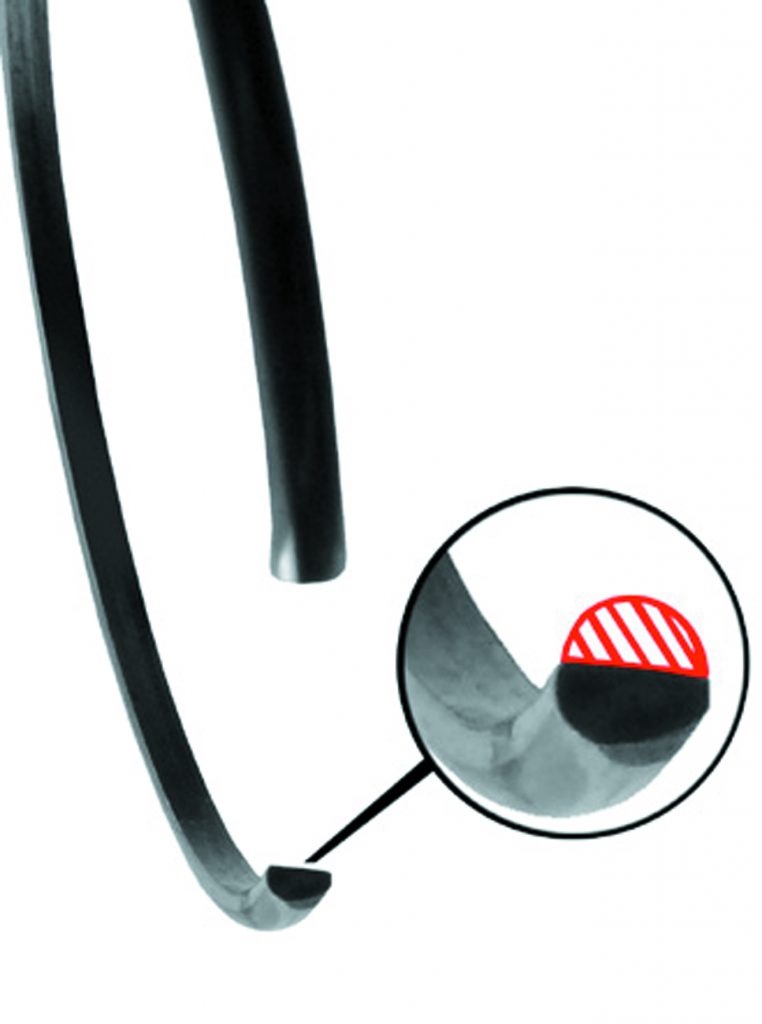
Visual clues to the degree of wear in the clutch environment can be gathered from a variety of components. A worn retaining ring (see below) – where the round cross-section has been worn flat – can lead to the releaser separating suddenly from the diaphragm spring, causing the clutch to engage unexpectedly.
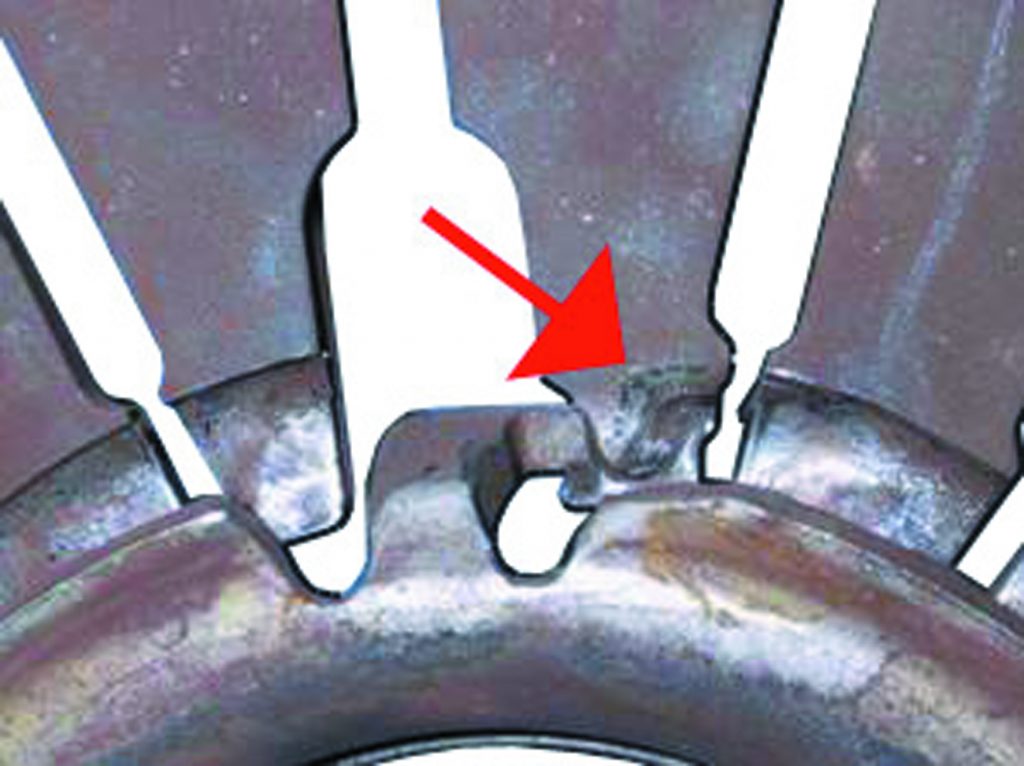
Excessive wear on the releaser ring and diaphragm spring fingers (see below) or signs of mechanical damage or overheating on the releaser also highlight the need for replacement of any defective parts.
Installation of the releaser
- Install the releaser on the release fork
- Install the release shaft, where applicable
- Mount the transmission to the engine, ensuring that there is no parallel or angular offset – check for missing location dowels and anything that could become trapped between the engine and transmission flanges
- Centre the releaser by pressing it lightly onto the diaphragm spring ends, then press more firmly until it is heard and/or felt to lock into the thrust ring
Bleeding or adjusting
Hydraulically-actuated clutches should be bled after clutch installation. The cable of a mechanically-actuated clutch should be checked and adjusted after depressing the clutch pedal 20 times. This procedure should be repeated until the adjustment is correct.
Post-installation checks
After clutch replacement, the entire release system should be checked for correct function, ease of movement and wear. Inspect the following items:
- Clutch cable or master and slave cylinders, according to method of clutch actuation
- Clutch pedal preload
- Release fork
- Release shaft
- Guide tube
Adhering to the procedures outlined should ensure a much higher rate of success in installing the pull-type clutch without encountering problems.


