Schaeffler provides some advice to technicians installing an INA timing belt tensioner.
When installing a new stud, it is important that it is tightened to the correct torque settings according to the vehicle manufacturer’s (VM) specifications (usually around 15Nm), always using a calibrated torque wrench.
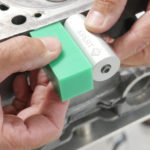
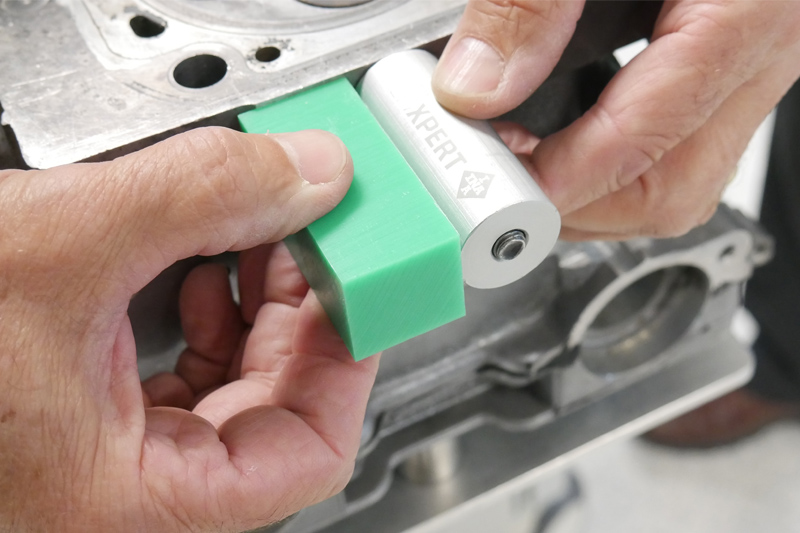
Once torqued correctly, the mounting thread must sit either flush or just below the surface of the cylinder head. Failure to insert the stud to the correct depth will result in the stud being subjected to ‘cyclic stress’, meaning the irregular firing pulses of the engine will vibrate through the stud and cause it to become loose or, in the worst case, snap off. To ensure the stud has been correctly installed, technicians should place the tool over the stud to check if any of the thread protrudes – if it does, the stud is not fitted correctly. The tool has a 10mm counter bore at one end to allow it to be used with both the M8 plain stud and the alternative M8 to M10 stepped stud.
Once the stud has been installed to the correct depth, the tensioner nut should have torque applied, along with the supplementary turn in degrees. The turn is usually 45 ̊, but best practice is to always check the VM’s specifications and also check that the stud is stretching, not just turning in the head, as this can damage the thread.
If the thread needs repairing, the stud tool should be used in conjunction with the square nylon block to ensure that it is aligned perfectly straight. If the stud is installed at an angle, it will simply amplify the effects of cyclic stress and cause premature failure.
‘4T’ guideline update
Schaeffler’s new tool complements the company’s recent belt system best practice campaign, urging all technicians to follow its 4T guidelines during every INA kit installation. The concept was the work of the UK REPXPERT team in a bid to boost service and installation best practice, as well as helping to prevent fitting errors that can lead to premature belt failure:
■ Temperature: Do not start work until the engine has completely cooled down (can be up to four hours).
■ Tools: The correct tools must be used in accordance with VM instructions.
■ Torque: Use a calibrated torque wrench to tighten all bolts to the correct VM specifications.
■ Tension: The belt tension must be correct and set to VM recommendations (avoid twisting the belt as this can damage the tensile cords).


