Knowing how to diagnose, solve, and prevent brake judder is critical when it comes to effective brake servicing and avoiding customer comebacks, says Delphi.
Brake judder is typically felt as either a sideways shake in the steering wheel, a pulsation in the pedals or even a vibration through the floor, when braking. It can vary from an inconspicuous vibration to a severe judder but either way it will gradually worsen over time, potentially causing irreparable damage to the discs. Whilst it’s not always the most complex of issues, brake judder can be a source of frustration for technicians.
 What causes brake judder?
The main culprit is disc thickness variation (DTV), which is where the disc’s two friction surfaces, the outside and inside faces, are no longer parallel. As such, when applying the brakes on a vehicle with DTV, the pads will be forced into the thinner areas of the disc, only to be kicked back when reaching the thicker areas. This causes the pad to effectively bounce, creating pulses that are transmitted through the caliper pistons, via the brake fluid to the brake pedal, or to the steering wheel and resulting in brake judder. DTV can be caused by a number of factors, including improper disc installation, poor bedding-in, overheating of brake discs, seized calipers and poor manufacturing processes. If there’s no evidence of thickness variation, it’s important to investigate other areas. For example, the wheel bearings could be badly worn and have excessive play, resulting in erratic disc wobble. Another potential cause, especially with thin-hat discs, is imprecise wheel installation. Excessive torque on the wheel fasteners could lead to a warped disc hat. The same goes for tightening torque on the discs’ positioning screws. This could distort the hub contact surface. All of these issues could result in judder.
Delphi’s best practice advice to prevent brake judder
By following a few simple guidelines and only fitting OE quality discs such as those from Delphi, brake judder can virtually be eliminated:
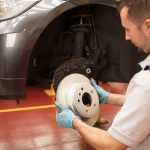
- Before refitting a disc, first check the disc’s thickness. Using a brake disc micrometre, measure the disc’s thickness, 2.5mm from the outer edge, at eight equidistant points around its perimeter. Never base the measurements on any one single spot. Compare the results with the specification. If it’s outside the manufacturer’s tolerances then it cannot be serviced and must be replaced. In general, the maximum allowable thickness variation is around 0.015mm.
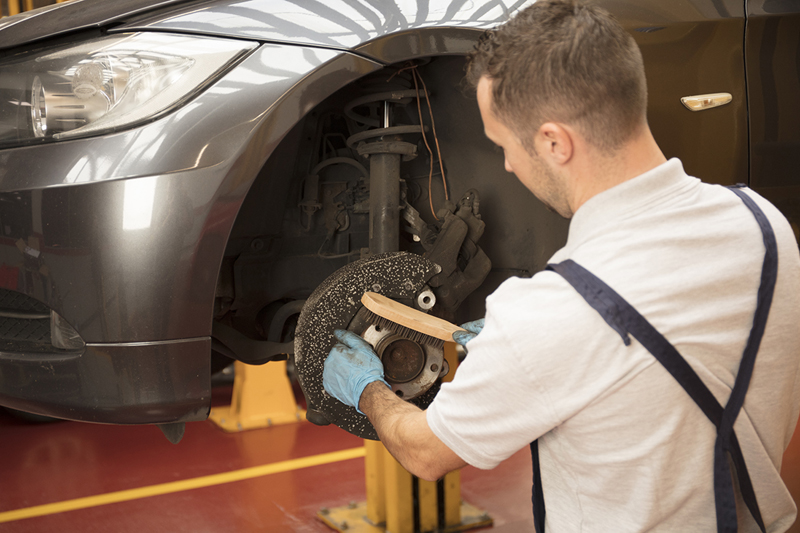
- Ensure that both the hub and disc mounting faces are scrupulously clean and free from rust or any other form of dirt or grease. Use a cloth and appropriate solvent to clean the disc, and a wire brush for the hub.
- Once fitted, use a dial indicator to check the disc’s lateral runout. The dial test indicator must be securely mounted to a stationary, yet adjustable fixture – for example, a control arm. Position the dial indicator’s plunge tip about 2.5mm inside the rotor edge, set to zero and rotate manually through 360°, recording maximum and minimum runout. Whilst tolerances will vary from make to model, less than 0.05 to 0.10mm is a good target for maximum runout limit.
- If runout is out of tolerance, recheck the disc fitment onto the hub. If this is correct, remove the disc and carry out a runout check with the DTI on the wheel bearing/hub unit.
- Ensure that the caliper carrier is clean and that the slider pins are lubricated, free of rust and moving freely.
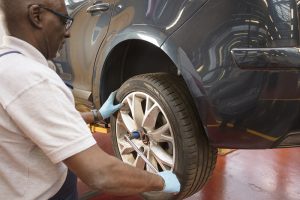
- Torque all wheel fasteners in the correct pattern and at the correct torque settings.
- Remind your customers to always bed in new brakes according to the manufacturer’s instructions. They should also avoid continuous, consecutive heavy braking from high speed and holding the car back with the brakes on long, steep descents – use a lower gear to make use of engine braking instead.
Brake servicing
 Whilst discs and pads are the bastion of brake servicing, it’s important to check all parts of the braking system. Braking accessories, for example, should be fitted as new with every job. Using old components with reduced tension and function can result in unequal braking. Similarly, anything that interferes with friction, such as grease, oil or brake fluid, can cause the brake shoe and its associated components to fail, reducing brake efficiency. A seized caliper can also result in all manner of problems, including brake drag, brake overheat, brake fade and hot spots on the brake discs, leading to uneven wear and potentially irreparable damage to both the pads and discs. Regular maintenance of these components, alongside the rest of the system, is therefore critical and should be included as part of any routine service.


