Research has shown that up to 80% of diesel engine problems stem from fuel contamination or poor quality fuel. As diesel technology evolves, so do engine tolerances for lower quality fuels, and this is especially true in the case of the precise common rail injection technology.
 Unblended biodiesel, over the acceptable EN590 fuel standard that includes a blend of up to 7% biodiesel, can cause issues such as long-term engine/injector deposits, reduction of engine life and blocked filters.
Cost implications
Issues experienced can range from poor running and smoking, to DPF failure or even complete engine failure. The cost to the driver may be an expensive injector repair.
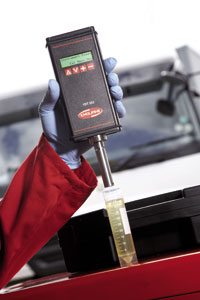
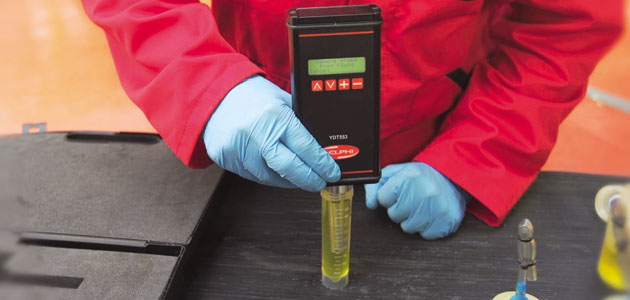
To help technicians perform an initial check on the fuel and whether it meets EN590 standard, Delphi’s fuel analyser tool (YDT553) can test and provide a printed report of the biodiesel content of an automotive diesel fuel sample. This method can help to vastly reduce diagnostic time by identifying potential fuel contamination problems.
The volume of fuel required to undertake an analysis is only 46ml. This small amount of fuel can be retrieved from the fuel pump or the filter, making this tool ideal for workshops receiving only system components, in addition to garages carrying out vehicle servicing.
“Running vehicles on sub-standard fuel can lead to performance issues, such as filter plugging, injector coking, and piston ring sticking/breaking.”
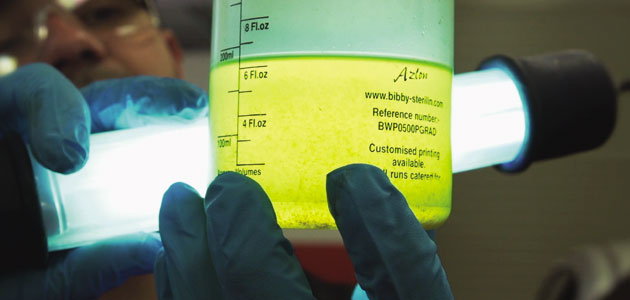
1. Take a fuel sample from the vehicle, and visually check the appearance. If it has a cloudy appearance, visible debris, high water content or significant discoloration it is likely the fuel is contaminated.
2. Turn the fuel analyser unit on and ensure the probe is clean, dry and fully screwed-in.
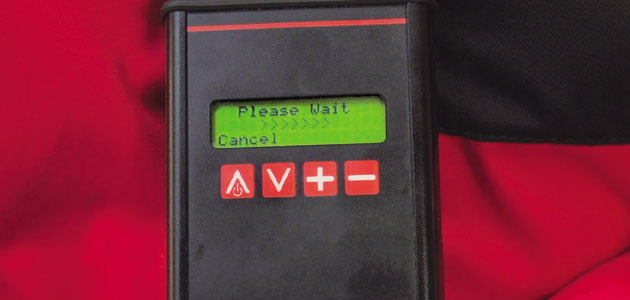
3. Calibrate the unit by pressing the ‘V’ button. The calibration will take approximately 30 seconds.
4. Pour 46ml of the fuel sample into the tube provided with the kit.
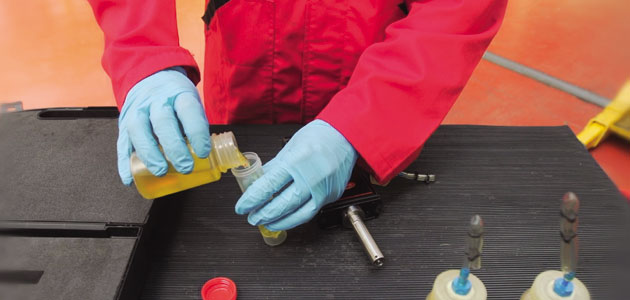
5. Place the tube on a flat surface and allow it to settle, making sure there are no air bubbles present.
6. Insert the probe on the fuel analyser unit into the tube and then press the minus button to take the measurements. The fuel sample must be above the slot at the top of the probe.
7. When the screen on the unit displays ‘remove probe’ and a buzzer sounds, remove the probe from the tube and place in an empty container to drain.
8. The Delphi fuel analyser unit will automatically display a countdown on the screen until the analysis is complete.
9. When finished, the results of the test will display on the screen. The machine is capable of measuring PME, SME, RME, Biodiesel and Petrol.

10. To re-measure, press the plus button. To finish, press the exit button.
11. To view or print reports, run the software on the disc provided with the kit. The software will allow you create a job card, including test results and customer information.