In this month’s timing belt clinic, Schaeffler REPXPERT Alistair Mason replaces the timing belt on a 2010 Renault Wind, which has covered 53,000 miles and is fitted with a 1.6L petrol engine.
Technicians should allow just over five-and-a-half hours for this repair, and, with very little investment needed in tools, this is a great repair for any independent workshop.
For this repair, a two-post vehicle lift, engine support and engine timing/locking tool kit are required. When replacing a timing belt, Alistair recommends that technicians follow Schaeffler’s 4T guidelines:
■ Temperature – ensure the engine is at an ambient temperature
■ Tools – always use the correct tools and engine timing tools
■ Torque – always use a calibrated torque wrench and torque bolts to the manufacturer’s recommendations
■ Tension – the belt tension must be set correctly
Step-by-step guide
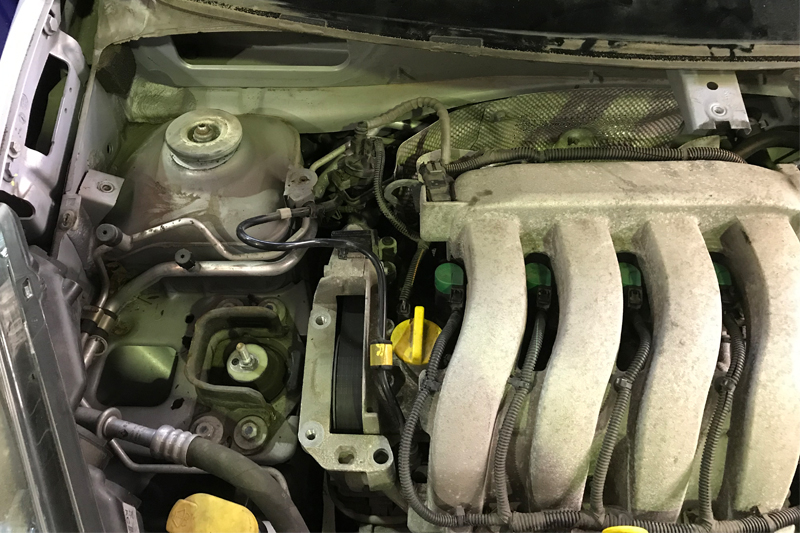
With the vehicle placed on the lift, open the bonnet and disconnect the negative battery lead from the battery. Remove the complete air filter assembly and hose, then the throttle body unit and lifting eye that is bolted to the back of the cylinder head, which will give good access to the back of the camshafts.
Remove the wiper arm assemblies, making a note of their installation positions, and detach the scuttle panel trim and two tin plates attached to the bulkhead (see below), which gives some access to the timing belt area.
Next, raise the vehicle lift to waist height and remove the O/S/F wheel arch liner, before elevating the vehicle lift to gain access to the underside of the vehicle. Lose the undertray. At this point, attach a universal under vehicle engine support to aid the engine, and then remove the gearbox pendulum support.
Lower the vehicle lift and remove the O/S engine mounting and upper timing belt cover (see below), which now gives partial access to the auxiliary belt tensioner.

Ease the tension and remove the belt, inspecting it for wear, and replace it if required. It is always best practice to replace the auxiliary drive belt when changing the timing belt, as well as to check all idlers, tensioners and the over-running alternator pulley for wear and correct operation.
Next, disconnect the lambda probe multiplug in the engine bay, and ease the wiring towards the O/S/F wheel arch area.
Now, set up the timing marks on the engine, remove the two camshaft blanking seals on the back of the cylinder head (see below) and rotate the engine in the direction of rotation – in this instance, clockwise – by turning the bottom pulley.

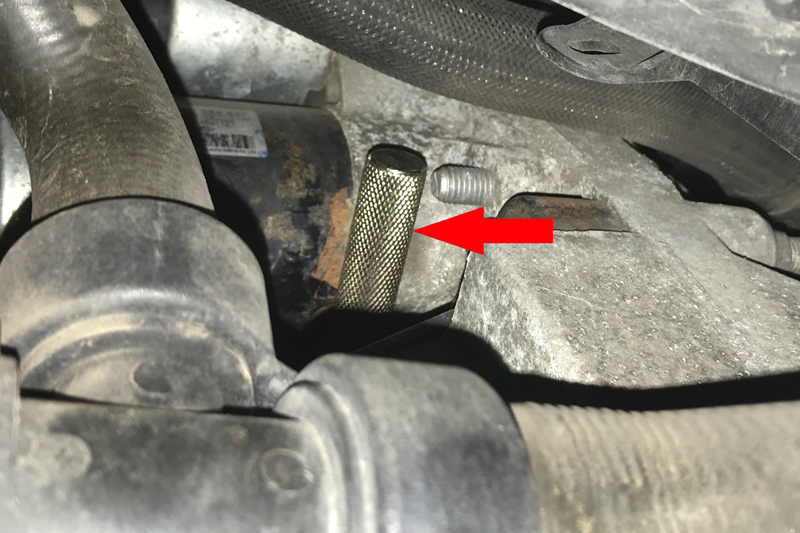
Undo the crankshaft locking tool blanking bolt on the front of the engine, rotate the engine until the camshafts are close to their locking position, fit the crankshaft locking tool (see below) and then rotate the bottom pulley until it goes against the locking pin.
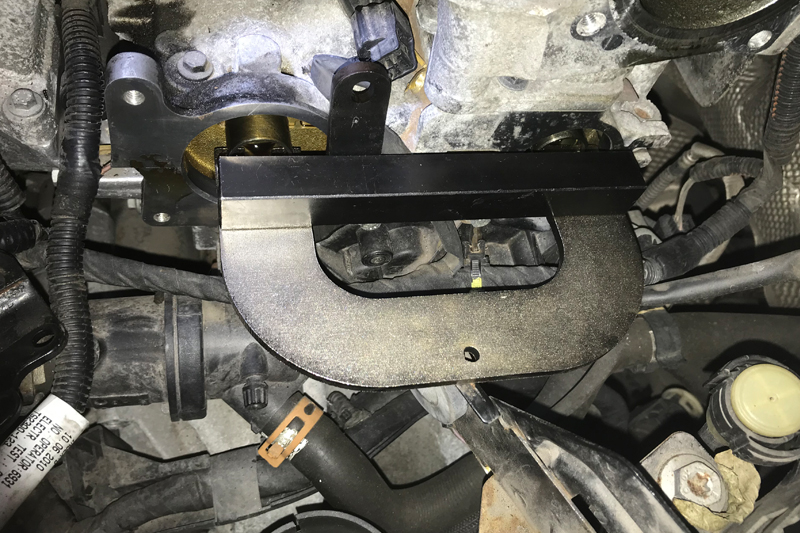
The camshaft locking tool can now be inserted to lock the camshafts (see below), meaning the locking tools can be taken away.
The next step is to raise the vehicle to gain access to the underside. Detach the bottom crankshaft pulley and the lambda probe to give the lower timing belt cover enough clearance for removal. Once the lambda probe has been separated, undo the lower timing belt cover bolts and stow away the cover.
Now, refit the crankshaft and camshaft locking tools, release the tension on the timing belt tensioner by slackening the nut, ease the timing belt off the pulleys and remove it before dispensing with the tensioner and idler.
Inspect the timing belt area for any oil or coolant leaks and rectify, if required, to prevent any contamination of the new timing belt system. On this occasion, the coolant pump was changed, as it is driven by the timing belt, and the tensioner stud is mounted on the coolant pump. The new stud was fitted and torqued before the new coolant pump was installed. Always use new coolant when refilling the system and ensure it is the correct specification.
Mount the new timing belt tensioner pulley, ensuring that the lug locates in the cylinder head. ‘Finger-tighten’ the nut so the tensioner can still be rotated to tension the belt, and then replace the idler pulley and torque to the manufacturer’s specification.
Next, after carefully removing the camshaft locking tool, use a counter-hold tool to support the exhaust camshaft pulley and slacken the pulley retaining nut, so that the cam pulley can rotate on the camshaft, and then refit the camshaft locking tool.
Ensure the crankshaft is rotated against the locking tool and that the camshafts are locked correctly. Fit the new timing belt, starting at the crankshaft and working up the engine, and finishing at the exhaust camshaft pulley/tensioner pulleys. In this instance, the exhaust cam pulley was removed, the belt on the pulley mounted and the pulley installed, which simplified the process.
Once the timing belt has been mounted correctly, turn the tensioner adjuster in a clockwise direction until the pointer aligns centrally with the notch in the baseplate. Tighten and torque the tensioner nut, then dispense with the camshaft locking tool. Counter-hold the exhaust camshaft pulley, then tighten and torque the camshaft pulley nut. Remove the crankshaft locking tool, rotate the engine two complete revolutions, and refit the locking tools to ensure the engine is still timed correctly, before checking that the tension is still correct on the belt tensioner (see below).
Once the timing and tension is checked to ensure accuracy, refit all of the components in reverse order of removal, remembering that when the battery has been reconnected, you need to reset all electrical consumers.


