Blue Print’s Charles Figgins guides the PMM audience through a clutch replacement on a 1.9 VW Passat.
Vehicle Information
Make: Volkswagen
Model: Passat
Engine: 1.9 TDi
Transmission: Five-speed manual
The Volkswagen Passat, a versatile and large family car, was introduced to the market in 1973 and is now in its eighth generation. This well-known international model uses many mechanical components familiar to workshops and other Volkswagen/Audi group vehicles.
Featured in this article is a sixthgeneration Passat fitted with the popular 1.9 TDi engine and five-speed manual gearbox. The vehicle was reported to have a rattling/knocking noise coming from the clutch area and a high-frequency vibration that was felt through the clutch pedal and gearstick whilst driving. This was possibly due to a faulty dual-mass flywheel; this would require the gearbox to be removed and the clutch assembly to be inspected in order to fully diagnose the fault and rectify it.
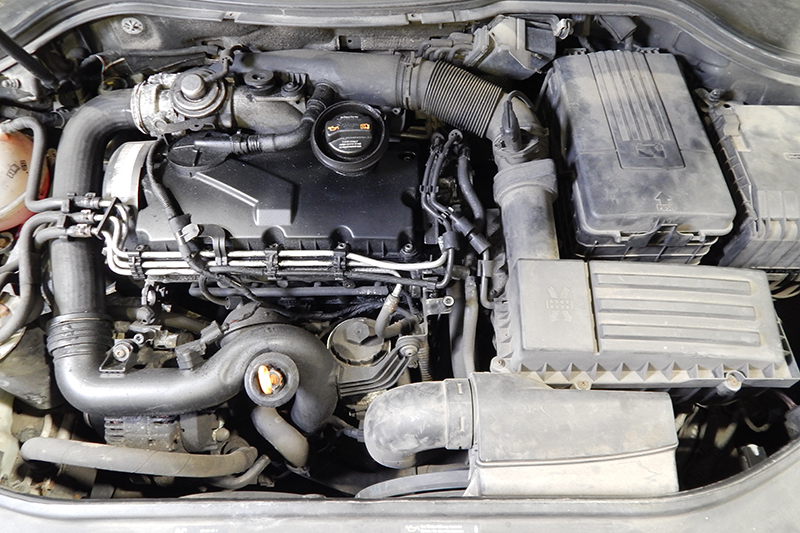
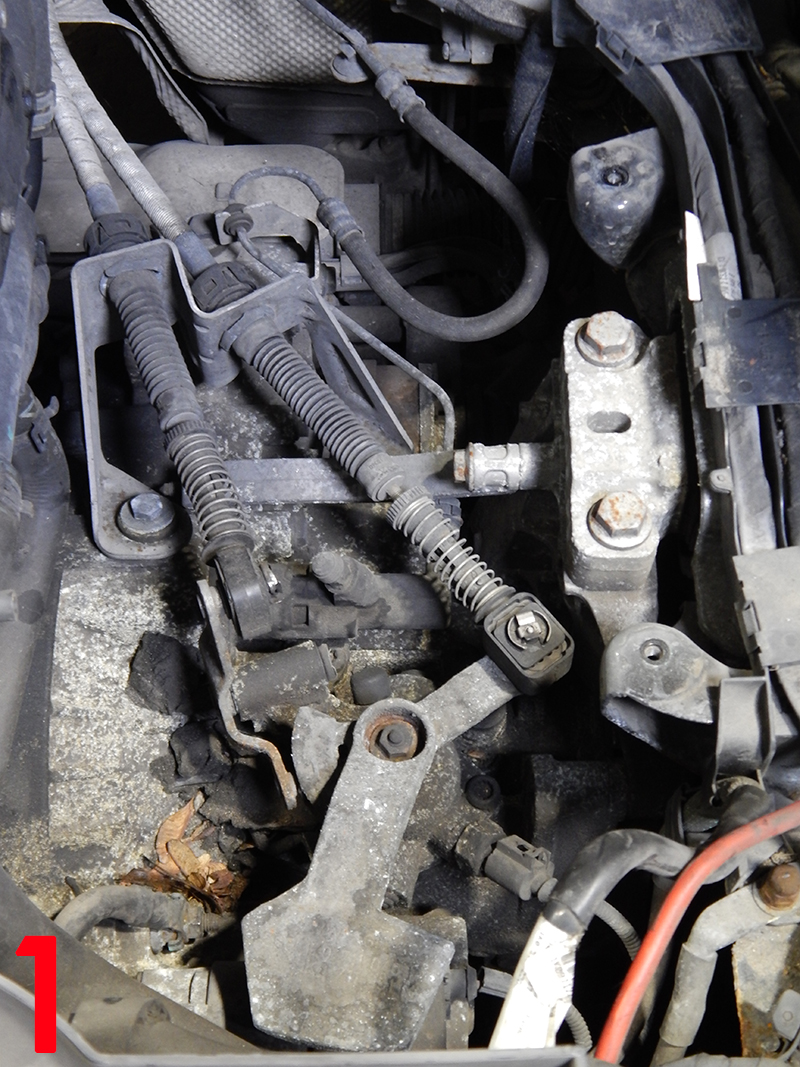
Once the vehicle was brought into the workshop, the bonnet was opened and the battery, battery tray and air cleaner assembly were removed to give access to the top of the gearbox. This revealed the gear selector, clutch slave cylinder, starter motor and gearbox mounting (Fig.1).
Firstly, the gear selector cables were unclipped from the selector levers and the three retaining bolts from the cable bracket were removed, with the cables being put to one side.
The clutch slave cylinder was unbolted and secured, followed by the reverse lamp switch, wiring harness and the starter motor. This left only the gearbox retaining bolts to be removed at this stage.
The engine was supported by an engine brace, before removing the two bolts that hold the gearbox mount in place. The vehicle was then raised to a working height.
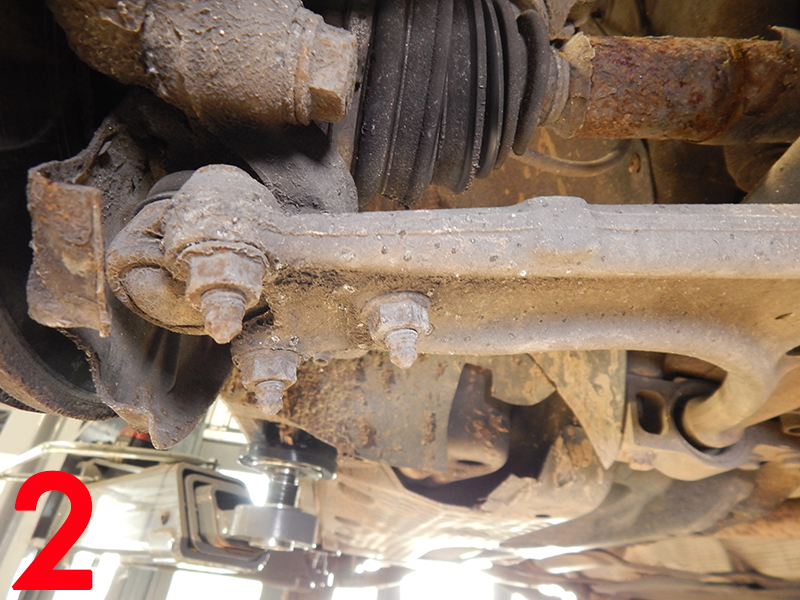
The front wheels were removed followed by the left-front driveshaft retaining bolt, and then both of the lower suspension arm swivel joint retaining bolts (Fig.2) and the left-hand wheel arch liner.
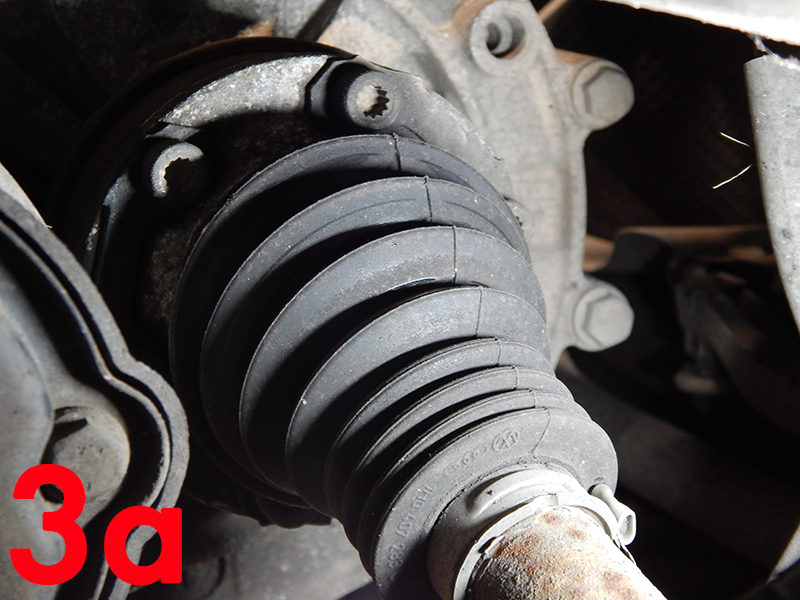
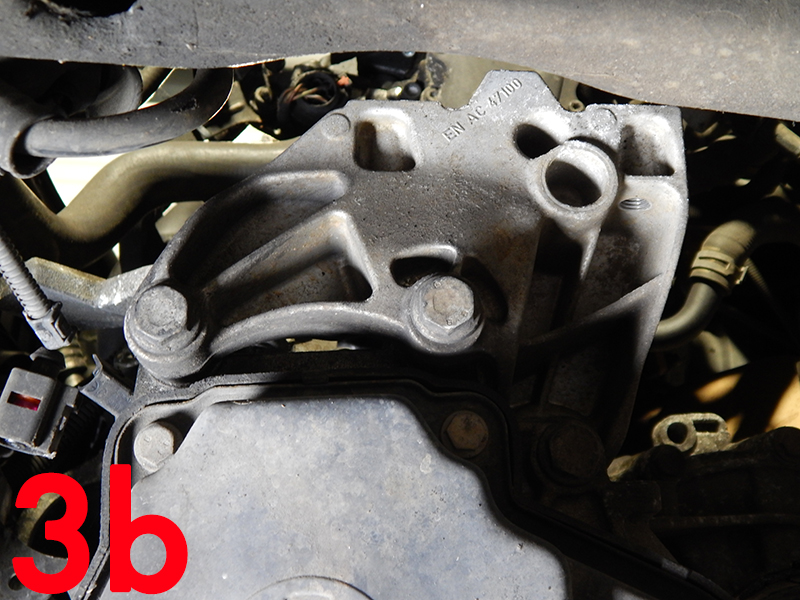
The inner driveshaft joint retaining bolts were unbolted and then the driveshafts could be pulled free from the drive flanges. The right-hand driveshaft was secured to one side and the left-hand driveshaft was removed completely to give clearance for the removal of the gearbox from the vehicle (Fig.3).
Working underneath the vehicle, the exhaust bracket attached to the gearbox was removed, along with the small gearbox shield above the right-hand driveshaft. All that remained was the removal of the upper gearbox retaining bracket and the lower gearbox retaining bolts. The engine and gearbox were lowered to an appropriate position and the mounting bracket was removed. With the gearbox supported, the last retaining bolts were removed and the gearbox was lowered out of the vehicle.
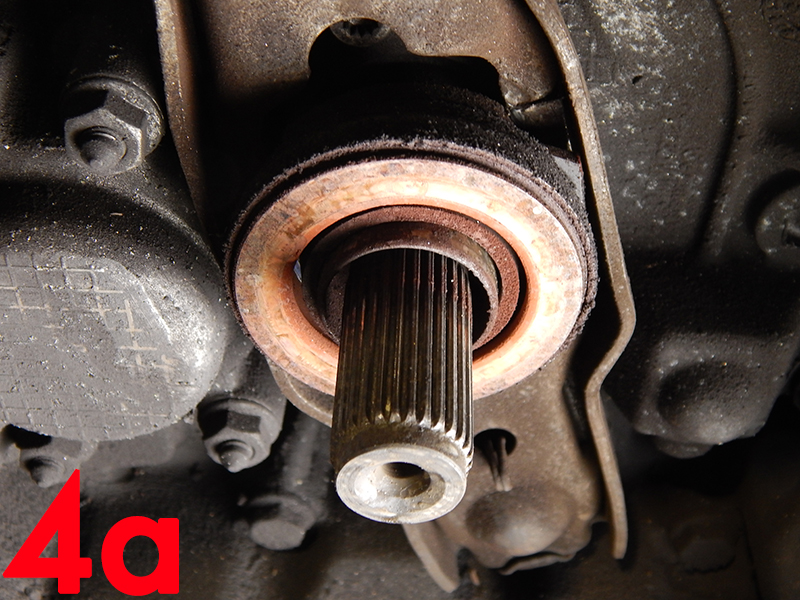
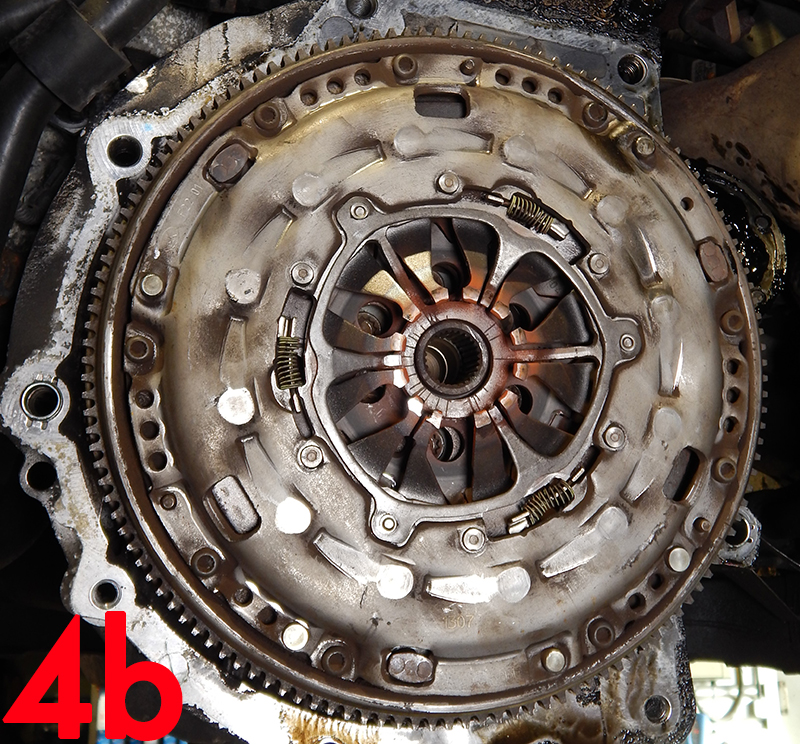
The clutch pressure plate, friction disc and flywheel were removed and inspected. Upon inspection of the release bearing, it was apparent that it had become worn and sticky in operation; however, the root cause of the noise and high frequency vibration was the flywheel. Although there were no signs of scoring/cracks or ‘blueing’ on the friction contact surface, it was obvious that the flywheel had excess ‘free play’ when tested, as well as an internal material failure. (Fig.4)
The conclusion was that the complete clutch kit was in need of replacement.
To carry out this work, Blue Print’s Smartfit Conversion clutch kit ADV183059 was chosen. This includes a complete four-piece dual mass flywheel conversion kit with torsion-damper friction disc, pressure plate, solid flywheel, grease, release bearing and all necessary bolts, and a Smartfit installation sticker.
The crankshaft was inspected and cleaned along with the rear main oil seal, before fitting the new solid flywheel. The new bolts were then tightened to manufacturer specification.
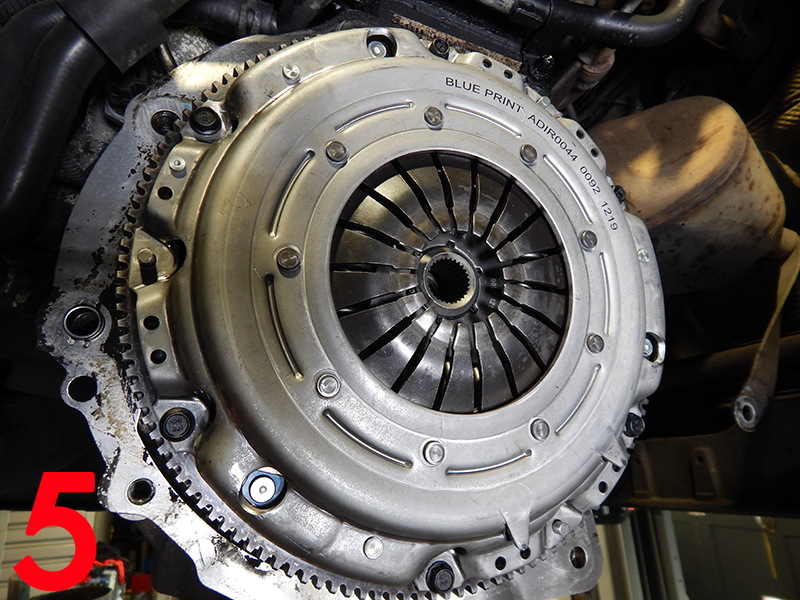
Before fitting the new pressure plate and disc, the contact surfaces were cleaned and all parts were aligned and fitted fully against the flywheel – along with the new retaining bolts. The six pressure plate bolts were tightened diagonally to ensure ‘even’ contact and to prevent any damage to the pressure plate and flywheel centring pins (Fig.5).
Our attention then turned to the release mechanism; the bell housing was thoroughly cleaned to free all grease, dirt and old friction fibres from the previous clutch, and then the release fork was removed and inspected for cracks or wear.
The new release bearing was clipped into the fork and then operation of the release mechanism was tested for smoothness, before grease was lightly applied onto the input shaft. The transmission was now ready to be refitted to the engine.
The gearbox was refitted to the engine using some of the retaining bolts to hold it in place, followed by the gearbox-mounting bracket. The engine was raised using the support brace and put back into position, before the gearbox mountings were refitted. The driveshafts, suspension joints and wheels were then fitted – ensuring all fixings were tightened to manufacturer specification.
Working from the top of the gearbox, the gearbox mounting was refitted and the engine brace was removed. The starter motor and wiring harness for the reverse lamp switch were also refitted, and the gear selector levers reassembled. The clutch slave cylinder, selector cables, air filter and the battery were reconnected. The clock and the one-touch window operation were reset. The clutch operation was then tested, before a full road test was carried out. The clutch fault was fixed – proven by very smooth pedal ‘feel’ and operation.
The vibration felt throughout the vehicle had gone, demonstrating that the perfectlycoordinated combination of a rigid flywheel and clutch disc (with torsion damper) gives excellent vibration dampening and a high degree of driving comfort. The vibrations generated by the engine are also filtered out (in all driving conditions), noise is reduced and the service life of the clutch is prolonged by means of low-wear clutch linings. This was very much a smart conversion.