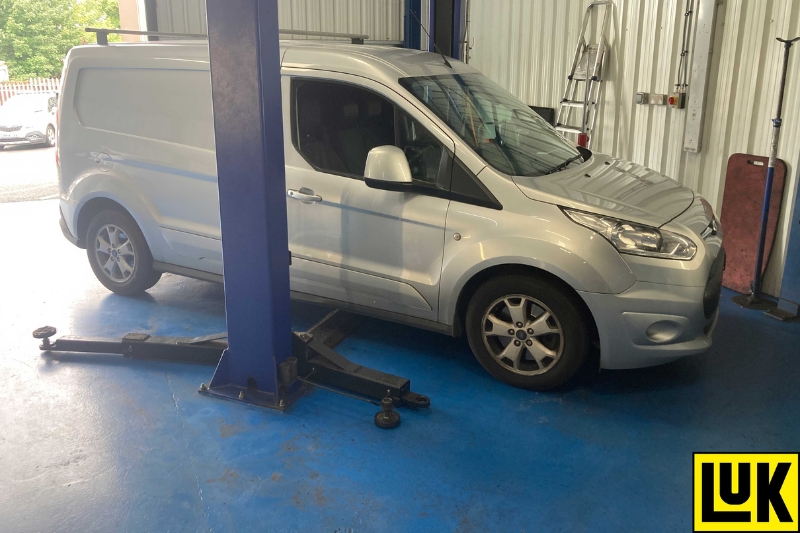
In this instalment of Schaeffler LuK’s clutch feature, REPXPERT Alistair Mason is replacing the clutch on a 2006 1.5 TDCi Ford Transit Connect that has covered just over 51,000 miles. The customer has reported that the clutch has “slipped” on a couple of occasions.
Vehicle information
Make: Ford
Model: Transit Connect
Year: 2006
Engine: 1.5 TDCi
Mileage: 51,000
Scheduled Time: 4.2 hours
On initial diagnosis, the “bite point” of the clutch seemed high but also on starting and stopping the engine a rattle was evident from the bell housing area, indicating possible wear to the dual mass flywheel.
A short road test concluded that the clutch had reached the end of its service life. The customer was advised clutch replacement is required and that the DMF would be inspected at the same time. Authorisation was given for the repair, parts were ordered in and technical bulletins were checked using Schaeffler’s REPXPERT app.
Gearbox removal
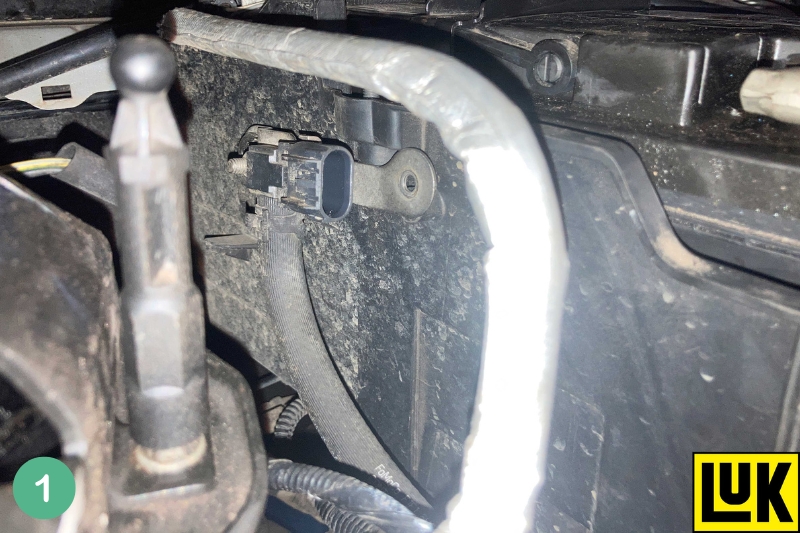
With the vehicle placed on the lift, open the bonnet and remove the following items: engine cover, air filter assembly, battery cover, battery, DPF sensor (Fig.1). Unclip the battery wiring loom from the battery tray, remove the battery tray and its retaining bracket. This now gives good access to the top of the gearbox.
Disconnect the reverse light switch and the gear recognition switch multiplugs, disconnect the gearchange cables and earth strap.
Clamp the hydraulic clutch pipe and disconnect from the hydraulic concentric slave cylinder (CSC). Remove the top bell housing bolts and the starter motor bolts.
Raise the vehicle lift to gain access to the underside. Remove the undertray and drain the gearbox oil. Whilst draining, lower the vehicle lift to waist height and remove the N/S/F and O/S/F wheels.
Next, remove the N/S/F hub nut and both bottom ball joint pinch bolts. Lever down on the bottom arms to disconnect the ball joint from the hub assembly.
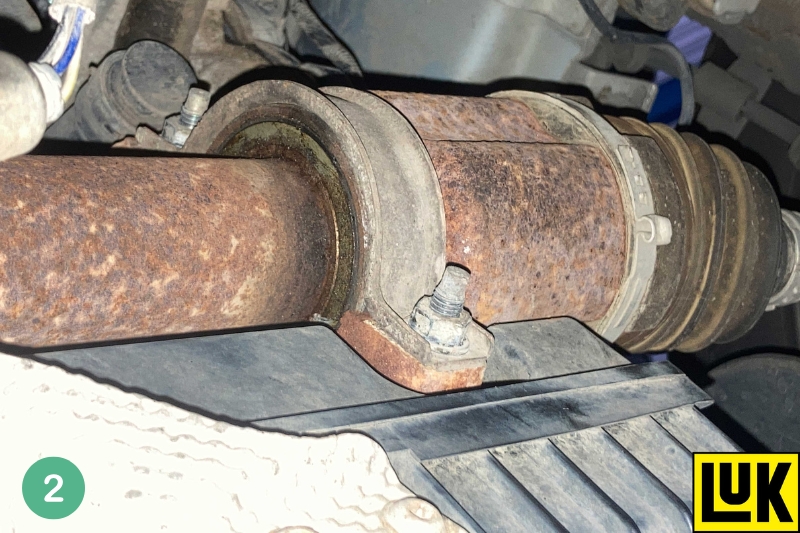
Raise the vehicle lift and lever the N/S driveshaft out of the gearbox, removing it from the vehicle. On the O/S driveshaft, remove the centre bearing clamp (Fig.2) and ease the O/S hub assembly outwards. This will draw the driveshaft out of the gearbox.
Prop the hub assembly in the outwards position to hold the driveshaft out of the gearbox, refit the oil drain plug and tighten to the manufacturer’s specification.
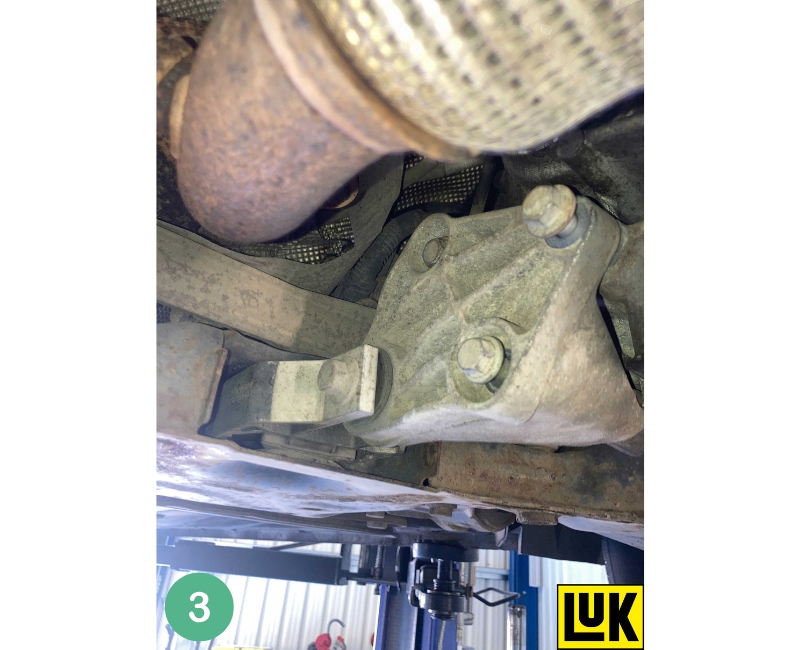
Remove the gearbox lower pendulum mounting (Fig.3). Remove the lower bell housing bolts and starter motor bolt, remembering to leave two easily accessible bolts to support the gearbox.
Remove the front subframe to front panel brace bar. Support the gearbox with a transmission jack and remove the gearbox mounting before, slightly, lowering the engine and gearbox to aid removal.
With the engine and gearbox supported, remove the final bellhousing bolts to ease the gearbox off the engine alignment dowels. Draw the gearbox far enough back so the gearbox input shaft is clear of the clutch. Once clear, lower the transmission jack and remove the gearbox from the vehicle.
Clutch replacement
With the gearbox removed, remove the six clutch pressure plate bolts. Remove the clutch pressure plate and clutch plate.
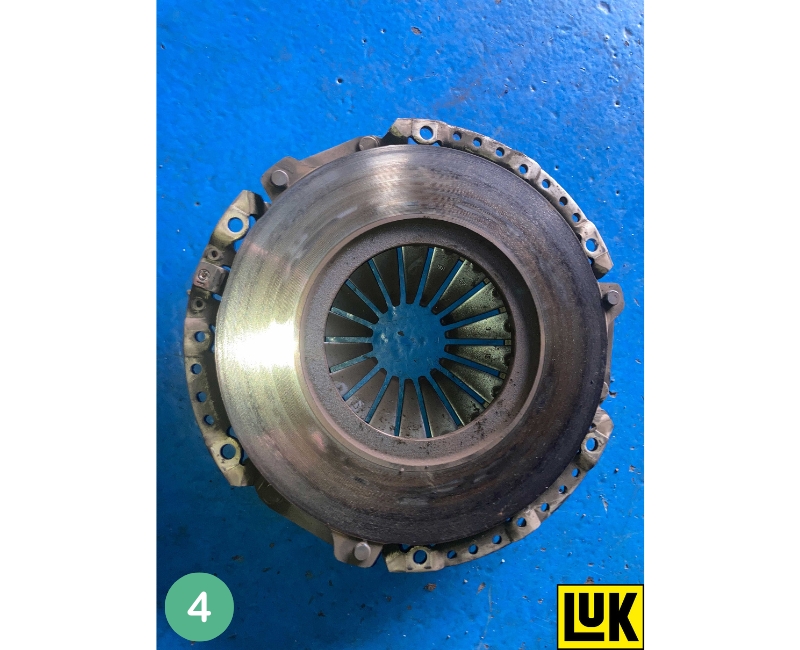
At this point clutch slip was evident due to the “bluing” on the pressure plate and DMF surfaces. The clutch plate was worn close to the lining rivets. Rotational free play was evident on the DMF and, with the presence of the “bluing” (excess heat) (Fig.4), DMF replacement was advised and authorised.
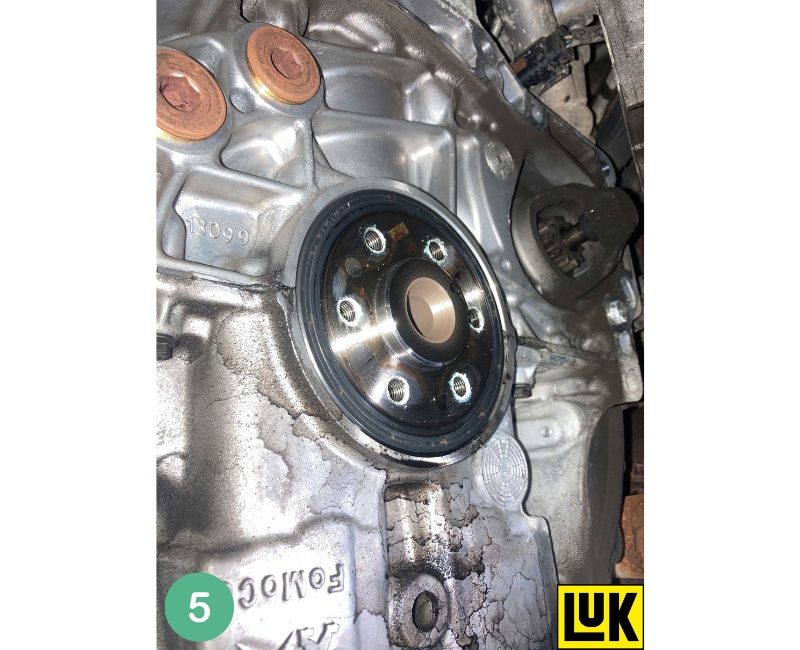
Remove the DMF, checking for any leaks on the back of the engine, rectifying if required. Clean the back of the engine with a clutch and brake dust cleaner (Fig.5).
Mount the new DMF onto the crankshaft. Insert the new DMF bolts and tighten to the manufacturer’s specification.
Finally, degrease the DMF face with clutch and brake dust cleaner. Remove all the clutch dust from the bell housing using brake and clutch dust cleaner, remove the old concentric slave cylinder and ensure the mounting surface for the new CSC is clean.
When fitting the new CSC, do not squeeze the cylinder as this can cause internal damage and when fitting it to the gearbox. Take care not to damage the gearbox input shaft seal located in the new CSC and, once in position, fit the new bolts and torque to the manufacturer’s specification.
Smear a small amount of high melting point grease on the splines of the input shaft and slide the new clutch plate onto the input shaft. This will evenly distribute the grease on the splines and also ensure the spline fitment is correct. Remove the clutch plate and wipe off any excess grease.

The new clutch we are fitting is a different design in self-adjusting clutches. Known as a travel adjusting clutch (TAC), it can be identified by the square sprung steel plate controlling the adjuster wheel (Fig.6).
Note: It is strongly advised, when mounting a self-adjusting clutch, to use the self-adjusting clutch mounting tool. Mount the clutch plate on the flywheel using a clutch plate alignment tool and ensure the clutch plate is fitted correctly with “gearbox side” (or “Getriebe Seite”: German for gearbox side) stamped in the centre of the clutch plate is facing outwards.
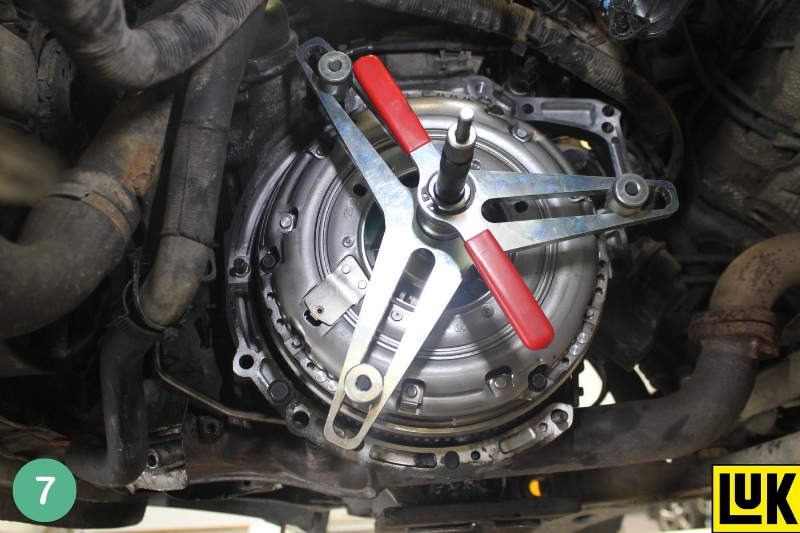
Locate the clutch pressure plate/cover and install into position correctly with the selfadjusting clutch tool (Fig.7). Once in position, secure with three bolts. Remove the self-adjusting clutch tool and fit the remaining three bolts, then torque to the manufacturer’s specification.
Before re-fitting the gearbox, it is always best practice to flush/change the clutch hydraulic fluid. This is done by simply placing a drain tray under the clutch pipe, removing the clamp and allowing the fluid to drain out. As the fluid is draining, top up the reservoir as required until clean/new fluid is flowing through and then re-clamp. This will ensure that the new CSC and rubber seal will not become contaminated.
Gearbox installation
Check that the alignment dowels are located correctly in the engine block. Re-fit the gearbox, taking time to ensure correct alignment and angle is achieved during installation. Once located on the dowels, refit in reverse order of removal.
Once the gearbox is bolted to the engine and secured on the mounting, install the hydraulic clutch pipe and bleed the clutch as it is easily accessible. When the drive shafts have been fitted, remember to replace the gearbox oil with the correct quantity and specification of oil. After battery installation, reset electrical systems and control units as required.