In this month’s Clutch Clinic, Charles Figgins, Technical Marketing Manager at Blue Print, takes readers step-by-step through a clutch replacement on a 1.2l Fiat 500.
Vehicle Information
Make: Fiat
Model: 500
Year: 2008
Engine: 1.2 4-cylinder FIRE
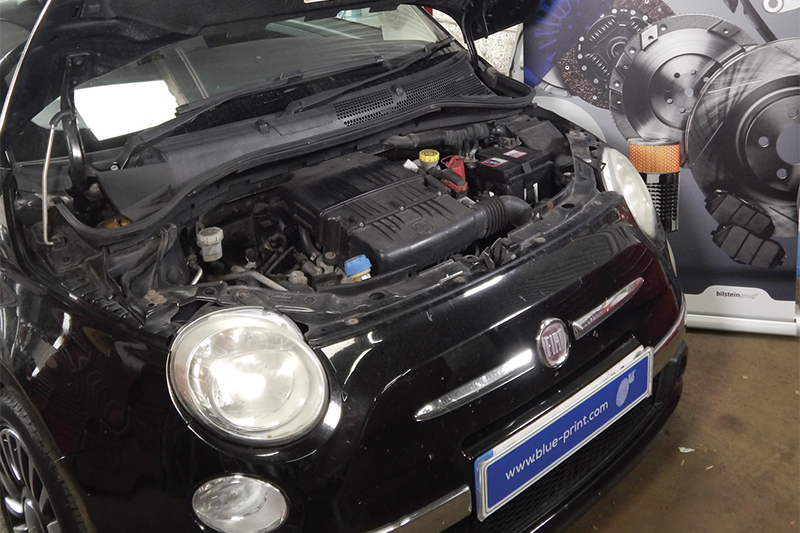
The fun and characterful Fiat 500 – with its retro looks, frugal engine and low-running costs – has been consistently popular among car buyers since its relaunch in 2007. Taking its shape and design cues from the original, rearengined 500 manufactured from 1957 to 1975, this three-door city car is as successful as ever.
The example featured in this article is a 2008 model equipped with the proven 1.2 litre, four-cylinder FIRE engine, which was suffering with a clutch pedal that was ‘stiff’ to operate. This required the transmission to be removed to investigate and diagnose the cause.
Fixing the problem
With the car on the ramp, the clutch replacement process can begin. First, remove the front bumper to gain access to the subframe. Both front wheels can then be removed, followed by the wheel-arch liners and the strengthening brackets bolted to the body and sub-frame. This allows access to unclip the wiring harness from the lamps mounted in the bumper and fixings. This can be taken off in one piece once all screws are removed.
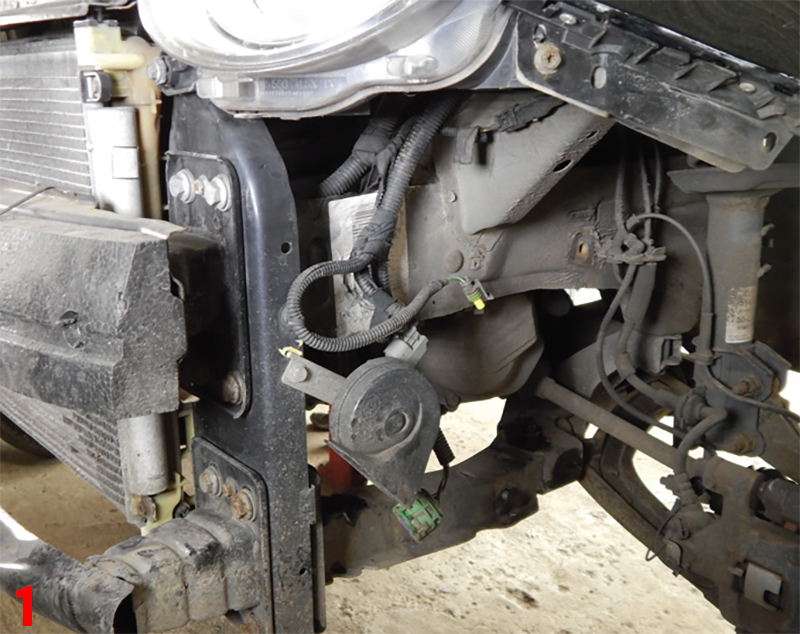
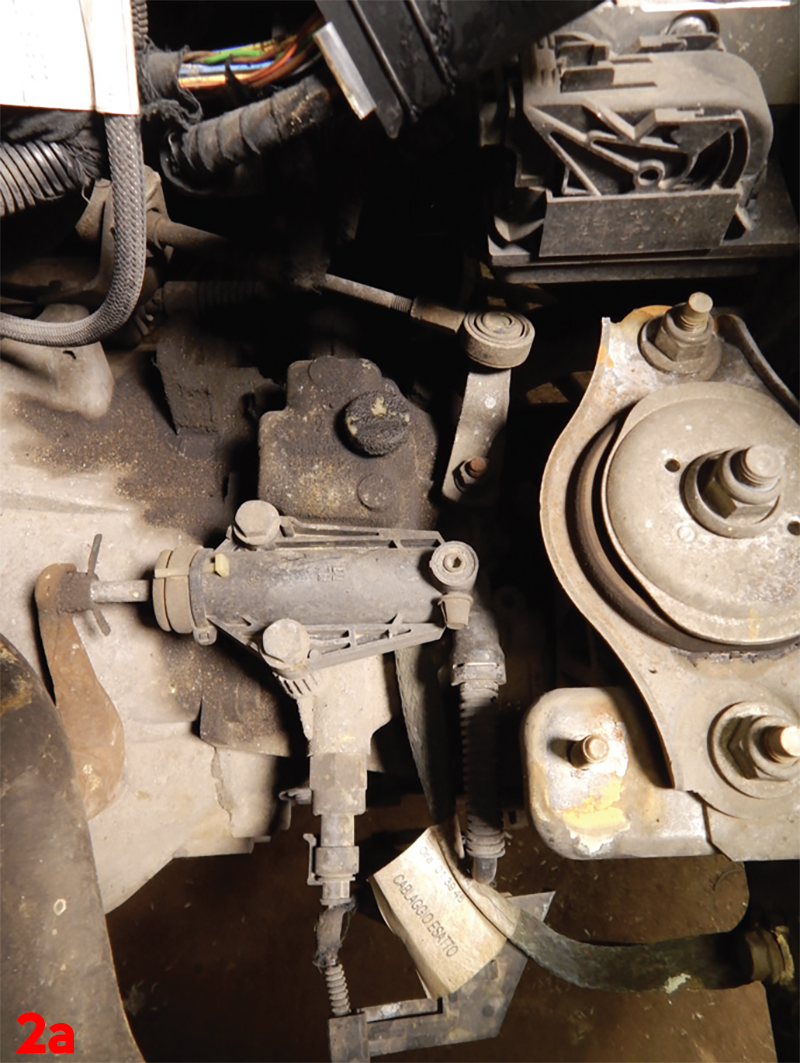
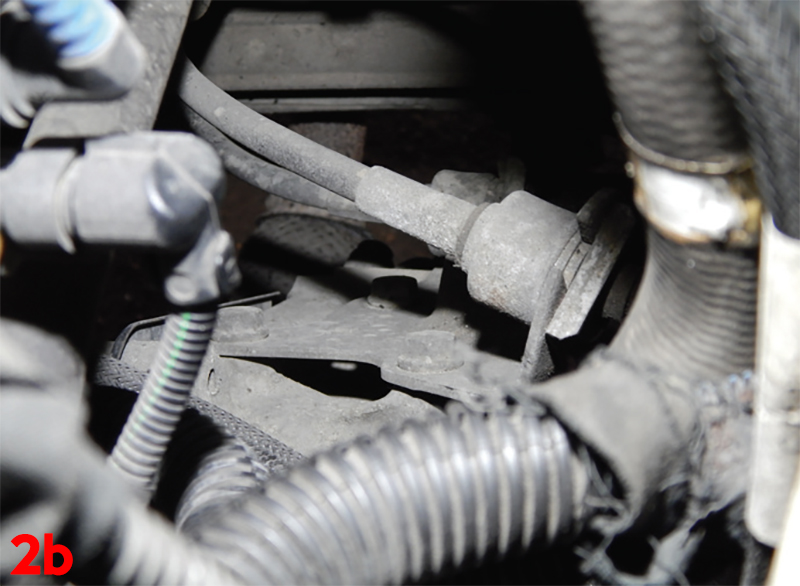
The front cross-member is then revealed – this requires removal, as does the left-hand section of the sub-frame. There will now be enough room to remove the transmission from the engine (Fig.1). Lower the vehicle in order to be able to work under the bonnet, remove the battery and battery tray to reveal the top of the transmission. Now, the clutch-slave cylinder can be unbolted from the transmission, and the gear-selector rods unclipped from the linkage. Additionally, unbolt the bracket retaining them to the transmission (Fig.2). At the same time, you will also need to remove the bell-housing bolts located at the top of the transmission, including one starter motor bolt.
Raise the vehicle to a working height, remove both driveshaft hub nuts and release the lower suspension-arm ball joints from their hubs. This is in readiness for the driveshaft removal.
Raise the vehicle again to gain access to the underside of the vehicle. The transmission oil needs to be drained and then, using a suitable level bar, the inner and outer driveshaft joints can be released from the differential. The driveshafts can now be removed.
Next, unclip the front lambda sensor, reverse lamp wiring harness and the earth strap, along with unbolting the wiring-retaining bracket from the transmission.
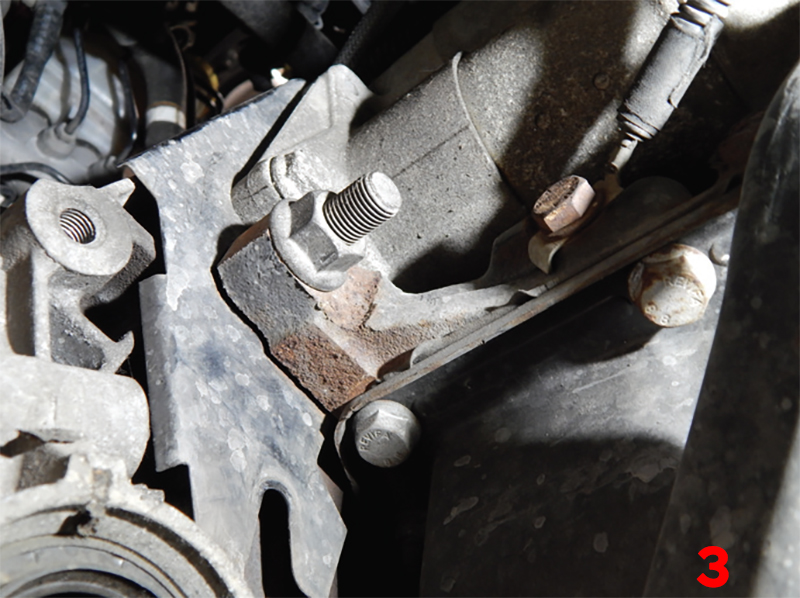
It is now time to unbolt and remove the reaction rod bolted to the back of the engine block (below the starter motor and the flywheel-protection plate). After this, remove the other starter motor fixings but leave the starter motor in place – it does not need to be taken out completely for the removal of the transmission (Fig.3).
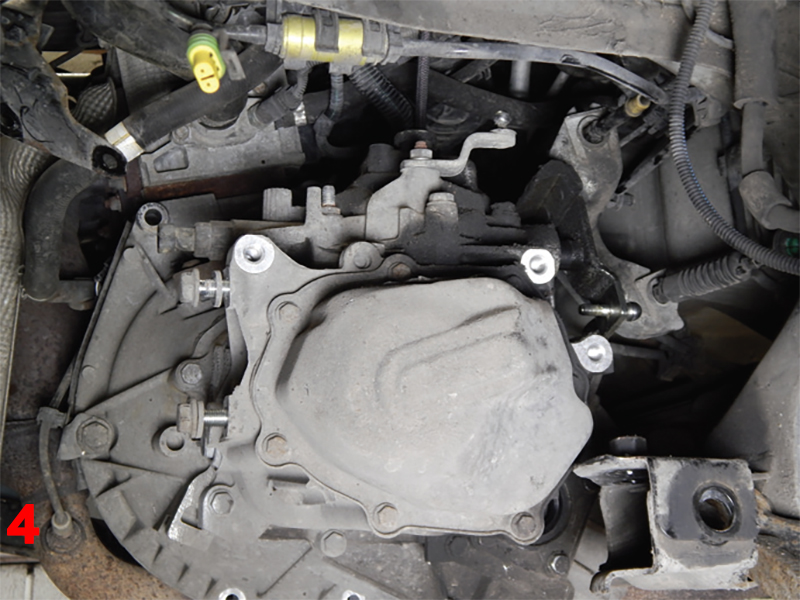
With only the lower bell-housing bolts in place and the transmission mountings left to remove, the engine can be supported ready for removal. Unbolt the lower bell-housing bolts, including the mounting brackets – giving enough room for the transmission to be separated from the engine and lowered from the vehicle for inspection (Fig.4).
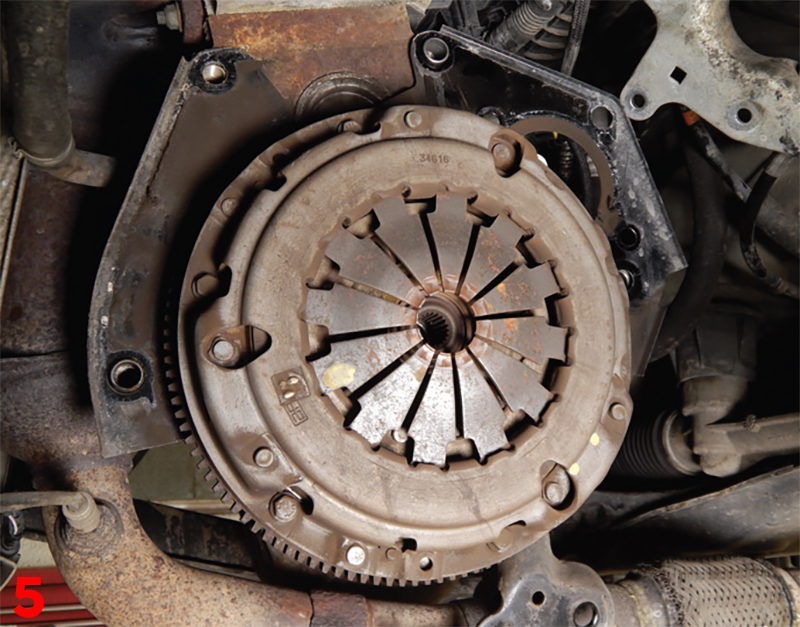
Remove the clutch-pressure plate and friction disc from the flywheel in order to inspect them for any unusual wear issues. During our inspection of the 2008 model featured in this article, the flywheel was in good condition and only required cleaning. However, the friction disc material was close to being worn out and there was significant wear on the pressure-plate diaphragm springs; this being the cause of the ‘stiff’ operation of the clutch pedal (Fig.5).
Turning your attention to the release mechanism, it is recommended to thoroughly clean the transmission bell-housing to free it from all grease, dirt and old friction fibres from the previous clutch. Remove the release bearing from the clutch fork and inspect the guide sleeve for wear. In the case of the model featured in this article, the driveshaft seals were replaced to reduce the risk of any leaks due to the ageing of the old seals.
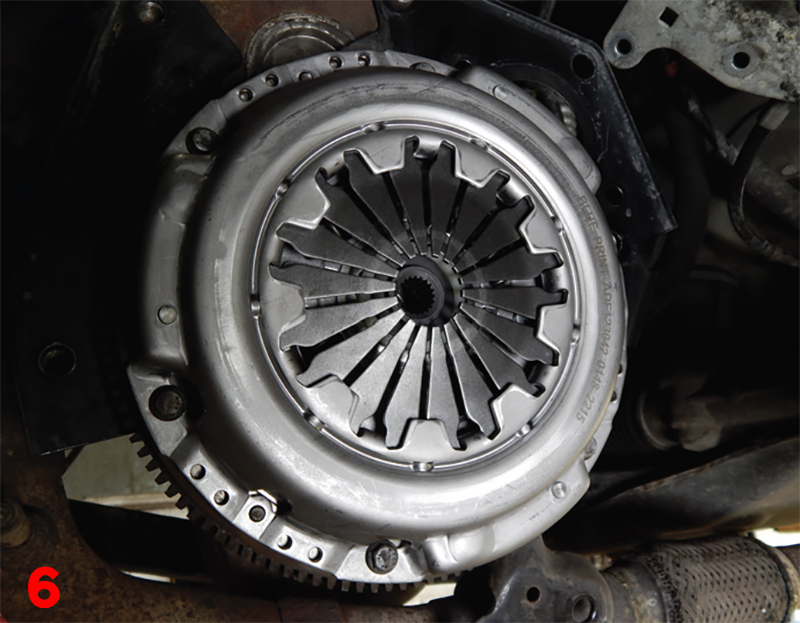
With all parts inspected, it is time to replace the clutch. Our chosen clutch kit – ADF123042 – was opened and readied for use (Fig.6).
To begin, align the new friction disc and pressure plate to the flywheel, with all bolts tightened to the recommended torque. Then, clip the new release bearing onto the release fork and test it for operation. If it is working correctly, the transmission is ready for reinstallation to the engine.
Align the transmission with the engine and refit all retaining bolts, followed by the support-mounting brackets. Then, refit both driveshafts, lower suspension ball joints and the gear linkage, along with the wiring.
Align and secure the sub-frame and crossmember, followed by the front bumper, strengthening brackets and wheel-arch liners.
Lower the vehicle and tighten the hub nuts to the correct torque before refitting the wheels. Locate and remove the transmission oil level plug before filling the transmission with fresh oil. With all necessary parts refitted, the battery and battery tray can also be reinstalled. Additionally, the clock and radio can be reset.
Check the clutch pedal for ‘smoothness’ of operation, then take the car for a road test to ensure the clutch is working correctly while driving.


