
In modern cars, the battery is much more central to the vehicle’s electrical management system, meaning you can no longer just remove a battery and replace it with another. Approximately 80% of workshops have diagnostic equipment, but not all diagnostic equipment can be used to manage and replace batteries. For this reason Exide has developed a dedicated battery replacement tool – the BRT-12 – that offers a cost-effective solution for those workshops whose equipment doesn’t currently cater to these needs.
The current requirements
Because of the high-tech nature of modern vehicle battery systems, some manufacturers require battery codes to be inputted into the ECU when the battery is changed. There are also some cases where a random number can just be entered. Additionally, error messages are displayed on the dashboard when the battery needs to be replaced and, much like other warning lights, these need to be reset.
To assist with the tasks mentioned above, the BRT-12 comes pre-loaded with many of the required codes as well as offering the capability to retrieve the last code entered. It can also be used to clear any faults from the dashboard, offering the workshop the opportunity to reduce labour costs and ensuring they’re prepared for the continued evolution of the car parc.
With the ability to manage all brands of battery, the tool is powered directly from the car (meaning no need to charge) and users simply plug in and install updates from the internet. VW/Audi Group and BMW/Mini are the main brands covered by the BRT-12 with more makes/models to be added in the future via software updates as the market evolves.
OPERATING THE TOOL IS EASY – 8 SIMPLE STEPS
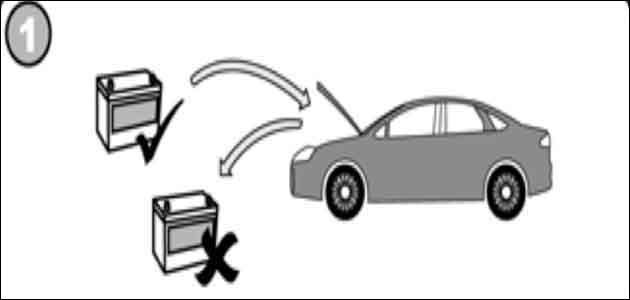
– Replace the battery (always follow Exide’s fitting recommendations)
– If battery that is supplying power to the equipment is weak, use a “memory saver” to prevent code loss
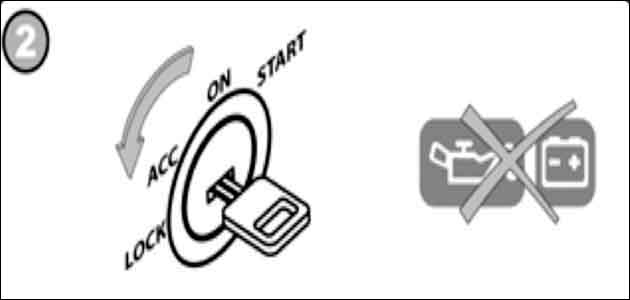
– With the new battery in place, turn the contact key to the “lock” position
– Ensure that all equipment is disconnected
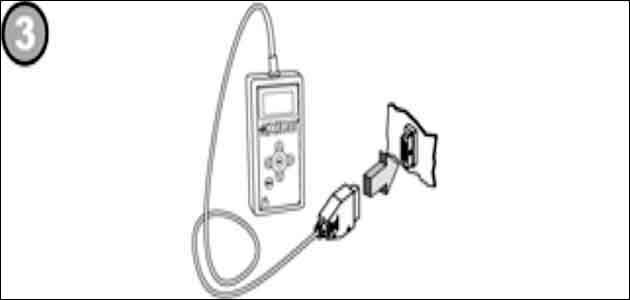
– Find the diagnostic socket in the car (usually located on the driver’s side)
– Plug in the BRT-12 cable
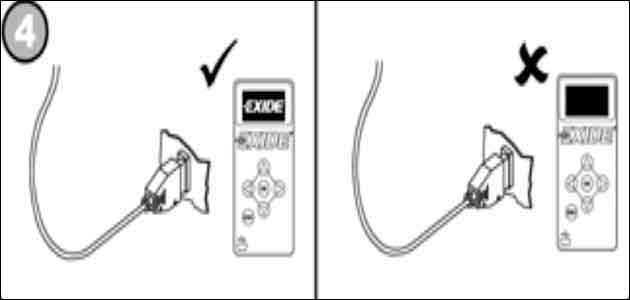
– After a few seconds an Exide sign will appear on the screen
– If the Exide name isn’t shown, check your connection and battery voltage before trying again
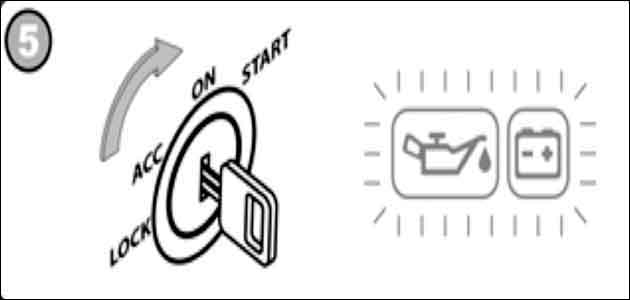
– When the BRT-12 is connected, turn the contact key to the “on” position to allow communication between the tool and the dashboard computer
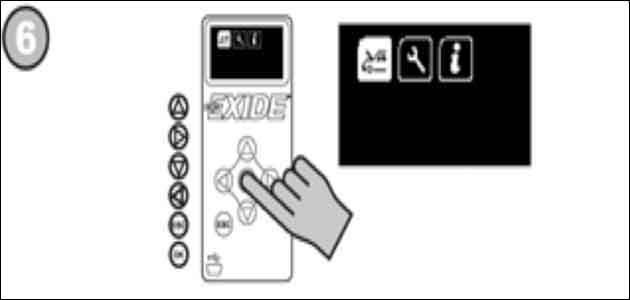
– Choose one of 12 major European languages
– Follow the instructions displayed on the BRT-12 to validate the battery
– Continue by clearing all battery-related fault codes
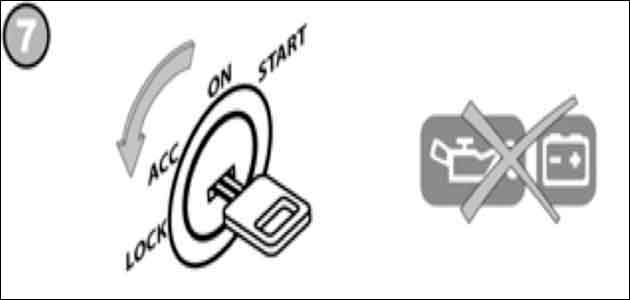
– To terminate communications with the dashboard computer, turn the key to the “lock” position
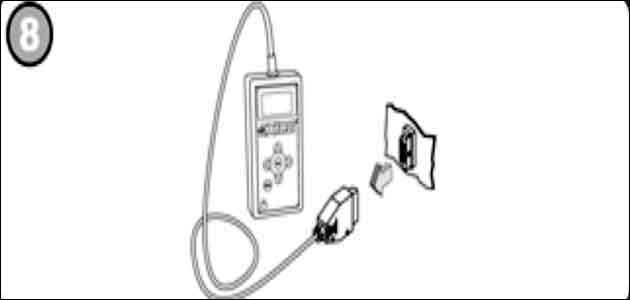
– Remove the BRT-12 cable from the diagnostic socket and return it to its box


