MODEL: VW POLO 1.4 PETROL (BBZ ENGINE) & VAG GROUP 1.6 ENGINE
RECOMMENDED LABOUR TIME: 3 HOURS
INA PART NUMBER: 530008910
For this repair we used a two-post ramp, an engine support bridge and the special timing belt locking tools for the camshaft. If the vehicle is fitted with alloy wheels then ensure that the wheel nut locking tool is available before undertaking the repair. For safety disconnect the earth lead from the battery and stow.
Removal
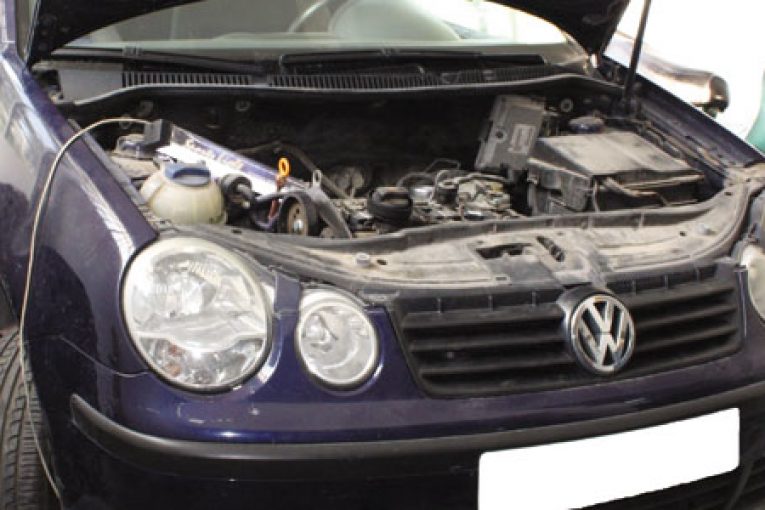
Remove the engine cover and install the engine support bridge to take the weight of the engine, as the upper engine mount must be removed. Lift the vehicle to a comfortable working height. Remove the under-tray and the off-side front wheel and wheel arch liners.
Remove the accessory drive belt to gain access to the timing belt system. It is good practice to change the belt and tensioner and also check if the alternator is installed with an Overriding Alternator Pulley (OAP); if this is overlooked then it could potentially cause damage in a short amount of time.
At this point you can remove the upper timing belt cover and proceed to rotate the engine in the direction of rotation until TDC is reached. Then insert the camshaft locking tool. It is difficult to see the markings on the crank pulley but a suitable light should be enough to help you. If the locking tool can’t be inserted easily then rotate the engine 360˚ until it’s possible to install the tool.
Remove the engine support assembly and bracket. Proceed to remove the crankshaft pulley and re-fit the crankshaft pulley bolt with two washers. Ensure the crankshaft is at TDC by checking the chamfered tooth is in line with the mark on the engine and remove the lower part of the timing belt protection covers. You’re then ready to remove the two timing belts – the main timing belt first and then the smaller belt that is installed on the camshaft pulleys.
To remove the larger timing belt you have to remove the camshaft locking tools, taking care not to disrupt the timing of the system. It is advised to make a small painted mark on the camshaft gears before you remove the locking tool to ensure the timing is not altered. Unscrew the tensioner fixing bolt and rotate the tensioner anti-clockwise before removing the belt. Follow this by removing the tensioner and idler pulleys. The same process is then required for the smaller belt, after which you should re-install the camshaft locking tool.
Installation
Before you start the installation, check that the engine remains in TDC. Make sure the pin on the crankshaft pulley is in line with the mark on the engine and that the locking tool is inserted correctly and the painted marks are aligned. It is critical that this is correct as engine timing and synchronisation will be off and will cause problems and potential engine damage.
Installation of the camshaft-to-camshaft is first. Proceed to fit the belt onto the exhaust cam and then onto the inlet cam pulley with the loose part of the belt on the lower side, as the tensioner will apply the force at this position. Ensure that the adjustment plate is at the 6 o’clock position and the locating lug is inserted into the hole on the engine.
Slightly tighten the tensioner bolt and rotate the tensioner anti-clockwise until the pointer becomes aligned with the locator lug; it is a little difficult to see so using a mirror should make life a easier. When you’ve reached this position tighten the tensioner bolt to 20Nm.
Install the tensioner for the main timing belt and rotate the tensioner anti-clockwise until the Allen key is at the 10 o’clock position before slightly tightening the bolt. It is critical to ensure the correct position of the base plate; if it is not located so that the nut on the engine is inside the baseplate it will cause the tensioner to function in either a low or high tension value, causing the tensioner bolt to break; this will likely result in engine damage.
Carefully remove the camshaft locking tool and install the belt in the following order:
1. Water Pump
2. Tensioner
3. Crankshaft sprocket
4. Large idler pulley
5. Camshaft sprocket
At this point you should re-install the camshaft locking tools and then finally install the belt onto the final idler pulley.
Tighten the belt by rotating the tensioner in a clockwise direction so the pointer is aligned with the recess on the base plate and then tighten the tensioner bolt to 20Nm.
Remove the locking tools and rotate the engine two turns in the direction of engine rotation to achieve TDC. Install the camshaft locking tools and, if they install easily, the tensioning procedure is complete. If not then the tensioning procedure must be repeated form the beginning.
Re-install the remaining parts in the reverse order of removal.


