Aftermarket parts supplier Meyle provides a useful step-by-step guide to installing its replacement control arm intended for Tesla models 3 and Y.
After Tesla drivers all over the world reported annoying squeaking sounds in Model 3 and Model Y series vehicles, Meyle engineers analysed the problem and in January launched the Meyle HD control arm for Tesla models 3 and Y. Meyle claims its aftermarket offering is a technically superior alternative to the original part.
A reminder to all readers of PMM is that a prerequisite to all work on electric vehicles is for the relevant technician to be qualified to work on EVs and have done the appropriate training beforehand. It is advised to change both control arms, with a job time of one hour each side.
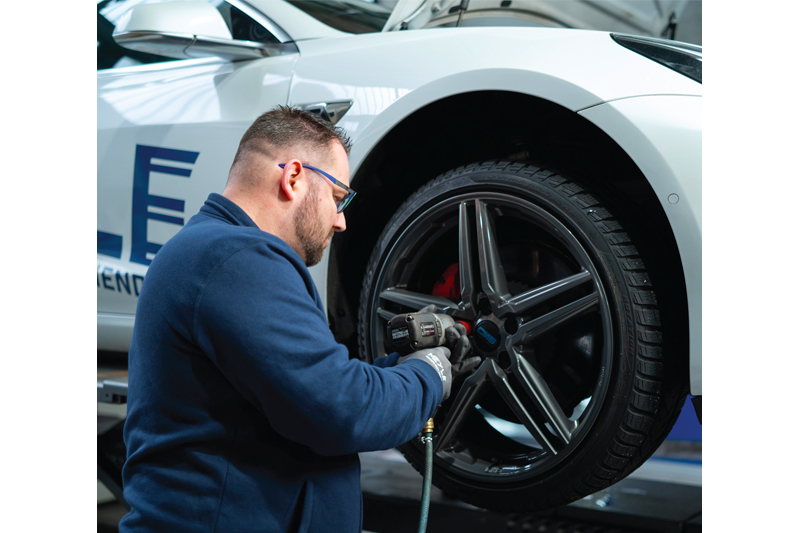
Step 1
Remove the wheel
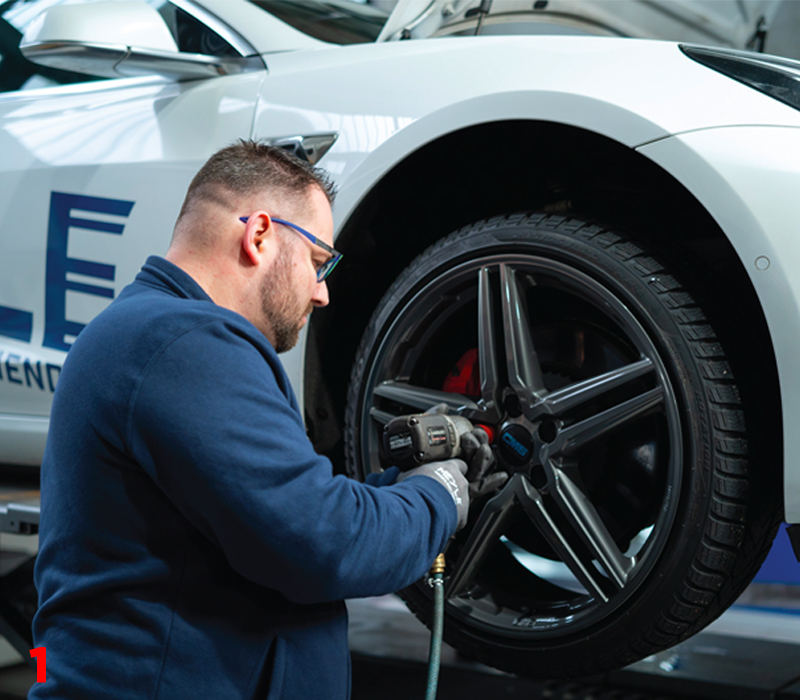
Step 2
Remove inner wheel arch
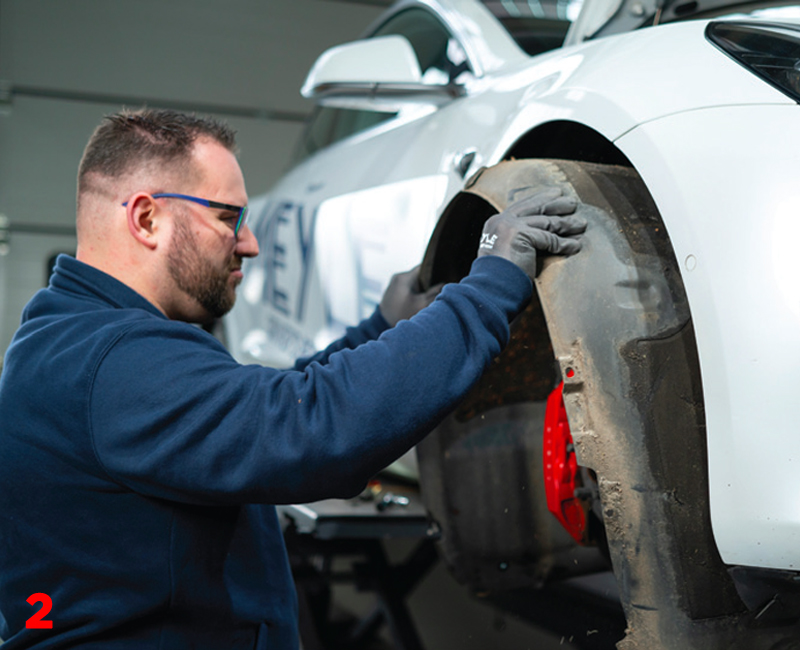
Step 3
Check all the other suspension parts for damages
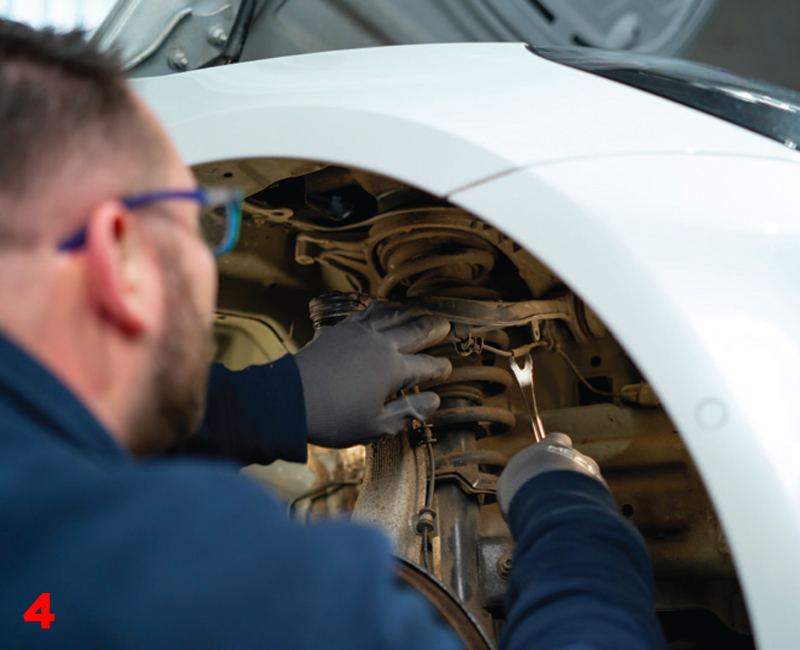
Step 4
Release ABS wire
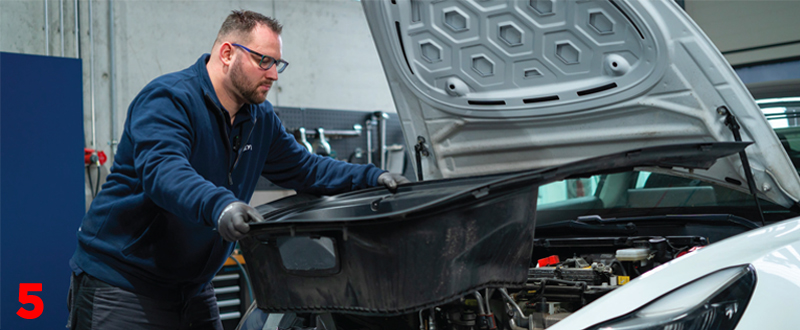
Step 5
Remove the frunk
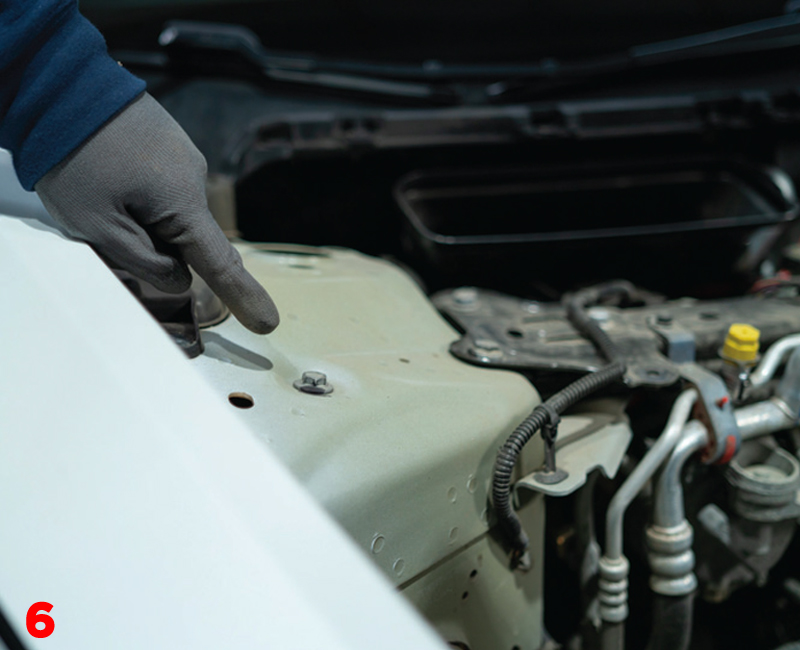
Step 6
Remove top mount fixings
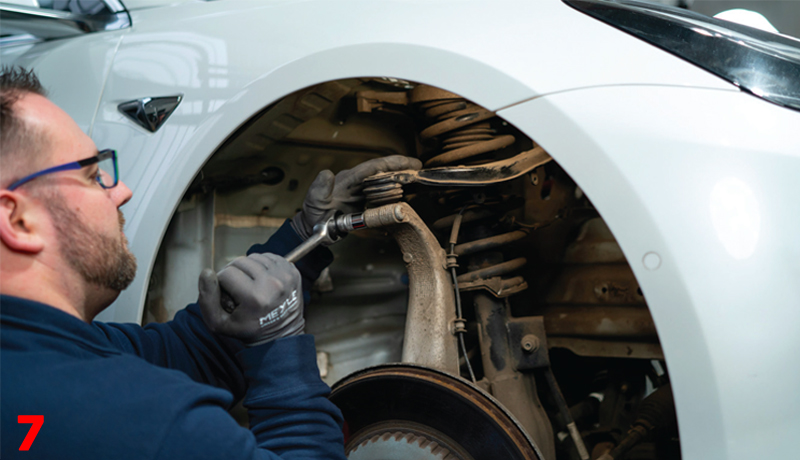
Step 7
Remove ball joint and control arm fixings
Step 8
Pull the control arm out of the top mount
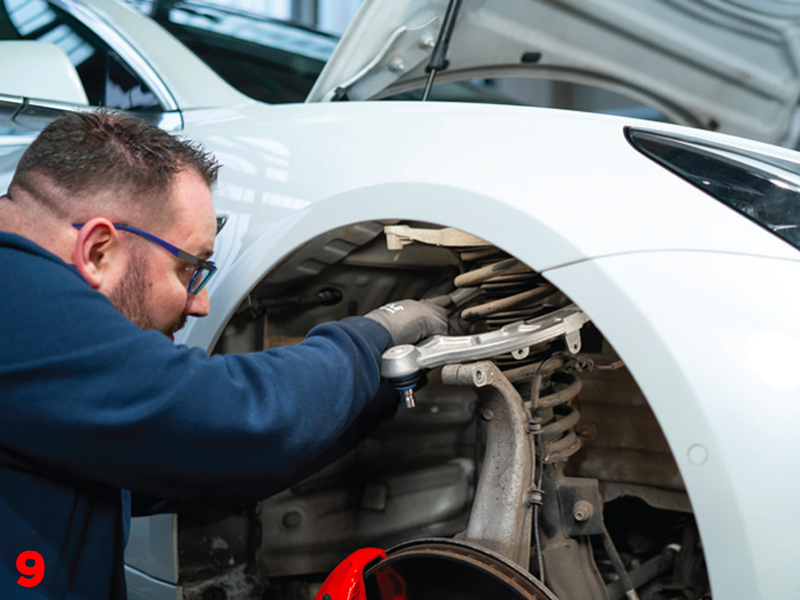
Step 9
Push the new MEYLE HD control arm in the top mount
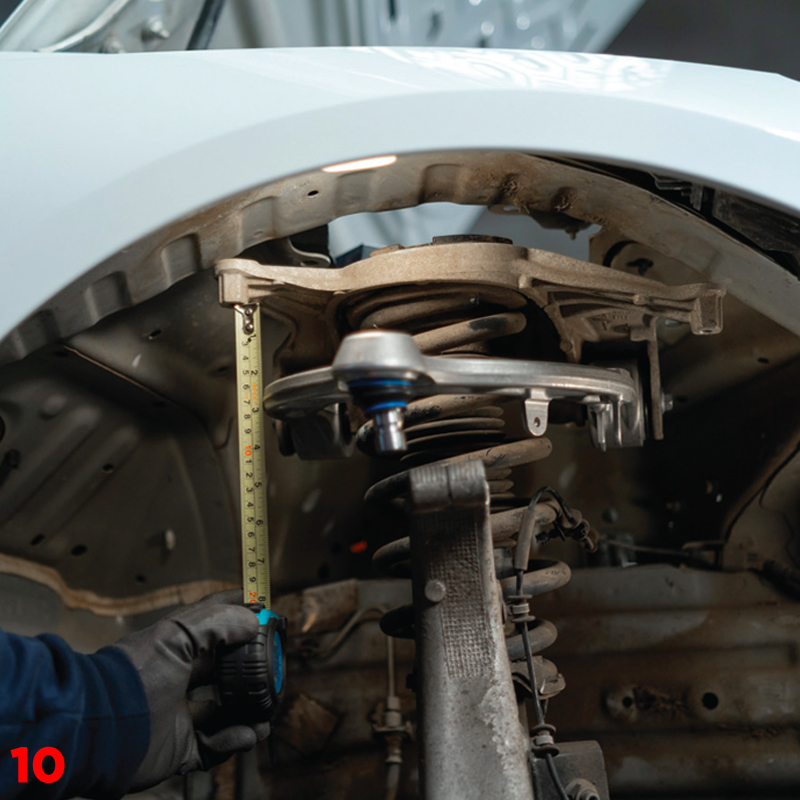
Step 10
The adjustment between the control arm and the top mount amounts to 60mm
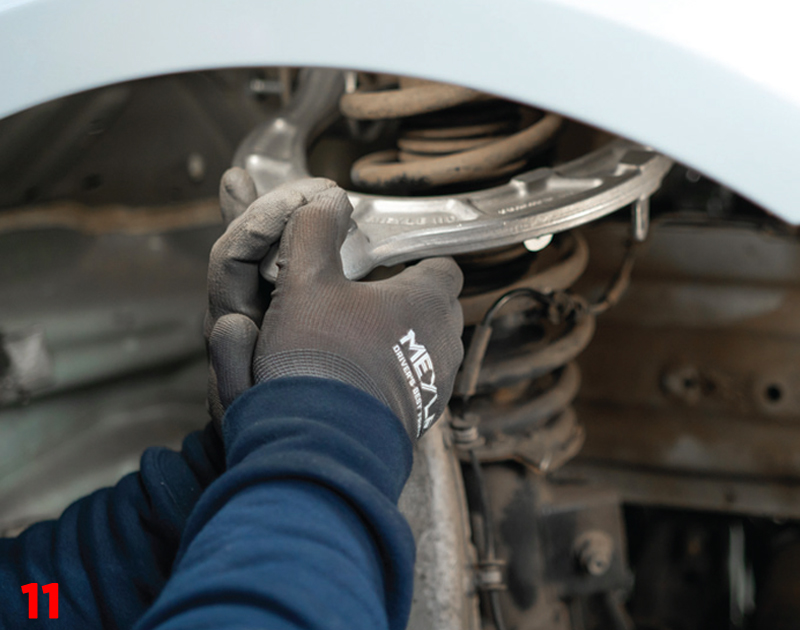
Step 11
Push the ball joint in the swivel bearing
Step 12
Tighten all fixings to manufacturer recommended settings:
- Ball joint screw – 56Nm
- Bearing control arm – 50Nm
- Top mount 13mm screw – 35Nm
- Top mount 15mm screw – 62Nm
Step 13
Axle alignment is recommended.


