In this month’s Schaeffler LuK Clutch Clinic, REPXPERT Alistair Mason is investigating a clutch fault on a 2013 Audi A1 1.6 TDI that has covered more than 45,000 miles.
Vehicle Information
Manufacturer: Audi
Model: A1
Year: 2013
Engine 1.6 TDI
Mileage: 45,000
The car was booked in to investigate clutch slip and a short test drive confirmed the problem, so the customer was advised clutch replacement was required and their authorisation was given for the repair.
The scheduled repair time for this job is 5.6 hours.
Gearbox removal
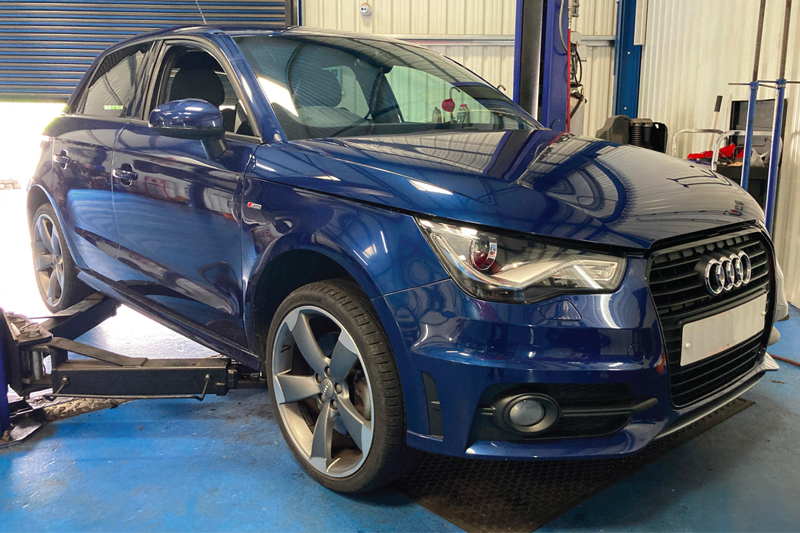
If the vehicle has locking wheel nuts, ensure the bolt key is located before starting the repair, then with the vehicle at ground level, but placed on the vehicle lift, disconnect the battery earth lead that is located in the boot (do not close the boot as it has an electric boot catch). Slacken the bolts of both front wheels, then open the bonnet and remove the engine cover, air filter/box assembly and release the battery connection box (Fig.1), as this gives access to the top of the gearbox and its mounting.
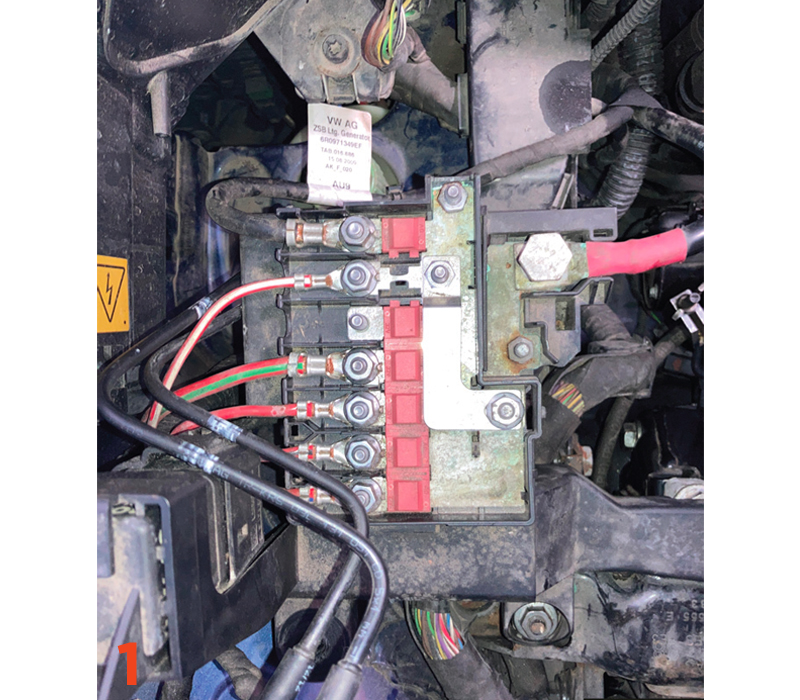
Disconnect the gear change cables and stow them in the bulkhead area, then remove the gear cable retaining bracket, disconnect the electrical multi plug on the starter motor, and the wiring to the starter motor solenoid, as well as the multi-plugs for the reverse light switch and the gear recognition switch (Fig.2).
Remove the upper bell housing bolts and the upper starter motor bolt, clamp the flexible part of the hydraulic clutch pipe and then remove the clutch pipe from the concentric slave cylinder (CSC) by releasing the retaining clip and easing the connection apart.

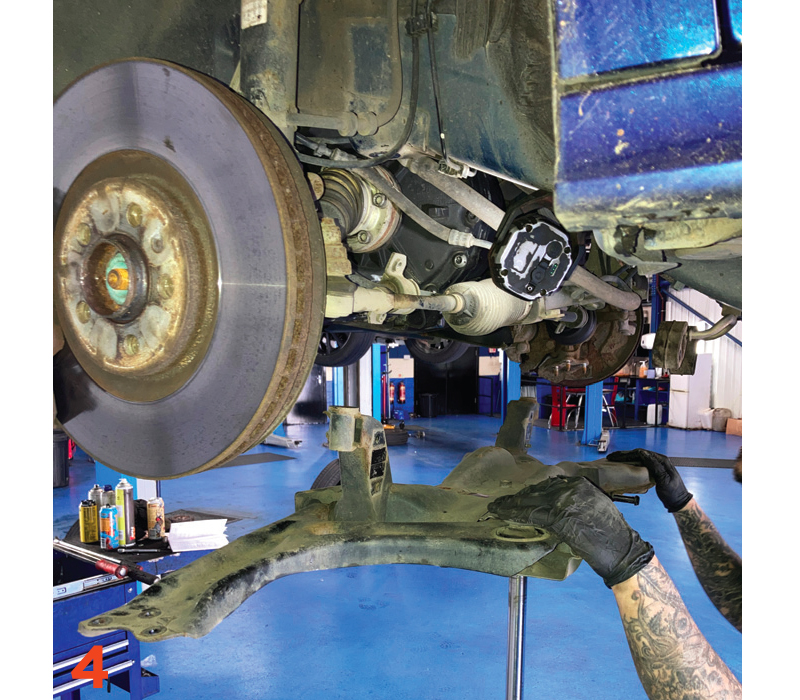
Raise the vehicle to waist height and remove both front wheels, then raise it again to gain access to the underside and remove the engine undertray. Remove the front subframe by unbolting both bottom ball joints, anti-roll bar clamps (Fig.3), steering rack bolts, gearbox pendulum mounting and the exhaust rubber mounts. Support the subframe with a transmission jack, remove the subframe retaining bolts and then carefully lower the subframe (Fig.4) and stow it safely. This gives good access to the lower gearbox area and aids the removal and refitting of the gearbox.
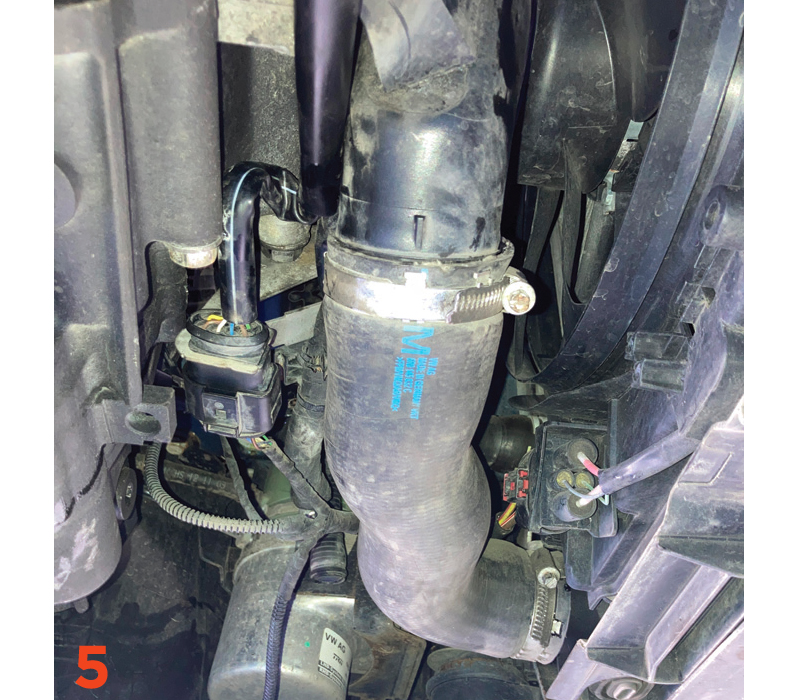
Unbolt the inner driveshaft joints and ease the driveshafts out of the way. Remove the lower starter motor bolt and the starter motor, disconnect and remove the air charge hose assembly (Fig.5), followed by the lower bell housing bolts, but leaving two easily accessible bolts to support the gearbox.
Support the engine using a transmission jack or a large axle stand and support the gearbox with a second transmission jack, and with the aid of a step ladder, access the engine bay and remove the upper gearbox mounting.
Then lower the engine and gearbox slightly, remove the easily accessible bell housing bolts and ease the gearbox away from the engine. When the gearbox input shaft is clear of the clutch, lower the transmission jack and remove the gearbox.
Clutch replacement
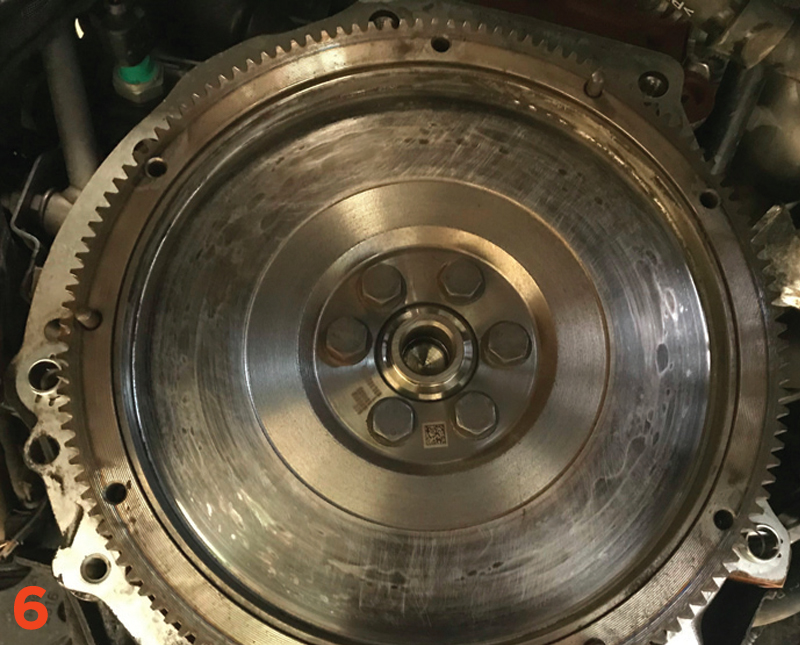
Remove the clutch assembly from the flywheel and inspect the back of the engine for any leaks that could contaminate the new clutch, then using a piece of emory cloth, rub off the glaze from the flywheel face (Fig.6) and then clean the back of the engine and flywheel with brake and clutch dust cleaner.
Replace the CSC in the gearbox bell housing by removing the three retaining bolts and easing it off the gearbox input shaft. Wash the old clutch dust out of the bell housing using brake and clutch dust cleaner, and carefully install the new CSC, securing it with the retaining bolts, and torque to the manufacturer’s specification.
Apply a light smear of high melting point grease to the splines of the input shaft and mount the new clutch plate onto the input shaft. This will confirm the clutch plate is correct and also evenly distribute the grease. Remove the clutch plate and wipe off any excess grease.
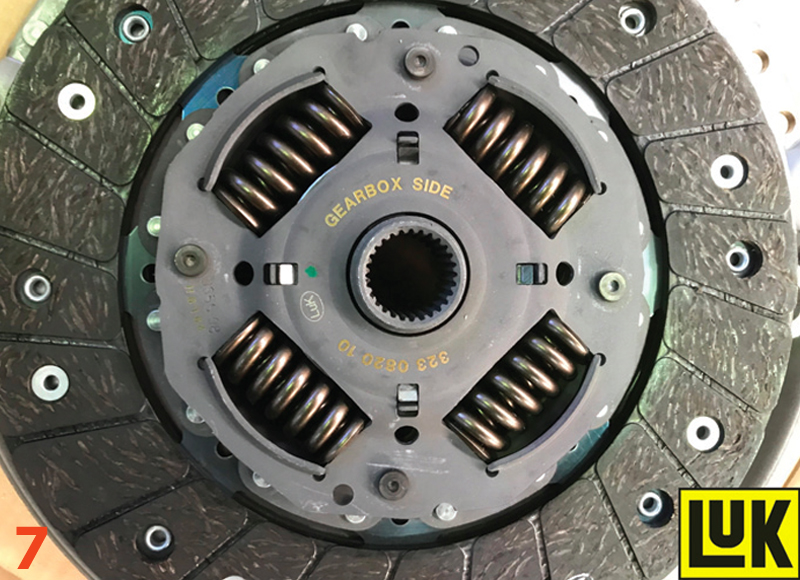
Ensure the clutch plate faces the correct way by using the “gearbox side” indicated on the clutch plate (Fig.7), and by using a universal clutch alignment tool, align with the clutch pressure plate and secure. Mount the clutch assembly onto the flywheel, insert all the clutch bolts and then tighten and torque in an even and sequential process, and once torqued, remove the clutch alignment tool.
Before refitting the gearbox, ensure all wiring etc. is clear of the bell housing area so it doesn’t get trapped. Check the gearbox alignment dowels are fitted to the engine and that the release mechanism in the gearbox is fitted and functioning correctly.
Gearbox Replacement
Place the gearbox on the transmission jack, bring the gearbox close to the engine, ease the gearbox into position and ensure it locates on the alignment dowels. When in position, fit two easily accessible bell housing bolts and tighten.
Refit all other components in reverse order of removal and torque all bolts to the manufacturer’s specification.
After the battery lead has been reconnected, reset all electrical consumers and carry out a full road test to ensure that the repair has been successfully completed.


