Seized oxygen sensors are notoriously difficult to remove. If penetrating lube or heating it up with a blowtorch doesn’t work, the next step is usually a nut splitter or cutting it off with a saw. If the non-invasive methods don’t work, you might have to end up either leaving it in or buying a new sensor.
As a result, the process is time consuming, costly and a naked flame can cause irreparable damage to the part and surrounding area. However, help is at hand.
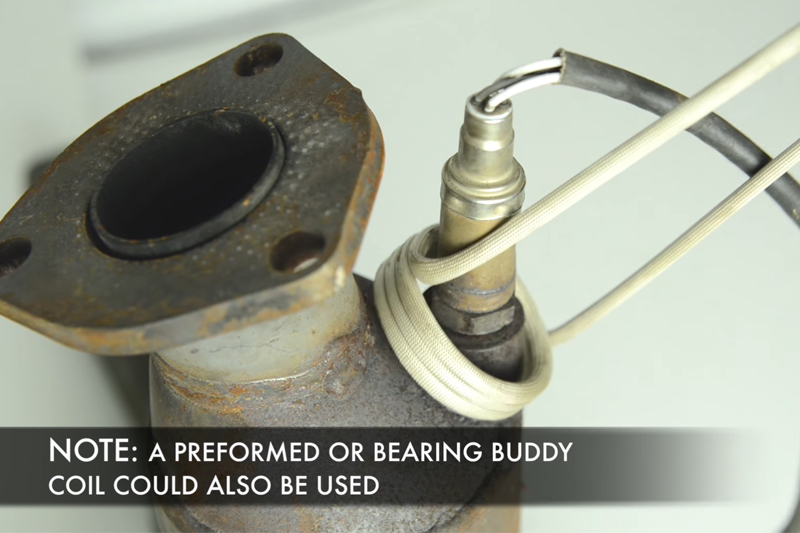
The Mini-Ductor handheld induction heating tool range heats metal parts in seconds using invisible heat. This allows all types of adhesives bonded to metal, fasteners bonded with thread lock compound, and seized hardware to be removed and released much quicker and more safely than by traditional naked flame heating. The simple step-by-step guide to removing oxygen sensors with a standard work coil and a Bearing Buddy Coil can be found below.
Equipment needed: heat-resistant gloves, overalls, goggles and a respirator mask (if smoke will be produced from heating).
STEP 1
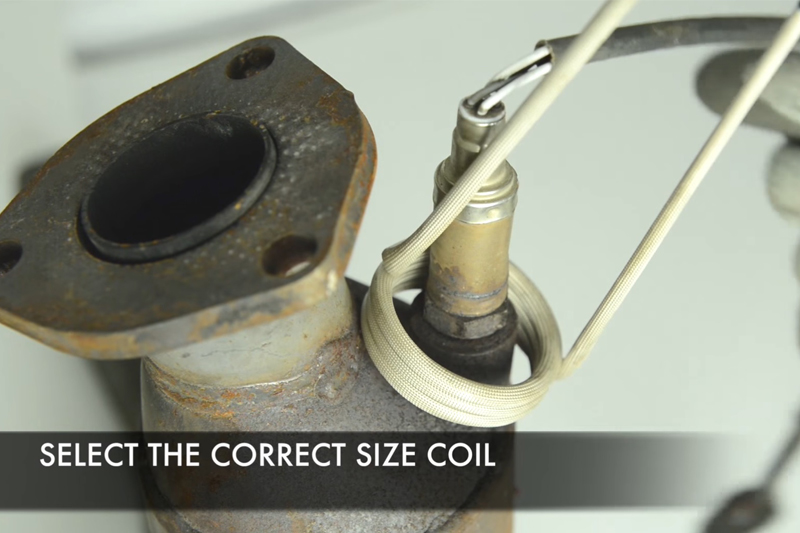
Select a work coil that will just slightly slide over the sensor and the nut mounting surface on the exhaust pipe, allowing room for expansion when the sensor and nut mounting surface is heated.
STEP 2
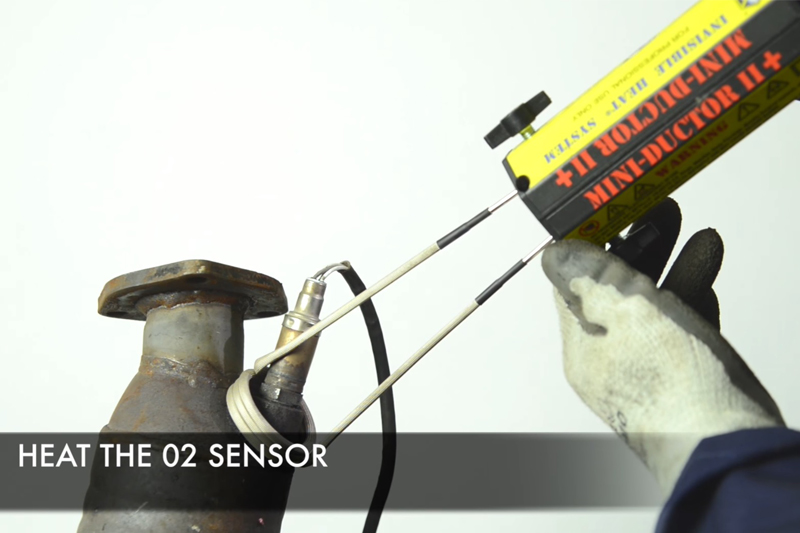
Slide the work coil over the sensor/mounting surface and heat for about 15-20 seconds (time may vary subject to mass and/or alloy).
STEP 3
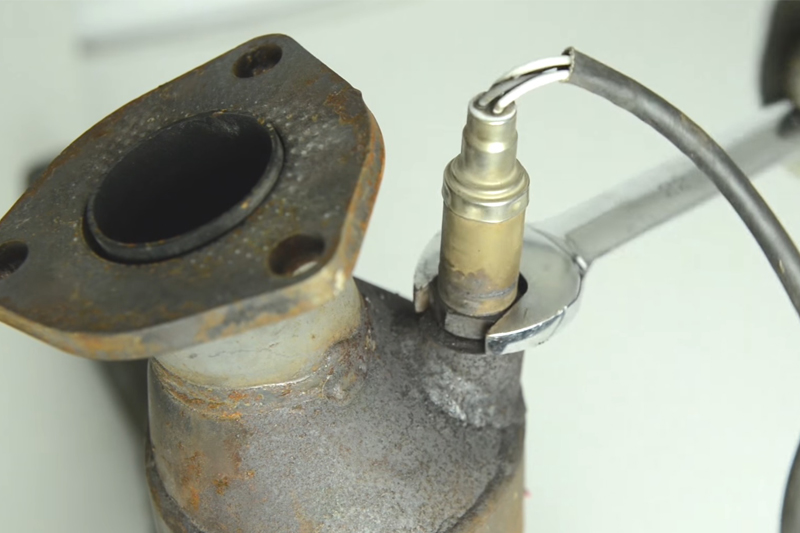
Choose appropriate size wrench for the sensor, slide the wrench over the sensor’s nut surface and loosen (if still too tight repeat Step 2 and 3).
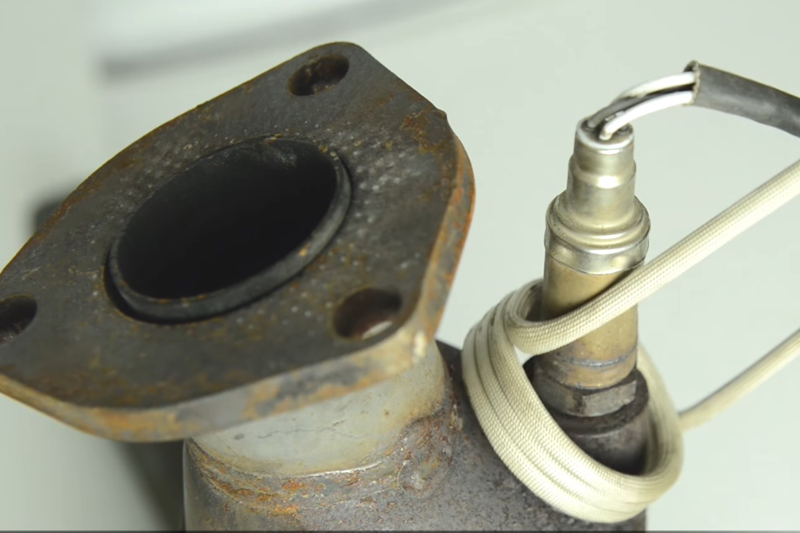
Using Bearing Buddy Coil
STEP 1
Attach one end of Bearing Buddy Coil to your Mini-Ductor and secure with the Twist Lock (coils simply lock down with one simple turn).
STEP 2
Wrap the Bearing Buddy Coil around sensor/base with at least three turns, capturing as much of the mounting surface as possible (make sure you continue winding in the same direction, if not a reverse winding will cancel the induction effect). Insert opposite end of coil into the Mini-Ductor and secure with the Twist Lock.
STEP 3
Heat for about 15-20 seconds (time may vary subject to mass and/or alloy). Slide the coil formation back enough to make room for the wrench. Slide the wrench over sensor’s nut surface and loosen.


