
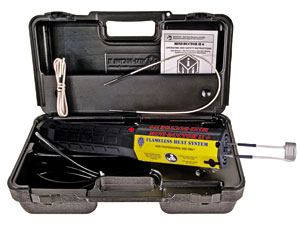
The Mini-Ductor® II + (MD800P) handheld induction heating tool offers a safe, fast way to remove problem tie rod end steering nuts. This guide shows you how.
 Tie rod ends are an integral part of a vehicle’s steering mechanism. PMM readers will know that removing rusted, corroded, or locked tie rod end nuts is often a lengthy, difficult and frustrating task for motor mechanics. Problem tie rod end nut removal is very difficult if you’re only using a ratchet wrench as it usually requires the application of penetrating fluid, or blasting the area with a torch. This is time-consuming, can cause unwanted damage and is a potential risk to the operator’s safety.
However, help is at hand. The Mini-Ductor® II + (MD800P) handheld induction heating tool heats metal parts in seconds. This allows all types of adhesives bonded to metal, fasteners bonded with thread lock compound, and seized hardware, to be removed and released much quicker and safer than by traditional naked flame heating.
Faster extraction productivity
Mechanics do not need to run the risk of using a torch which could damage the CV joint, rubber grommets, or the rotor. The Mini-Ductor’s coils are thin enough to wrap round the nut and heat it in seconds for easy removal. Apart from the increased safety benefits, it is claimed that the use of the Mini-Ductor® II + can increase a garage’s fastener extraction productivity by over 50%.
HOW TO REMOVE A STUBBORN TIE ROD END NUT – 5 SIMPLE STEPS
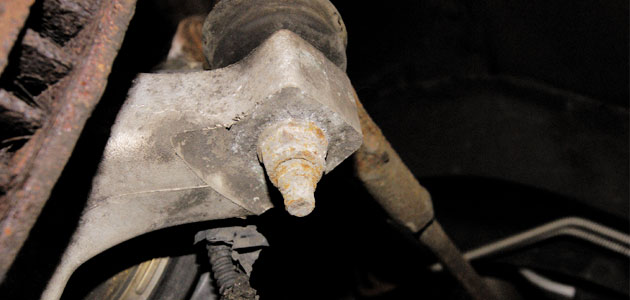
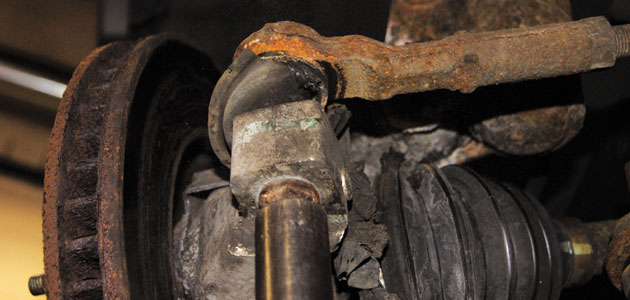
STEP1 – Identify the rusted or frozen tie rod end nut

STEP2 – Fit the proper size coil to the tie rod end nut
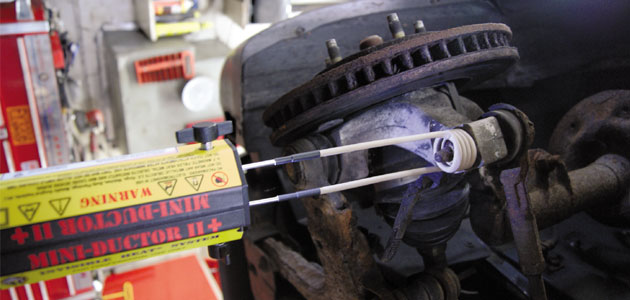
STEP3 – Fit the coil to Mini-Ductor® II + and then fit this back around the nut
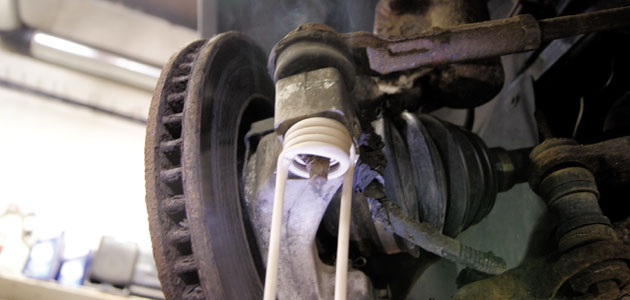
STEP4 – The tie rod end nut is heated
STEP5 – Immediately apply an impact wrench to unscrew the tie rod end nut
Equipment needed: Heat resistant gloves, overalls, goggles and a respirator mask (if smoke will be produced from heating).
Knowledge required: A well-reviewed proficiency of the tool’s safety and operating instructions.
Following removal: Make sure you dispose of any excessively heated hardware.


