Timing chains are becoming more popular with engine designers, as they allow for greater power and economy whilst minimising space. It is therefore a certainty that more cars entering the aftermarket for repair will feature a timing chain.
Fitting this particular component is a longer and more complex job than replacing a timing belt and there are a number of critical steps that must be observed in order to ensure that the timing chain has a long and trouble-free life.
Replacement presents a good opportunity for the aftermarket as the labour and parts are more expensive and, ultimately, justify a higher repair cost. However, unless the timing chain is expertly installed, the job can come back, with expensive implications for the installer.
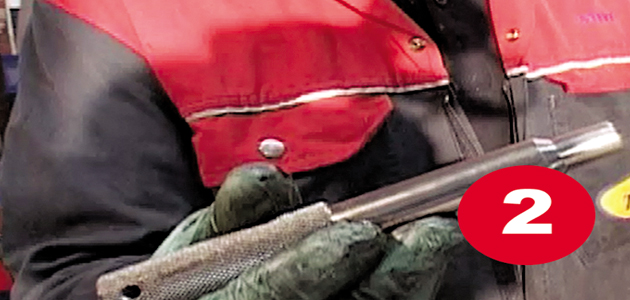
1. Before removing any of the old chain parts, lock the camshafts in position using the correct tapered bar. Do not improvise the tool!
2. The crankshaft must be locked in position using only the correct locking pin.
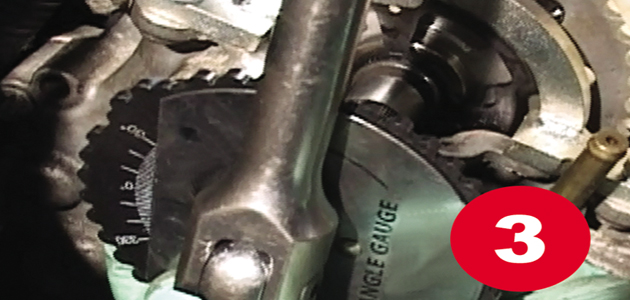
3. All stretch bolts used must be torqued to the manufacturer’s recommended figure.
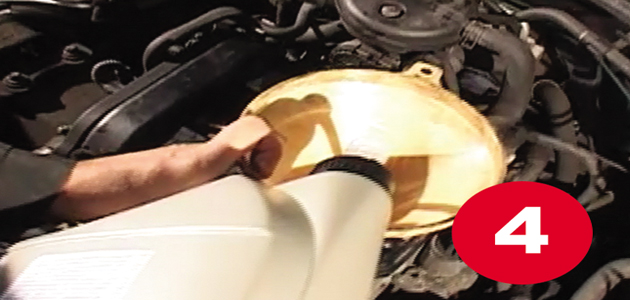
4. After fitting and cleaning the sump and oil pickup pipe carefully, refill with the correct grade of oil, as recommended by the manufacturer.
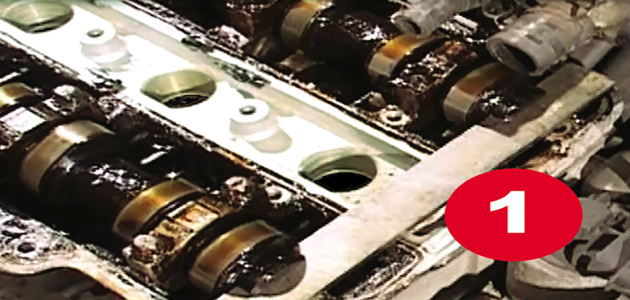
5. Use the opportunity of having the camshaft cover removed to examine the rockers and the rest of the assembly for damage. Any impact damage can cause the timing to be a few degrees out of synchronisation and the faulty components must be replaced.
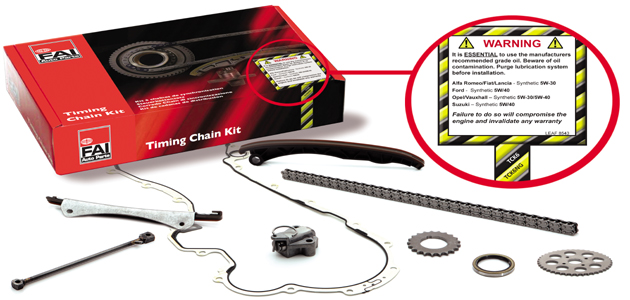
It is vital to work cleanly; any contaminated oil or carbon deposits found in the sump, rocker cover or timing cover must be removed, as they can block the oil feed holes in the tensioner, causing the tensioner and chain to fail. Using the correct grade of oil is vital: the label on the FAI box will specify the correct grade.