
VEHICLE: KIA PICANTO
RECOMMENDED LABOUR TIME: 1 HOUR
FAG WHEEL BEARING P/N: 713619510
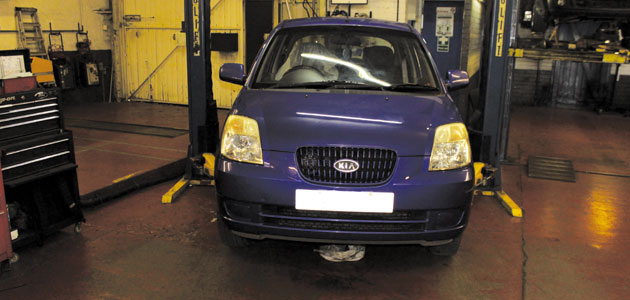
The Kia Picanto is a small but spacious city car with various engine and body style options available to choose from. Launched in 2004, it has become an increasingly popular vehicle on the UK roads today.
If the vehicle has alloy wheels fitted, ensure the locking nut is with the vehicle before undertaking the repair. Raise the vehicle on the ramp to a suitable working height – we used a two-post ramp in this case but the repair could be carried out on the floor if necessary.
Remove the front wheel on the relevant side; we would advise whenever possible, to replace the wheel bearings in pairs as it is likely the bearing on the opposite side is as worn as the one being replaced.
Remove the drive shaft nut and release the drive shaft from the hub.
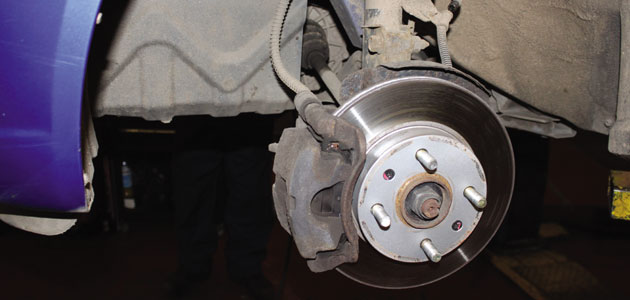
Clean the track rod end with a wire brush to remove any hard rust, remove the split pin and disconnect the track rod from its position. The lower ball joint can then be disconnected.
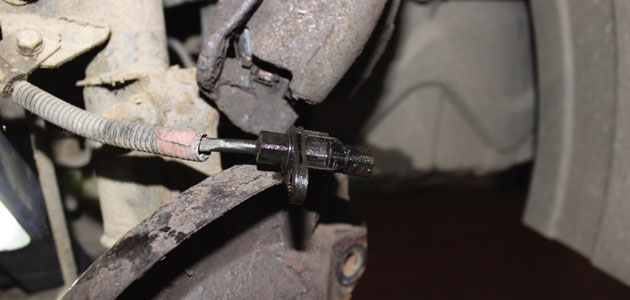
Remove the brake calliper as a complete assembly and support it to the coil spring using a bungee tie. Remove the brake disc. Disconnect the ABS sensor and stow to the side so it is not damaged in any way.
The hub can now be removed so the wheel bearing can be replaced.
Remove the rusty old circlip and then proceed to remove the drive flange from the hub.
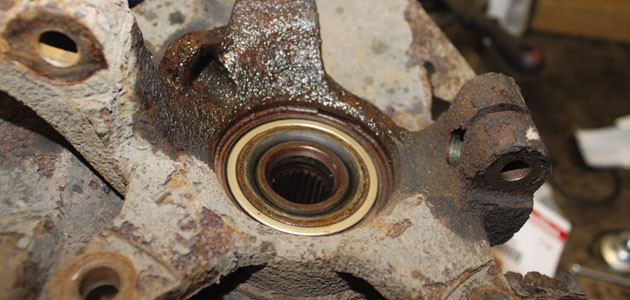
In our case we used a pull hammer that was fixed to the wheel bolt fixings to release the drive flange.
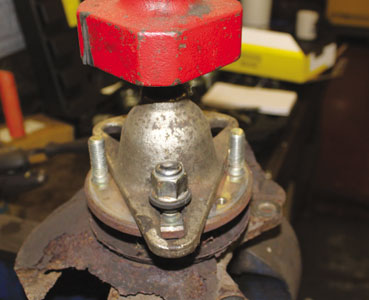
The next step is to remove the bearing from the hub using a hydraulic press and suitable diameter wheel bearing tool, or you could use an old bearing with the same diameter to push out the bearing.
The inner raceway of the bearing will then need to be removed from the drive flange. It can be a little tricky to attach a puller securely to remove the inner raceway, so in our case we secured the drive flange in a vice. Using a die grinder, very carefully score part way through the inner raceway – just enough to weaken it, and taking extra care to not cut right through and damage the stub axle.
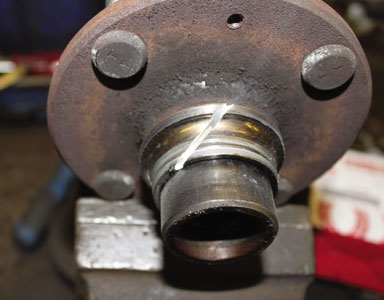
With the race now scored, use a blunt chisel to crack the score point and remove it in a controlled way, without causing any damage to the race.
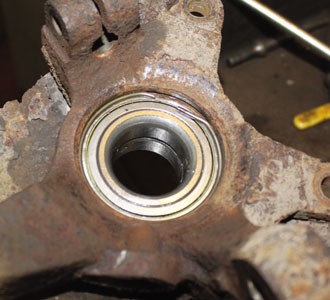
With the bearing and inner race now removed, take time to check that the hub profile is round and not damaged; the outer race will always take the form of the hub it is being pressed into and could possibly cause the premature wear of the new wheel bearing. Clean the hub and stub axle to remove any dirt and rust.
When installing the new bearing into the hub it is vital that you press on the outer race and not on the flange. By doing this you ensure that the pressing force is not transmitted through the balls or rollers of the bearing, but only through the outer race. In this case we used the bearing that was removed as we know it is exactly the same diameter to press the bearing into the hub. Once the bearing is installed, the new circlip supplied with the bearing can be fitted.
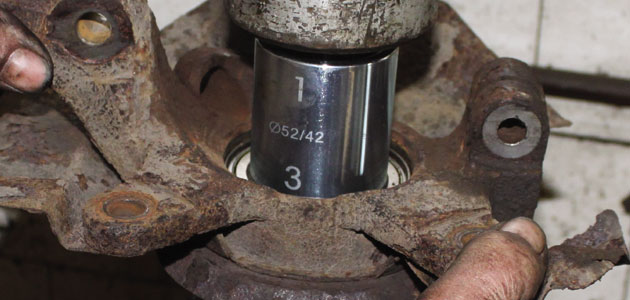
Using a suitable diameter wheel bearing tool or a tube of the same size as the inner race, the hub can now be pressed onto the drive flange, avoiding any potential damage to the ball races.
The installation of the remaining parts is the reverse of the removal.


