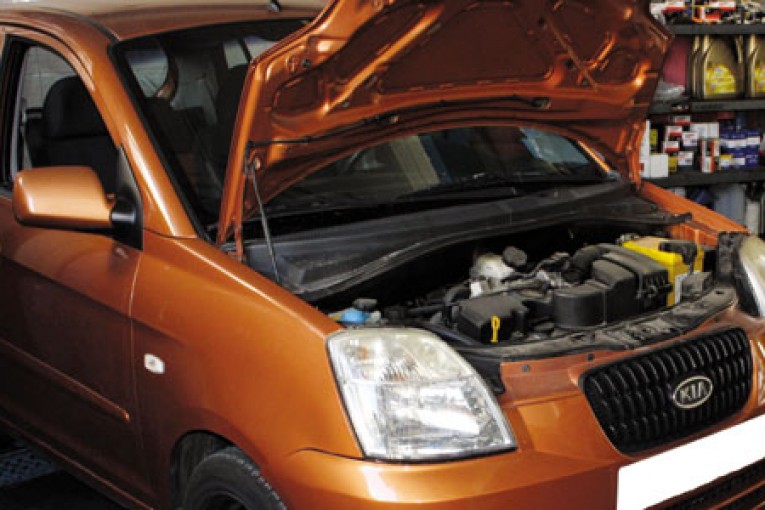
VEHICLE: Kia Picanto 1.0 petrol G4HE
RECOMMENDED LABOUR TIME: 3 HOURS
LUK PART NUMBER: 618301600
This specific vehicle had travelled almost 100,000 miles and the clutch pedal is very heavy, making it difficult to change gears. In such a case, especially in vehicles where the disengagement system is purely mechanical (mechanical bearing, fork and shaft bushes), it is necessary that these components are replaced together with the clutch and the other system components. When the clutch is very worn the force on the pedal will become greater, consequently the fork, shaft and bushes are stressed and can become twisted. If this happens, just replacing a clutch and not the other system components will drastically reduce its working life.
For this repair, we used a two-post lift, a transmission jack, some common hand tools, as well as an alignment tool and engine support bridge. If the vehicle is fitted with alloy wheels then you should ensure that the locking key is available before commencing the job. For safety reasons, it’s also important to disconnect the battery.
Getting started
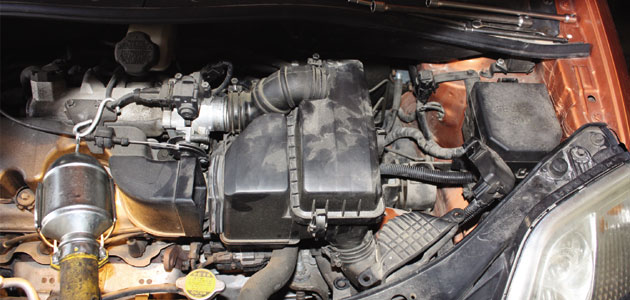
Remove the engine cover, battery and battery tray and then remove the air duct and air filter housing completely.
Disconnect the wiring harness that includes the reverse light, speed sensor earth cable and also the Lambda sensor as this is secured to a bracket that is fixed to the gearbox.

In addition, disconnect the selector linkages from the release lever and detach the clutch cable at the gearbox
Install the engine bridge and then remove the top bell housing bolts and starter motor bolts. Remove the gearbox support mounting and bracket as this could prohibit the lowering of the transmission later.
Raise the vehicle and remove the wheels and the lower ball joints in order to disconnect the drive shafts from the gearbox and not from the wheel hub side. In this repair the drive shafts remained on the vehicle and we disconnected the driveshaft on both sides from the flange, including the rubber protection boot and metal ring that holds the boot in place.

The driveshaft flanges remained on the gearbox so we had no reason to drain the transmission oil in this case. When installing the boot and driveshaft a new plastic retaining ring is used in place of the metal ring. Remove the front engine mounting.
Separate the gearbox
Support the gearbox with the transmission jack and remove the remaining bell housing bolts before carefully separating the gearbox from the engine and lowering to the floor.
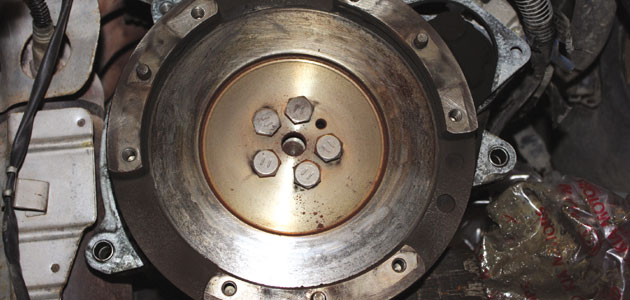
When you remove the old clutch unit, you must ensure that the flywheel surface is in a good condition.
Clean the inside of the gearbox before installing the new bearing and fork making sure that you apply the appropriate high melting point grease (not a copper-based product) on the fork joints.
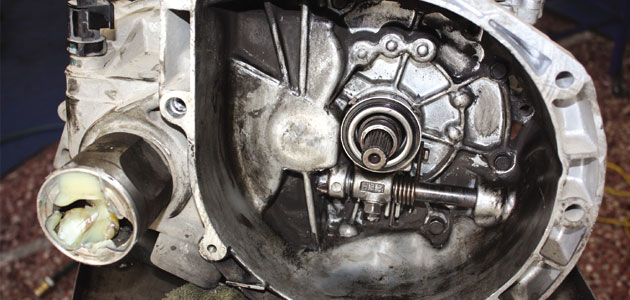
Before installing the components, it is important to check the gearbox input shaft for tolerances and wears in the splines. Don’t forget that this specific vehicle is not equipped with a bearing in the flywheel, so the input shaft must have zero tolerances and be in a perfect condition. In addition, apply a small amount of high melting point grease to the input shaft splines and install the clutch disc (moving around on the splines to ensure the grease is spread evenly) before removing the excess grease with a clean cloth.
Using the alignment tool, install the clutch disc to the flywheel.
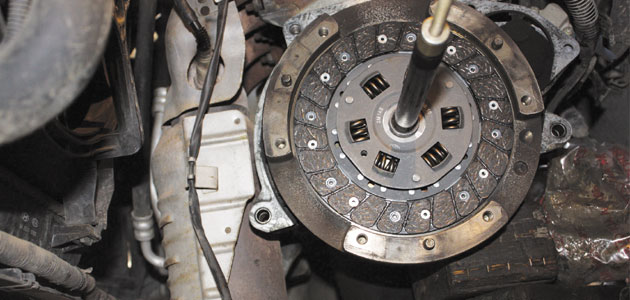
Note: On LuK plates you will find the words ‘Getriebeseite’ or ‘Gearbox side’, which indicate correct direction of the disc.
For the installation procedure you must follow the reverse order. Before fitting the gearbox make sure the locating dowels are in place and not damaged. Refit any that have become dislodged and refit the gearbox. Make sure the gearbox bell housing bolts are secured before lowering the jack.
For the latest in online support log on to www.repxpert.com.
MEET THEM AT MECHANEX
Schaeffler Automotive Aftermarket’s three quality brands – LuK, INA and FAG – will all be in attendance throughout 2015 at our MECHANEX trade shows.
Offering visitors the opportunity to talk to Schaeffler’s group of experienced experts who will be on hand to offer helpful demonstrations and workshop hints, attendees can also find out about the latest technologies that will soon be appearing in their workshop.
More details about our 2015 calendar of events can be found on the MECHANEX website.


