
In this month’s article, Schaeffler replace the timing belt and water pump on a 2008 Volkswagen Beetle 1.9 TDI (BSW engine) that has covered just over 66,000 miles.
Volkswagen released the new Beetle in 1997. Prior to that, two concept cars had been designed and a strong demand had been noticed for a new Beetle, which went into production and was based on a Golf platform. Assembly took place in Mexico and it was available in petrol and diesel, with two body types; coupe and convertible.
This engine has been identified as an interference type, so in the event of a timing belt failure, the likelihood of engine damage is extremely high. It is always important to install a new timing belt system on an engine at ambient room temperature. Always adhere to turning the engine in direction of rotation unless otherwise advised by the installation instructions. Recommended torque values should always be used. It is also recommended that all the tensioners, idlers and fixings are replaced at the same time as the timing belt.
For safety reasons, it is best practice to disconnect the battery earth lead. The vehicle may also be fitted with locking wheel bolts, so make sure the key is available before starting the repair.
For this repair, the workshop equipment used was a two-post ramp, crank and camshaft locking tools, two pin tensioner wrench, engine support and a stud extractor.
All workshop repair information and repair times are available from www.repxpert.co.uk.
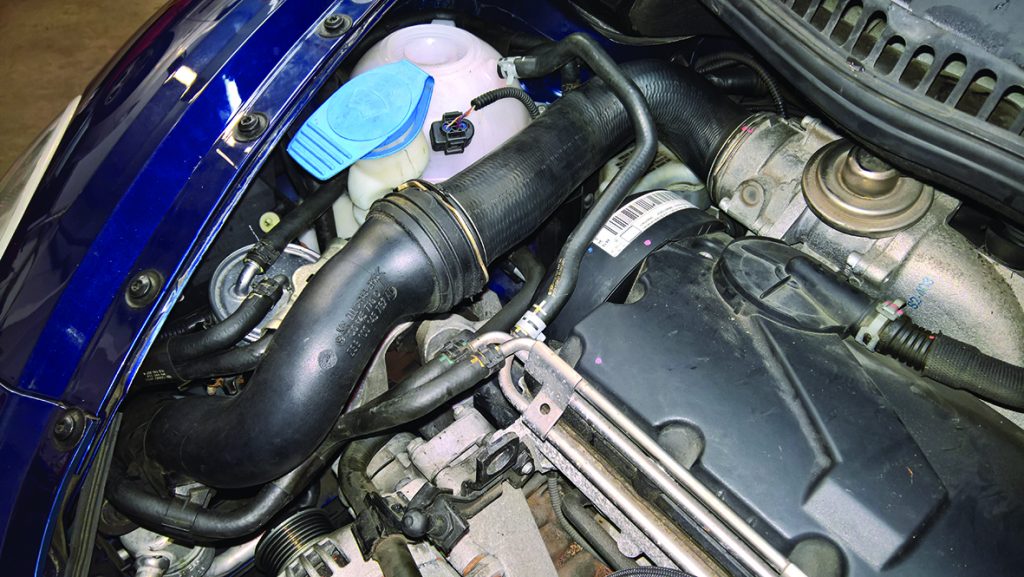
With the vehicle placed on the ramp, start by removing the engine cover, then remove the top intercooler hose, coolant expansion tank, fuel filter and fuel filter mounting bracket (see below).
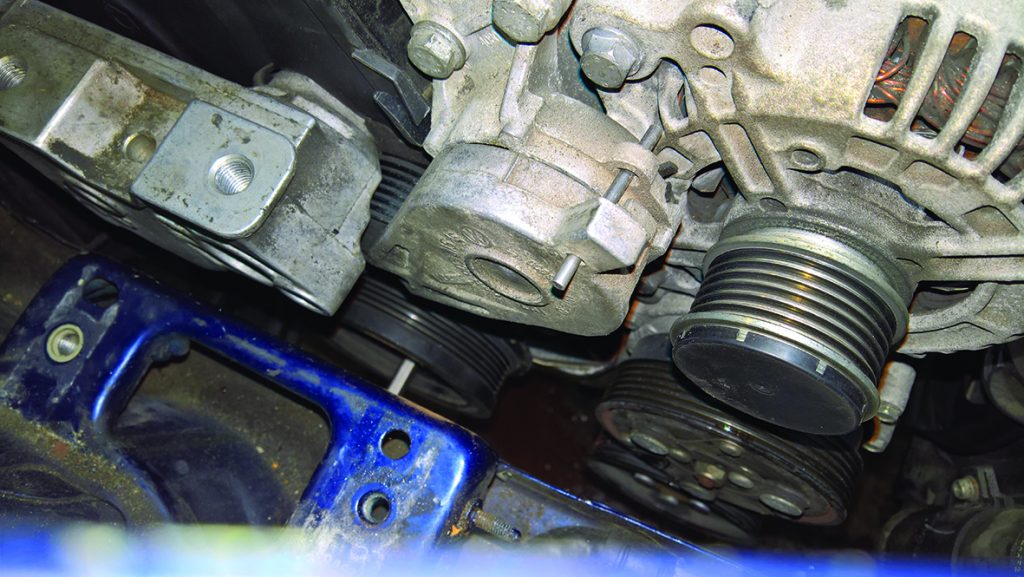
Remove the tension from the auxiliary drive belt and lock the tensioner with a pin (see below), remove the auxiliary drive belt, check the auxiliary drive belt for wear and cracking/perishing and replace if required. Also, check the Over Running Alternator Pulley (OAP) for correct operation and then remove the auxiliary belt tensioner.
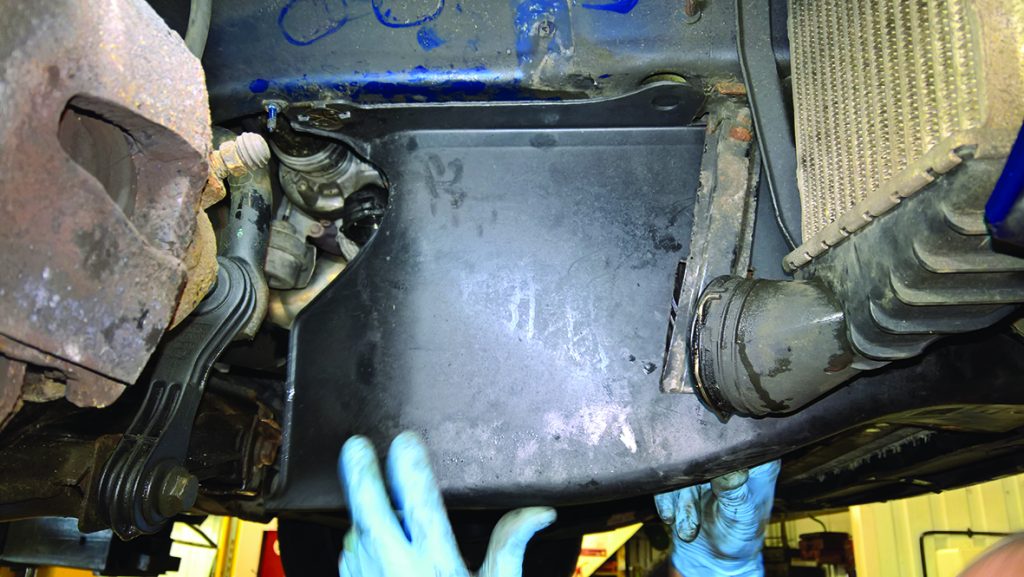
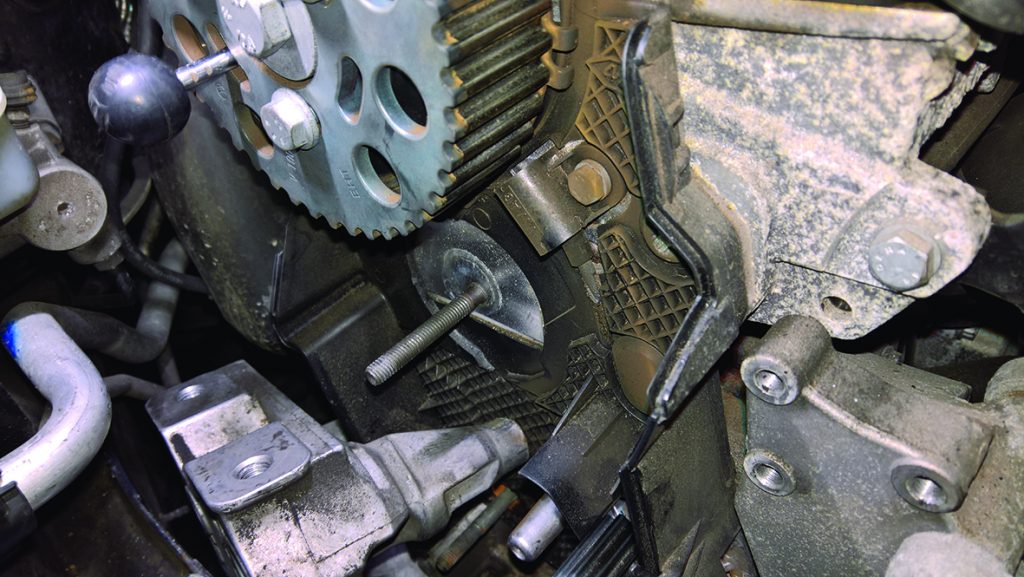
Raise the ramp, remove the o/s/f wheel, the lower intercooler hose, the engine under tray and then the o/s/f wheel arch liner, o/s lower engine cover (see below), and lastly remove the metal mounting bracket and the crankshaft front pulley. At this point, we need to support the engine as the engine mounting needs to be removed. This can be done with either an engine brace beam, a support that is located on the front sub-frame or, in this instance, we supported the engine with an axle stand, as most of the work is carried out from above.
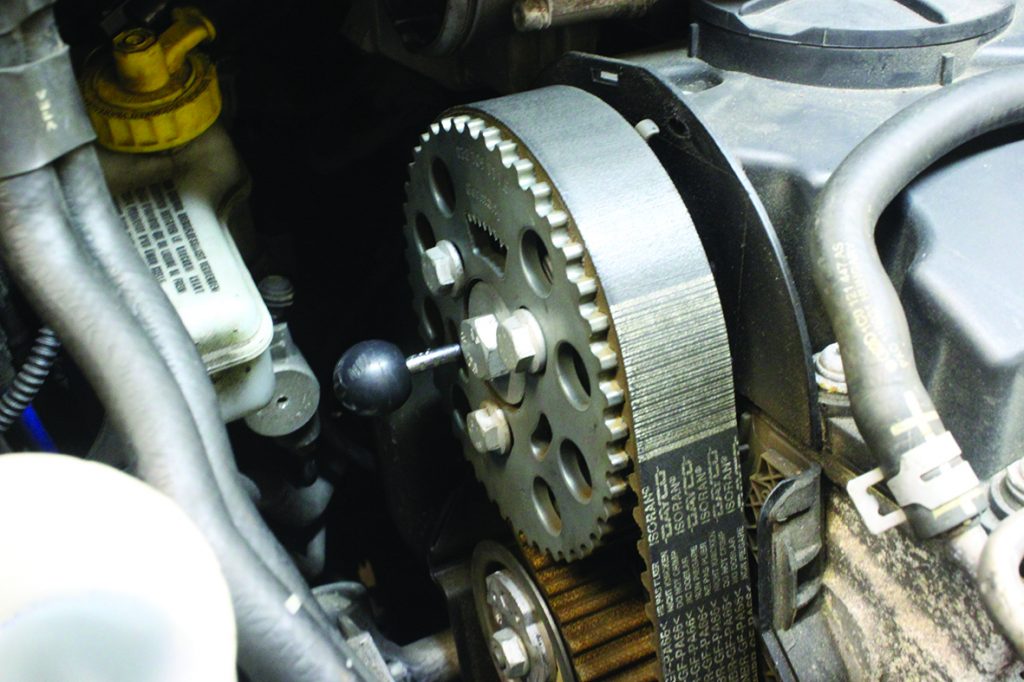
Support the engine, then remove the engine mount and disconnect the mounting bracket from the engine block. This cannot be removed as there is not enough clearance, but can be manoeuvred to allow belt replacement. Now remove the upper timing belt cover, and then with access through the o/s/f wheel arch, take off the two lower timing belt covers, rotate the engine in a clockwise direction and align the timing marks. Then insert locking tools into the crankshaft (see below), and the camshaft (see below).
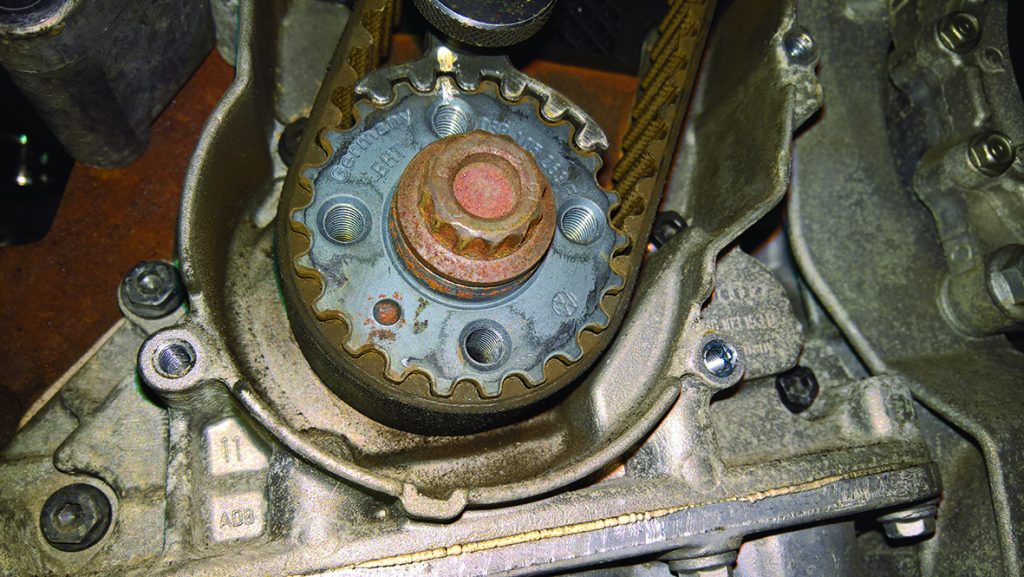
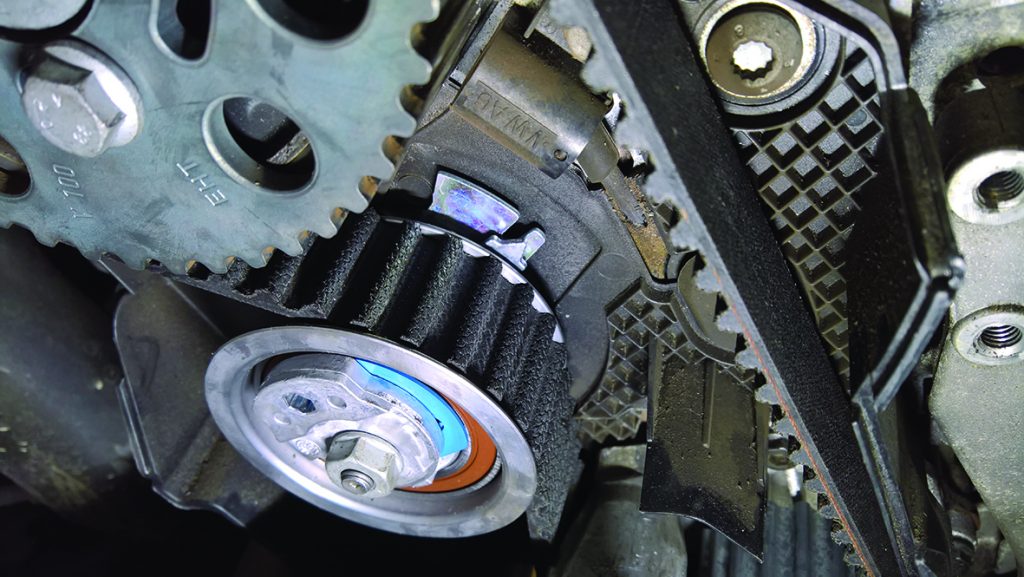
Once the cam and crank have been locked, slacken the tensioner nut, remove the tension from the belt and then take out the timing belt and the tensioner. A crucial point of this repair is to replace the studs for the tensioner and the idler (see below). They were removed easily with a socket type stud extractor and replaced and torqued with the same stud tool (the torque procedure of these studs is very important, so always refer to the latest information).
Now take out the water pump by removing the three retaining bolts and easing the pump out of the engine block, and then drain the engine coolant into a tray placed under the vehicle. Once drained, ensure the mounting and sealing faces for the pump are clean and dry, install the new water pump and tighten to the manufacturer’s specification. Remove and dry any remaining coolant in the timing belt area and fit the new idler and tensioner.
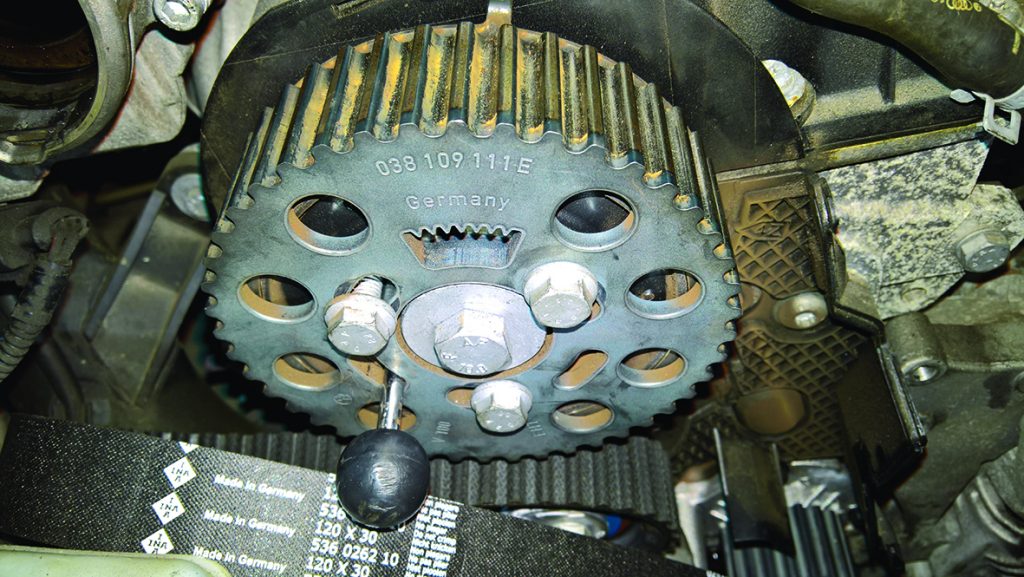
Using a counter-hold tool, slacken the three retaining bolts on the camshaft pulley and rotate the camshaft pulley in a clockwise direction until it is against its stops (see below). Now fit the new timing belt, starting on the crank pulley, then the idler, tensioner, camshaft pulley, and finishing off at the water pump.
The belt will have to be fed around the engine mounting bracket during installation, and once installed on all pulleys, tension the tensioner in a clockwise direction until the pointer lines up with the slot in the back plate (Fig 8). Torque the tensioner and the idler, hold the camshaft pulley with a counter-hold tool and torque the three bolts.
Remove the crankshaft and camshaft locking tools, and then rotate the engine two complete revolutions in a clockwise direction, this can be done using a socket on the crankshaft centre bolt. Re-install the locking pins to ensure the timing is correct and then check the tension is still correct on the tensioner pointer.
Re-install all items in reverse order of removal. Ensure the engine mounting is in a relaxed position when tightening, and refill the cooling system with new coolant once the expansion tank is installed (always ensure the correct specification of coolant is being used). It is strongly advised to rotate the engine a number of times before starting to check for any interference. Once the repair is complete, with the engine running, bleed the cooling system and carry out a road test to ensure the coolant level is correct.


