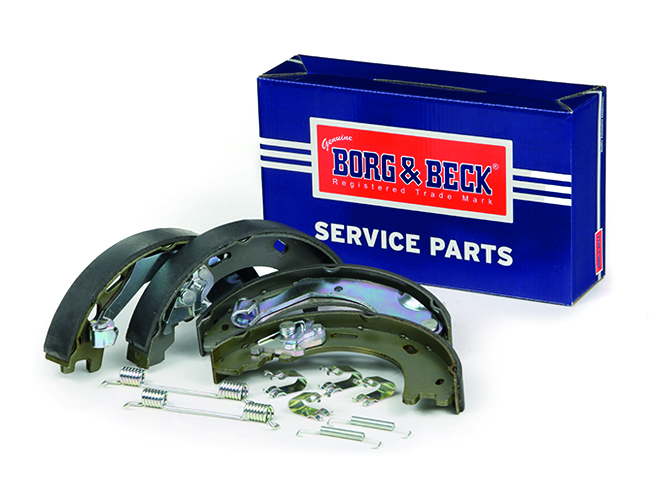
Parking handbrake shoes; inspection, adjustment and bedding in – instructions for Range Rover Sport and Land Rover Discovery
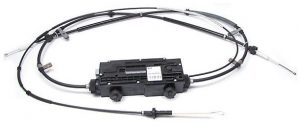
Both of these vehicles are fitted with Electronic Parking Brake (EPB) modules, which control the handbrake shoe mechanism electronically via an actuator. EPB problems will develop if the handbrake shoes are worn, in need of replacement, corroded, or more importantly, if the adjustment is not checked and set correctly. An incorrect adjustment can cause the small teeth inside the unit to break, or the small adjuster nut to over tighten and become jammed at its maximum travel. If the vehicle is fitted with new rear brake discs or parking brake shoes, it is imperative that the parking brake shoe adjustment and bedding in procedures are carried out in full.
Failure to do so may result in the premature failure of the EPB module, which is not a handbrake shoe fault. First Line advises that every two years, or if the vehicle has been driven in muddy conditions for more than 50 miles, a full inspection of parking brake shoes is carried out.
Carrying out an inspection of the parking brake shoes
- Raise and support the vehicle.
- Using a suitable diagnostic tool, drive the parking brake to the mounting position.
- Take out the 30A fuse for the EPB from the battery junction box to isolate the EPB electrical circuit.
- Remove rear wheels, calipers and discs.
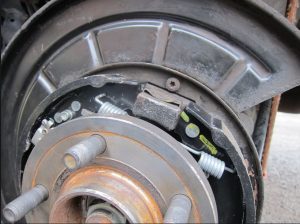
- Check the condition of the parking brake shoes, springs and back plate.
 Look for signs of shoe drag. This may be evident through excessive shoe lining or drum wear. There may also be evidence of heat build-up on the shoes, drums, discs or other internal components.
- Remove the shoes from the back plate. The shoe linings should be a minimum of 2mm thick. If there is evidence of heat damage to any of the components, replace the shoes.
- Clean any build-up of dust from the drum and shoes. Clean the friction face of the shoe and remove any metal shards from the shoe lining. Make sure the back plates and shoe supports are free of corrosion. These should be smooth and clean.
- Lubricate the backing plate shoe support platforms with the appropriate brake grease. Care should be taken with the hold down clips during fitting, as they can become over stressed. Always make sure the parking brake shoes are held against the back plate. If in any doubt about the clips, replace them with new ones.
- If there is evidence that handbrake shoe drag has caused excessive heat build-up on the disc – brake shoe linings separating from the shoes, for example – and if the brake discs are significantly discoloured, the brake discs should also be changed.
- If there is evidence of heat damage then also check the parking brake cables. Look for heat damage at the cable ends. Check that the cables are correctly attached by releasing the outer cable retaining nuts from the back plates and pulling on the cables. The cables should not detach from the handbrake.
- Ensure that the E-clips are installed to the outer brake cable ends in the correct groove. If the parking brake cables are damaged, then they will need to be replaced.
- Refit the outer cable retaining nuts and torque to 8Nm (6lbft).
- Refit the brake discs and calipers. Refit the 30A fuse.
- Carry out the parking brake shoe and lining adjustment procedure in full.
The parking brake shoe and lining adjustment procedure
 Raise and support the vehicle.
- Remove rear wheels.
- Using a suitable diagnostic tool, drive the parking brake to the mounting position.
- Line up the access hole with the indicators, located on the back plate.
- Remove the access plug.
- Locate the parking shoe adjuster.
- Use a flat blade screwdriver as a lever to displace the parking brake shoes. Note: The movement of the parking brake shoe will be small and may not be felt when levering, but failure to displace them will lead to incorrect clearance at the adjustment step.
- Using the screwdriver, rotate the handbrake shoe adjuster to extend it until the brake disc is locked ‘hand’ tight. Do not apply excessive force to the handbrake shoe adjuster, as this may result in damage to the parking brake system.
- Using a suitable marker, mark the position of the brake shoe adjuster. Rotate the adjuster back exactly one full revolution (10 clicks) until the mark can be seen again.
- The wedge adjuster must be correctly seated to make sure the parking brake cable is correctly adjusted.
- Loosen the wedge adjuster Allen screw half a turn. Tap the brake disc lightly with a soft face mallet around the parking brake shoe location within the brake disc.
- Tighten the wedge adjuster Allen screw to 6Nm.
- Refit the access plug. Repeat for the other side.
- Take the vehicle out of the mounting position using the
- diagnostic tool, or by operating the parking brake twice.
- Check the operation of the actuator.
Check the actuator operation
- Ensuring that all diagnostic codes are cleared from the EPB module fault memory, select gear position ‘Neutral’.
- Select gear range ‘Low’ (there should not be any abnormal screeching coming from the EPB. If there is, then the EBP actuator may be damaged and in need of replacement).
- Apply and release the EPB switch three times.
- Recheck for fault codes – there shouldn’t be any!
The parking brake shoe bedding in procedure
This procedure needs to be carried out when the EPB, handbrake shoes or the rear discs have been replaced.
- With the engine running, press the brake pedal fully on and off three times. On the third press, hold the brake pedal down. While the pedal is down, pull the EPB switch upwards four times, then
downwards three times, within 10 seconds. - The dash display will then show ‘Parking Brake Bedding in Cycle Active’ or something similar. If this does not appear, release the brake pedal and carry out the first point again.
- Drive at least 19mph, up to a maximum of 29mph, then apply the EPB switch until the vehicle stops. Then wait 60 seconds or drive one mile to let the brakes cool down, then repeat the process. If the engine stops or is driven at more than 30mph, the bedding in process will be cancelled. This procedure needs to be completed 10 times and after the 10th time, the bedding in mode will switch off automatically.


