
The symptoms: Poor starting – increased fuel consumption
Tools required: DS150 Diagnostic Tool, Sealed Rail Kit (YDT278), False Actuator Kit (YDT410), Fuel Analyser (YDT553)
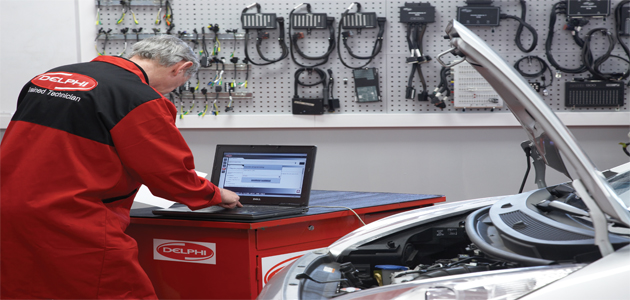
STEP 1: The technician connected Delphi’s DS150 diagnostic tool to the 16-pin EOBD diagnostics socket to interrogate the vehicle’s fault code history. The fault returned was ‘P0263 Injector cylinder 1 – Drift’, indicating an injector related fault.
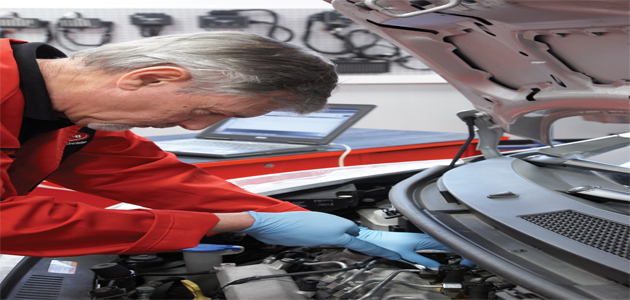
STEP 2: The technician checked all of the injector’s back-leakage using the Delphi sealed rail kit in order to identify which injectors were not performing to specification, and to confirm correct levels of rail pressure.
In this case, it was a fault with one of the injectors, but if low rail pressure was an issue, the technician would have used Delphi’s false actuator kit to determine whether or not the pressure was generated mechanically by the pump, or if there was a possible fault with the pump’s Inlet Metering Valve (IMV) or Pressure Control Valve. 
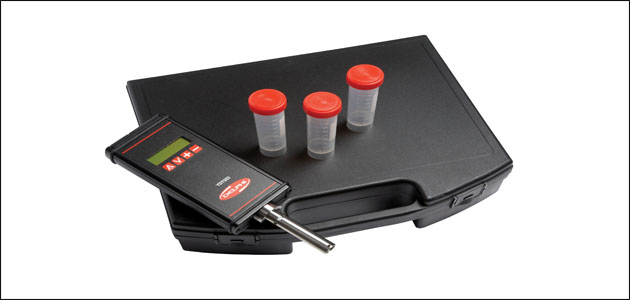
STEP 3: To ensure the damage was not due to contaminated fuel, the technician’s next step was to test the fuel within the system with Delphi’s fuel analyser.
After testing the fuel from the vehicle’s tank, and/or the fuel filter assembly, it was found the fuel was not contaminated. If the fuel analyser had shown fuel contamination, the technician could use this diagnosis to explain the damage, as well as to refute any possible warranty claims. The fuel analyser can be connected to a PC so results can be downloaded and printed for the workshop or customer’s records.
STEP 4: Once the technician concluded the fault was a worn injector, he removed all of the injectors from the vehicle. As all of the injectors had done the same mileage, it was important to have the complete set diagnosed to rule out any other potential problems. The injectors were sent to a local Delphi Diesel Centre.
The Delphi Diesel Centre tested the injectors on a Delphi-authorised test bench to confirm which injector was at fault. This included electrically testing the injectors for resistance and insulation failures.
STEP 5: After the injectors had been tested, any which did not pass the authorised test were dismantled, repaired and reassembled in a filtered clean environment.
In this case the one repaired injector was, once again, put through a complete test procedure on an authorised test bench and recalibrated with a new C2i/C3i code which was printed onto a label and attached to the injector body. The new calibration code is critical for the operation of the repaired injector. When fitted to the engine, it allows the software within the ECU to accurately control the injector’s fuel delivery and switching times according to the specific parameters and performance for the vehicle.
 STEP 6: Once the technician received the tested, repaired and recalibrated injectors, he was able to re-fit them to the engine, continuing to maintain a high standard of cleanliness at all times.
After the injectors were fitted to the engine, the technician utilised the DS diagnostic tool to calibrate the vehicle with the new C2i/C3i code for the repaired injector and to re-check the other three.
This is a straightforward process as the tool provides help files for the technician to guide them through the process. Recalibrating the vehicle with the new codes is essential – if the new codes are not entered, the vehicle will have poor running and idling issues, and fault codes are likely to be generated.
STEP 7: The final step for the technician was to reinterrogate with the DS diagnostic tool and clear all fault codes to confirm the fault was eliminated.
Technician time: Appoximately 2 hours – ensuring the repair is carried out correctly and efficiently!
Please note: Diesel Common Rail fuel systems produce very high pressures, in excess of 1,400 bar. Please follow all safety guidelines before commencing any work to avoid personal injury. Delphi can provide training courses and more information if required.


