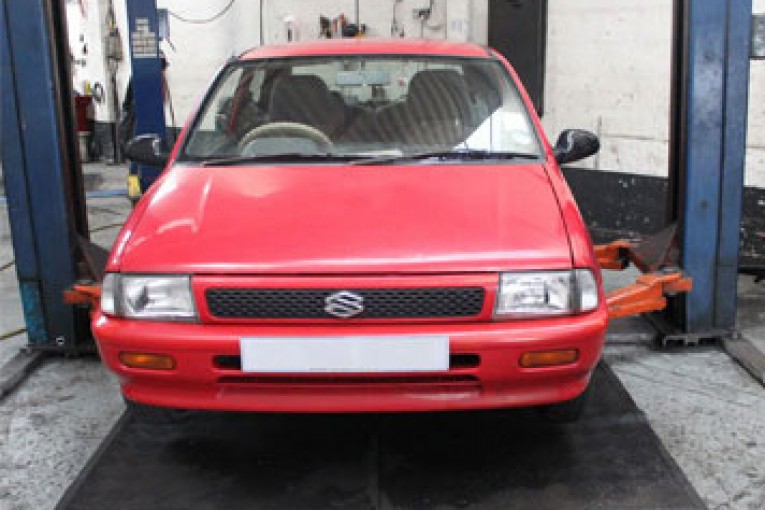
The Suzuki Alto, in its fifth generation guise, was sold in the UK from 1994 to 2003. During these production years Suzuki has sold over 36,000 models in the UK and as these vehicles are getting older, more and more are starting to appear in the UK aftermarket scene.
Replacing a clutch on the Suzuki Alto can be a little tricky, but with the guidance of the LuK ‘Clutch Clinic’ the whole process will become much easier. Nothing out of the ordinary is needed to complete the job, the only special tools required are a transmission jack, an engine support beam and a long axle stand. A two-post ramp was used in this example as a four-post ramp may not provide enough clearance.
For safety reasons its considered best practice to disconnect the battery earth lead before commencing work. If the vehicle has alloy wheels it may be fitted with anti-theft wheel bolts, so make sure you have the key before you start.
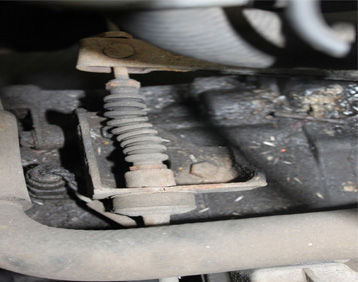
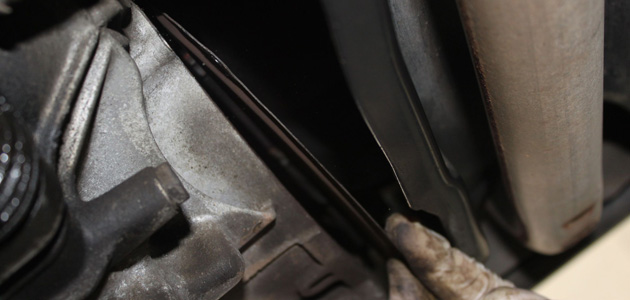
Disconnect the battery earth lead. Raise the vehicle slightly and remove both front road wheels and both drive shaft hub nuts. Release both driveshafts from the hub and remove the clutch cable fixing on the bearing release arm (pictured below).
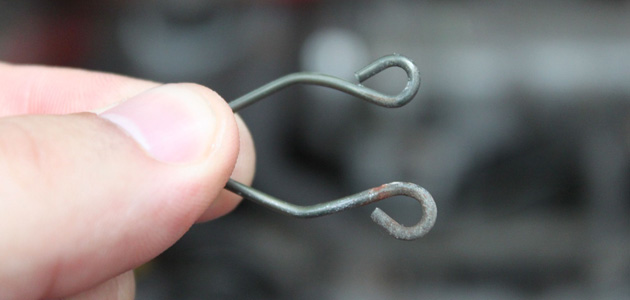
Unclip the reverse light switch connector and remove the speedometer by pulling out the circlip (pictured below) and lifting the speedometer head out of the transmission.
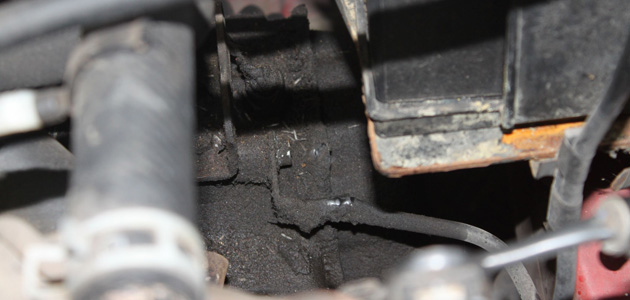
Remove the starter motor fixing bolts and all the accessible upper bell housing bolts. Unbolt the earth strap (pictured below) from the gearbox and secure the engine with the support beam. Carefully undo the gearbox support bracket.
Gaining access
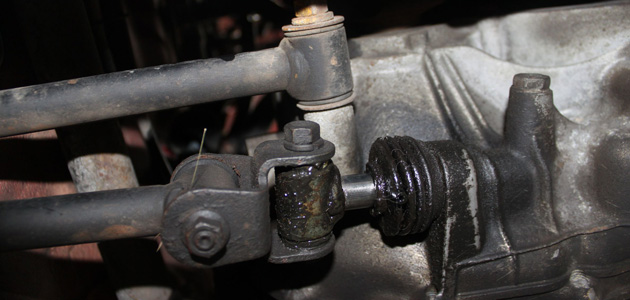
Raise the vehicle and drain the gearbox oil. Undo both lower arms by removing the single bolt and release them from the hubs. Remove both driveshafts from the hub and the gearbox. Once the shafts are removed, access can now be made to the gearbox filler bung which should be removed ready for refilling. refilling. Unbolt the closing plate (pictured below, left) on the gearbox and the gear linkage (pictured below, right).
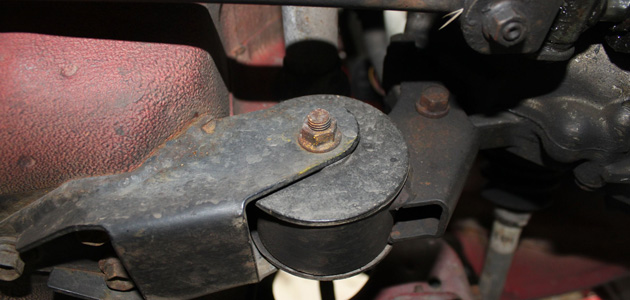
Unbolt the front (pictured below, left) and rear (below, right) gearbox support brackets and undo the remaining bell-housing bolts. With support, the gearbox can now be lowered to the floor.

With the clutch removed, clean the first motion shaft splines and any debris from the bell housing – especially important when a release bearing has failed. Put a small dab of high melting point grease – not a copper based product – on the first motion shaft splines and make sure the new driven plate slides freely back and forth. This not only spreads the grease evenly but also makes sure you have the correct kit. Wipe any excess grease off the shaft and driven plate hub. Using a universal alignment tool and checking the driven plate is the correct way round (note “Getriebe Seite” is German for “Gearbox Side”) the clutch can be bolted to the flywheel evenly and sequentially.
Before fitting the gearbox make sure the locating dowels are in place and not damaged, refit any that have become dislodged. Inspect the release fork, cross shaft and bushes for wear and tear and refit the gearbox. Make sure the gearbox bell housing bolts are secured before lowering the jack. Refitting is the reverse of the removal.


