REPXPERT’s Alistair Mason replaced the clutch and dual mass flywheel (DMF) on a Peugeot 508 SW, fitted with a 1.6 HDI engine, which had covered more than 170,000 miles.
Following complaints of clutch slipping, a short road test confirmed both a clutch and DMF replacement were needed. On initial inspection, the gearbox looked difficult to access and even harder to remove. However, by detaching some of the larger components, the repair was relatively straightforward.
Step-by-step procedure
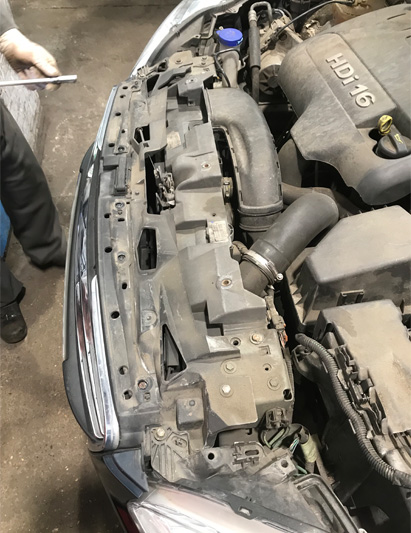
First, place the vehicle on the lift and raise it to gain access to the underside, and then remove the engine and gearbox undertrays, the plastic shield under the front bumper, both front wheels and wheel arch liners, front bumper fixings, electrical multiplugs inside the front of the front wings and, finally, both front hub nuts. Lower the vehicle lift to the floor and detach the ‘slam panel’ trim to gain access to the front bumper cover top fixings (see below).
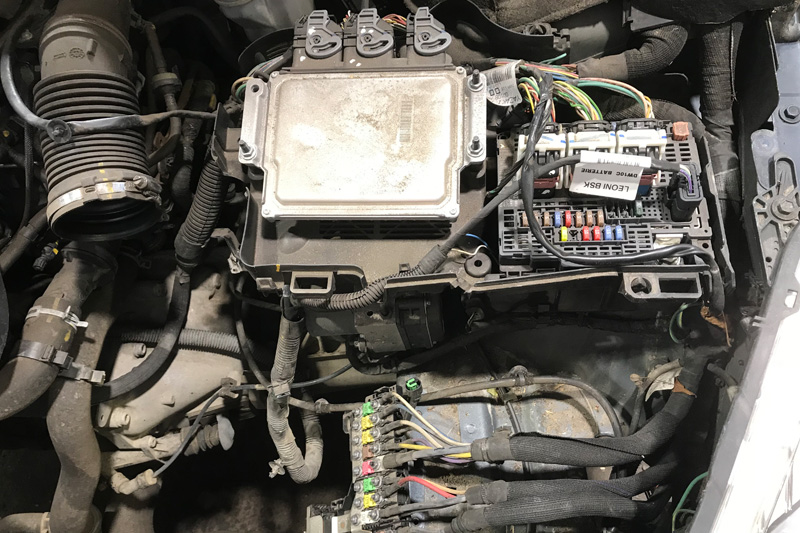
Next, disconnect the top bumper cover fixings, ease the bumper cover forwards, then remove and stow in a safe area. The following items then need to be detached from the engine: air intake ducting, top intercooler hose, air filter assembly, battery, battery tray and E-box assembly (see below).
With this latest set of parts removed, there should be clear access to the top of the gearbox. The next job is to pull out the clutch slave cylinder – leaving the hydraulics connected – disconnect the gear change cables and remove the starter motor. A useful tip: secure the radiator at the top to the front panel using cable ties to prevent the radiator dropping when the front subframes are taken away.
Raise the vehicle lift to gain access to the underside and drain the coolant by unfastening the bottom hose. While it is draining, lower the lift to waist height and detach the front crash bar. Then, once the system has drained, raise the lift and remove the front aluminium subframe assembly (see below) by unscrewing the two bolts in the front and the four holding the rear to the main sub-frame.
Next, remove the main front subframe. Disconnect the brackets holding the power steering pipe to the subframe and ensure it is free, disconnect both anti-roll bar links, remove both bottom ball joint pinch bolts and disconnect the ball joints from the hub assemblies. Continuing the removal of the front subframe, disconnect the bottom gearbox mounting (pendulum mounting) from the gearbox, remove the two steering rack mounting nuts and secure the steering rack to the body of the car by tying the steering arms to the suspension struts.
Support the front subframe using a transmission jack, and undo the four bolts that hold the subframe, before carefully lowering the subframe. Lift it away from the vehicle and stow it in a safe area (see below).
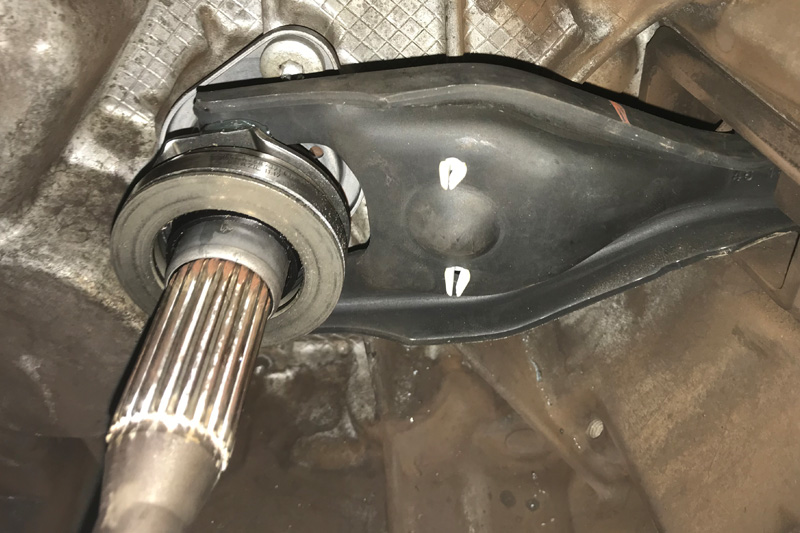
The next job is to drain the gearbox oil and remove both driveshafts from the vehicle. In addition, the O/S/F driveshaft has a centre bearing that needs to be released.
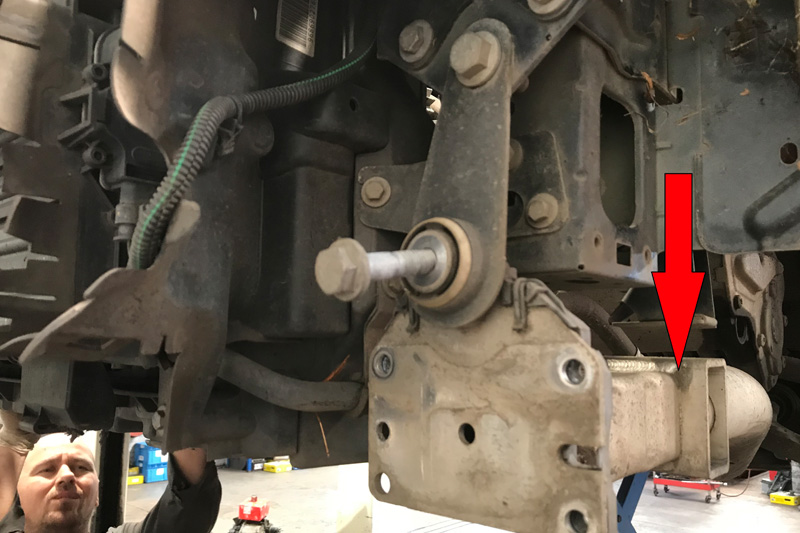
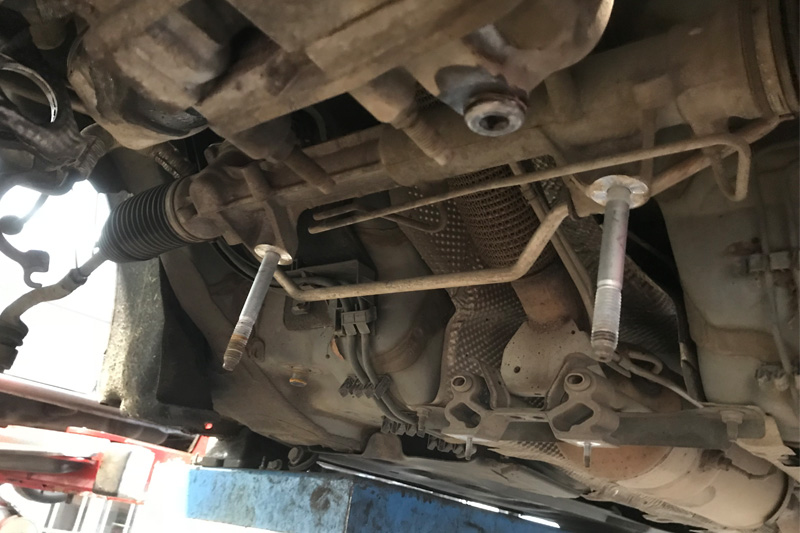
With the driveshafts stowed away, disconnect the lower intercooler pipe that runs under the engine, and then remove the exhaust catalyst to allow access to the rear bell housing bolts, the retaining bolt for the reverse locking pin mechanism and the locking pin assembly (see below).
At this point, unfasten the bell housing bolts, leaving one accessible bolt in position to support the gearbox until it needs taking out. Support the engine using either an engine brace, or by placing a support stand under it, and then remove the top gearbox mounting. Once done, support the gearbox with a transmission jack, lower the engine and gearbox, remove the final bell housing bolt and ease the gearbox away from the engine. Once clear, lower the transmission jack and pull out the gearbox from the vehicle. The next step is to inspect the clutch. On this occasion, it was clear that the clutch had reached the end of its service life, as the self-adjusting clutch springs were fully extended (see below).

Removing and installing both a new clutch and DMF
After removing the clutch assembly and DMF, check the back of the engine for any oil or coolant leaks and rectify, if required.
Clean the back of the engine with brake and clutch dust cleaner, compare the new DMF with the old one to guarantee it is correct, and then mount the new DMF, ensuring that the dowel locates correctly.
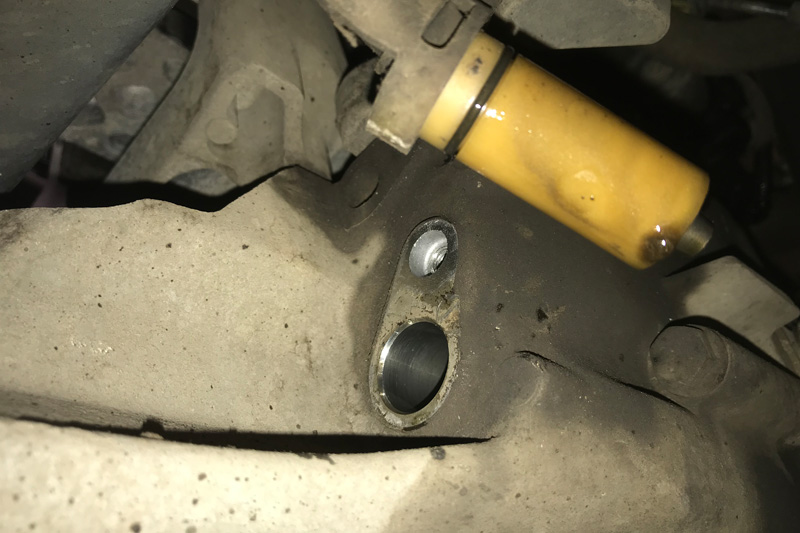
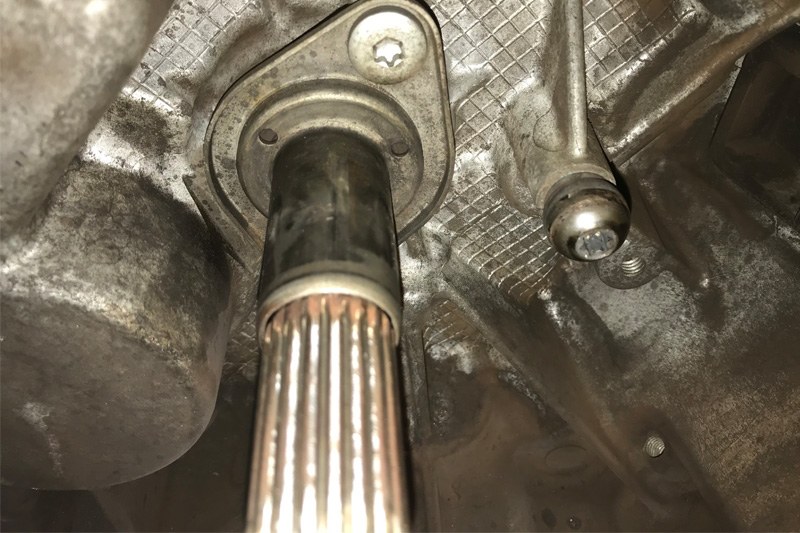
Next, insert the new flywheel bolts supplied and torque to the manufacturer’s specification. If needed, Schaeffler’s REPXPERT website or Checkpoint DMF app will show the torque value. Replace the release bearing and check the clutch release mechanism components for wear. On this specific job, wear was evident on the clutch release fork at the pivot point and the release bearing contact area. The ball pivot and the release bearing guide tube had also worn (see below) – as a result, all items were replaced (see below).
Clean the bell housing with brake and clutch dust cleaner, place a light smear of high-melting point grease onto the gearbox input shaft splines and then mount the clutch plate onto the input shaft. These steps will confirm whether the clutch plate is correct for the vehicle and evenly distribute the grease.
Next, remove the clutch plate and wipe off any excess grease, then, using a clutch alignment tool or, even better, a self-adjusting clutch mounting tool, mount the clutch ensuring ‘Gearbox Side’ or ‘Getriebe Seite’ is etched into the clutch plate centre and is facing the gearbox. Finally, tighten and torque the bolts evenly and sequentially.
Check the engine-to-gearbox alignment dowels are located correctly, install the gearbox using the transmission jack, ease the gearbox into position and locate on the dowels. Secure it into position using an easily accessible bolt and then refit all components in reverse order of removal, remembering to replace the gearbox oil.
Once the battery has been installed, ensure all electrical systems are reset and, finally, give the vehicle a short road test to confirm a successful repair.


