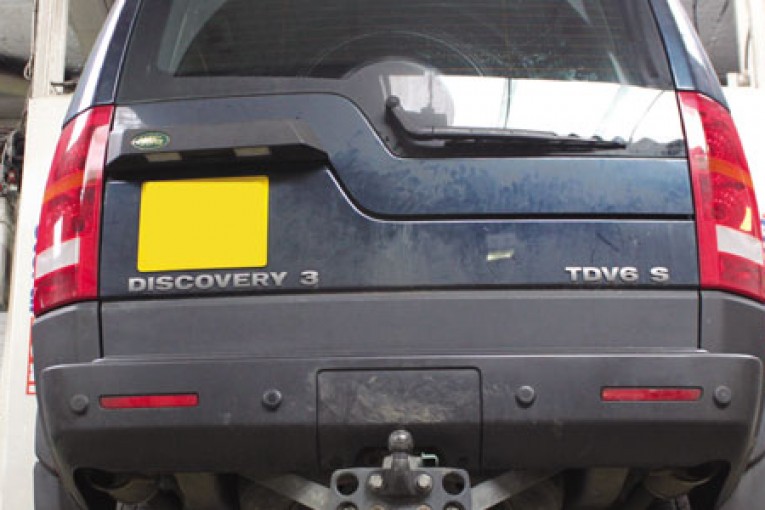
Launched back in 1989, the Discovery is now into its fourth generation with over 175,000 on UK roads today. Here the folk from LuK – a brand of Schaeffler Automotive Aftermarket – take a closer look at a clutch replacement on the Discovery 3 2.7tdv6:
Nothing out of the ordinary is required to complete this job other than three transmission jacks and a two-post ramp. All the work is completed from underneath the vehicle but it is best practice to first disconnect the battery earth terminal and stow safely. Once this is done the vehicle can be raised carefully to start.
Remove the heat shield above the rear prop shaft. Mark the position of the prop shaft and remove the six torx bolts holding it to the transfer box. Remove the four torx bolts holding the prop shaft to the rear axle and, finally, the two torx bolts holding the central support bearing. Lower the prop shaft carefully. Mark the position of the front prop shaft and remove the six torx bolts holding it to the transfer box before removing.
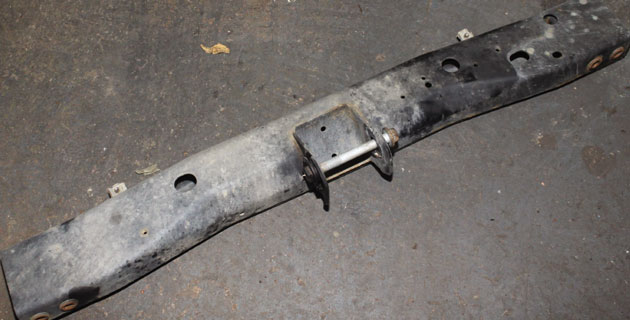
Lower the transmission
Remove the large metal undertray. Support the transmission and then remove the transfer box cross member.
This should allow you to lower the transmission slightly, making it a little easier to gain access to the top of the transfer box and gearbox. Disconnect the electrical connectors and the earth leads from the transmission and stow them safely.
Remove the bracket from the top of the gearbox that holds in place a wiring loom.
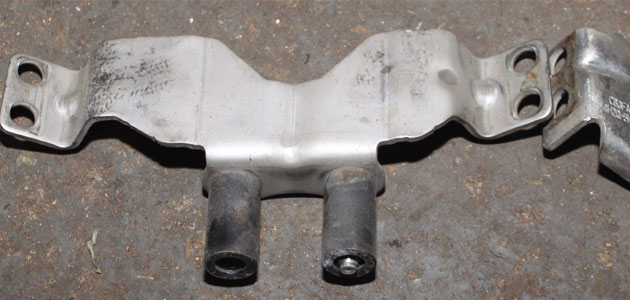
The bracket also hides two top bell housing bolts. Stow the wiring loom safely. Disconnect the first gear linkage from above the gearbox.
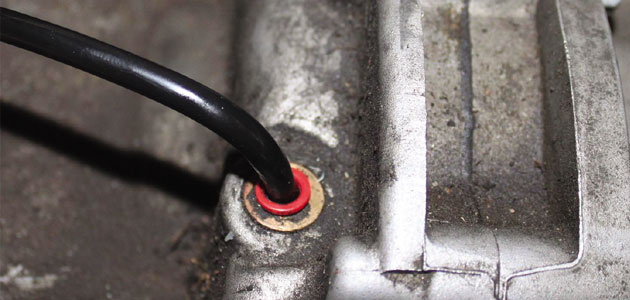
Then disconnect the quick fit connector from the slave cylinder and clamp off the hydraulics.

Using the two other transmission jacks, support the transfer box and gearbox as this will be removed as one complete unit; we will not separate the transfer box. Remove the one breather pipe from the top of the gearbox and the second breather pipe from on top of the transfer box.
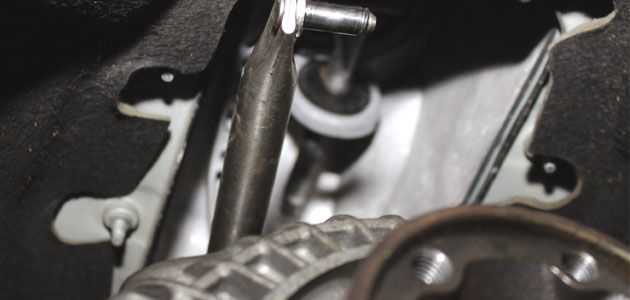
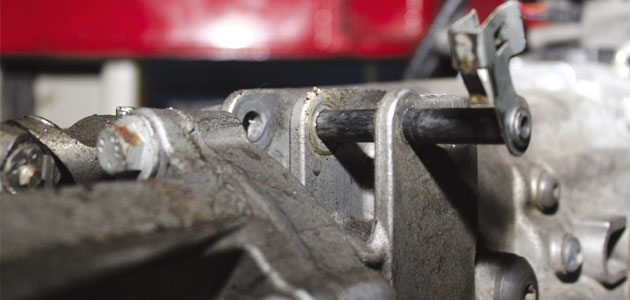
Release the turbo bracket on the nearside of the gearbox. Undo the fuel filter support bracket and stow the unit to the side. Remove all of the bell housing bolts. Lower the gearbox a little more and slightly move towards the nearside – this is to allow room to remove the locking pin from the second gear selector linkage.
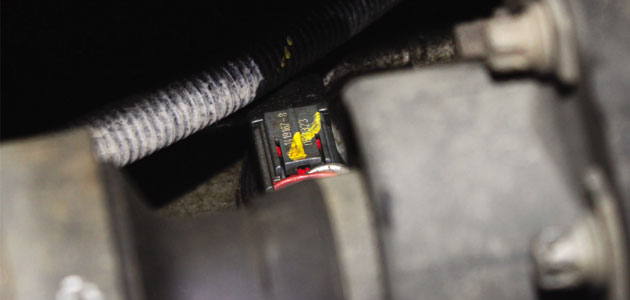
Make sure the electrical connector is removed from the side of the gearbox.
The gearbox and transfer box can now be lowered as one unit carefully by using the transmission jacks.
Checking the DMF
With the clutch removed, check the dual mass flywheel (DMF) for signs of heat stress and evidence of grease loss. The DMF should also be tested for freeplay and rock between the primary and secondary masses – LuK tool number 400 0080 10 is specifically designed for this purpose on all LuK manufactured DMFs. Full instructions and tolerance data for all LuK DMFs are contained on a CD which comes with this special tool.
Clean the first motion shaft splines and any debris from the bell housing (especially important when a release bearing has failed). Remember, if the bearing or sleeve is made of plastic there is no need for lubrication. If both parts are metal then a high melting point grease should be used and not copper-based products.
Put a small dab of grease on the first motion shaft splines and make sure the new driven plate slides freely back and forth. This not only spreads the grease evenly but also makes sure you have the correct kit. Wipe any excess grease off the shaft and driven plate hub. Using a universal alignment tool and checking the driven plate is the correct way round (note “Getriebe Seite” is German for “Gearbox Side”) the clutch can be bolted to the flywheel evenly and sequentially.
Before fitting the gearbox, make sure the locating dowels are in place and not damaged. Refit any that have become dislodged and refit the gearbox. Make sure the gearbox bell housing bolts are secured before lowering the jack. Refitting is the reverse of the removal.


